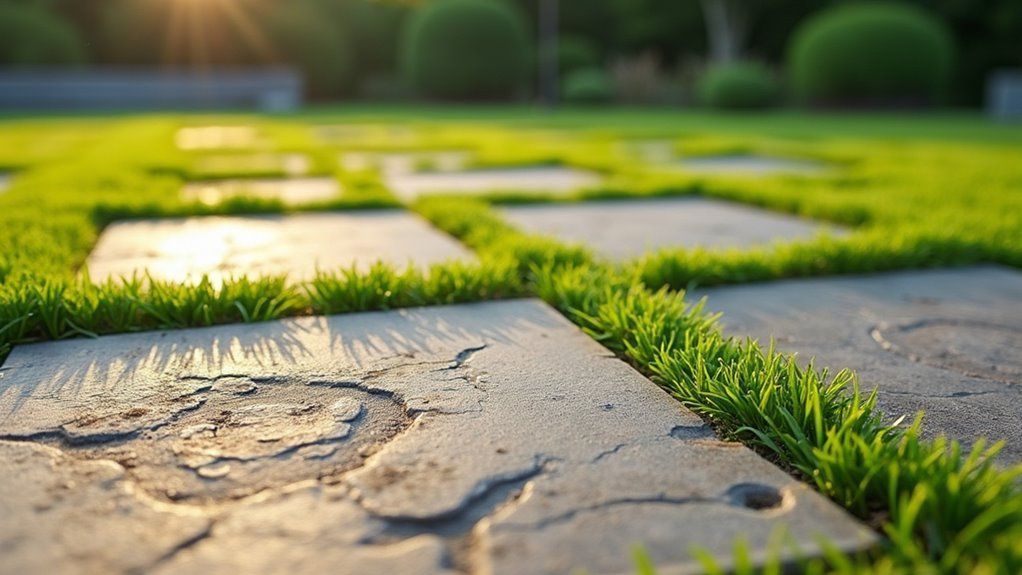
How to Install Artificial Grass?
Are you tired of mowing, watering, and battling weeds in your natural lawn? Traditional grass demands constant care, expensive maintenance products, and wastes precious water resources. Many homeowners dream of a perfect lawn but lack the time and energy required to maintain one.
The frustration compounds when drought restrictions limit watering or when children and pets destroy your carefully tended grass. You might think artificial grass is the answer but worry about installation challenges. The cost of hiring professionals can also seem prohibitive.
You can absolutely install artificial grass yourself with the right guidance and preparation. The process requires specific steps and materials but remains achievable for motivated homeowners. Your investment in time and materials will create a beautiful, low-maintenance lawn that lasts for years and saves money long-term.
This guide provides step-by-step instructions for transforming your yard with professional-quality artificial grass installation.
Key Takeaways
- Remove existing grass and vegetation, then dig down 3-4 inches to make room for the base materials.
- Install a weed barrier fabric, then add 2-3 inches of crushed stone or decomposed granite as the drainage base.
- Lay artificial turf with fibers pointing toward the house, cutting precisely around obstacles and features.
- Secure turf edges and join sections with seam tape and adhesive for a seamless appearance.
- Apply sand or rubber infill material evenly across the surface and brush fibers upright for a natural look.
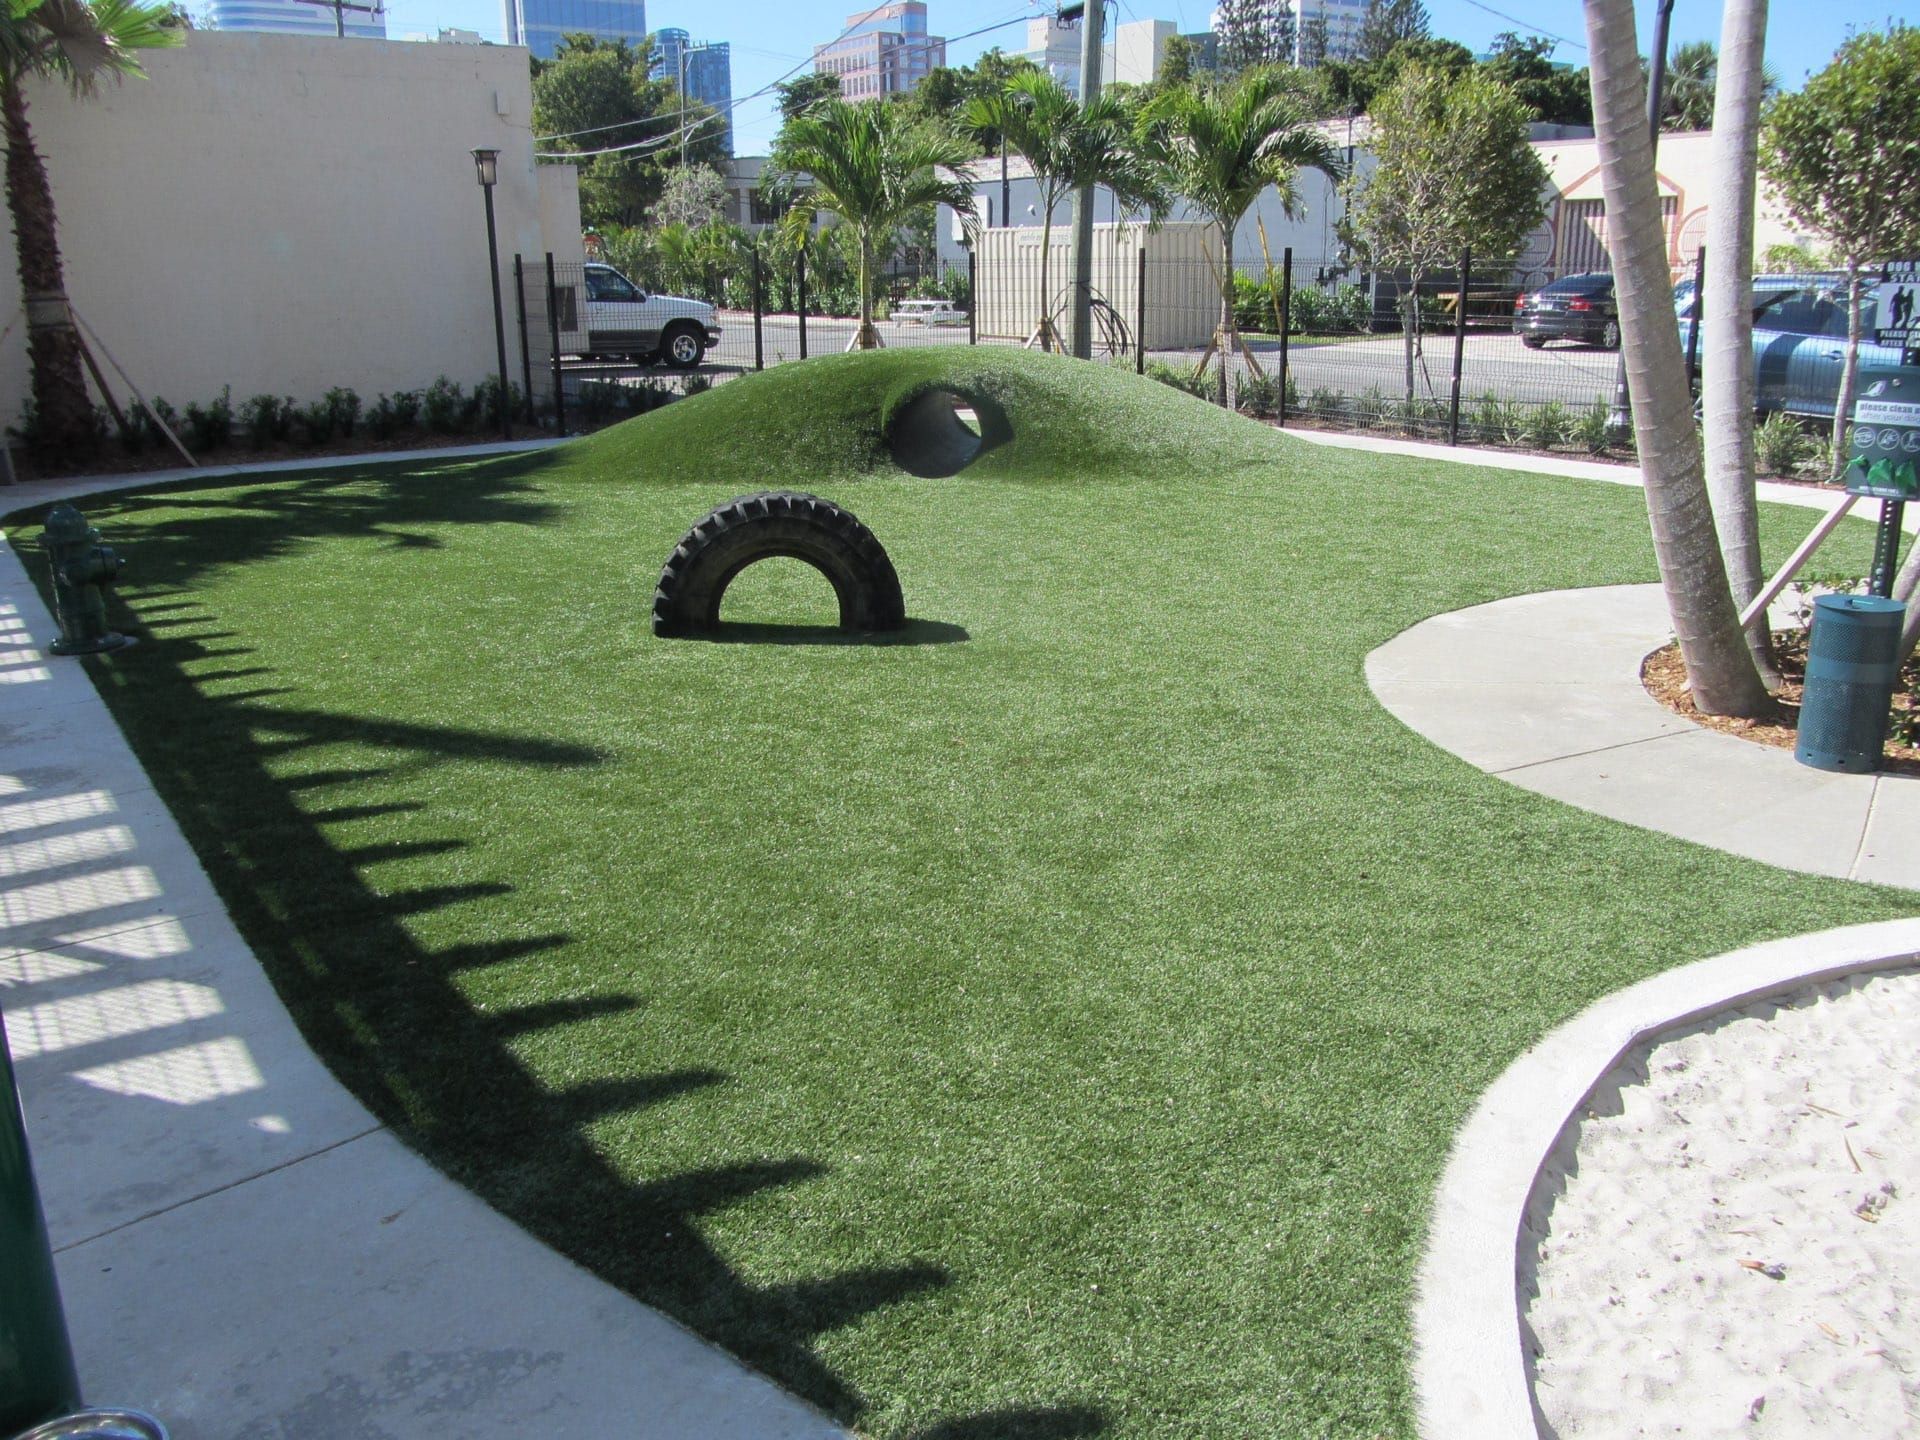
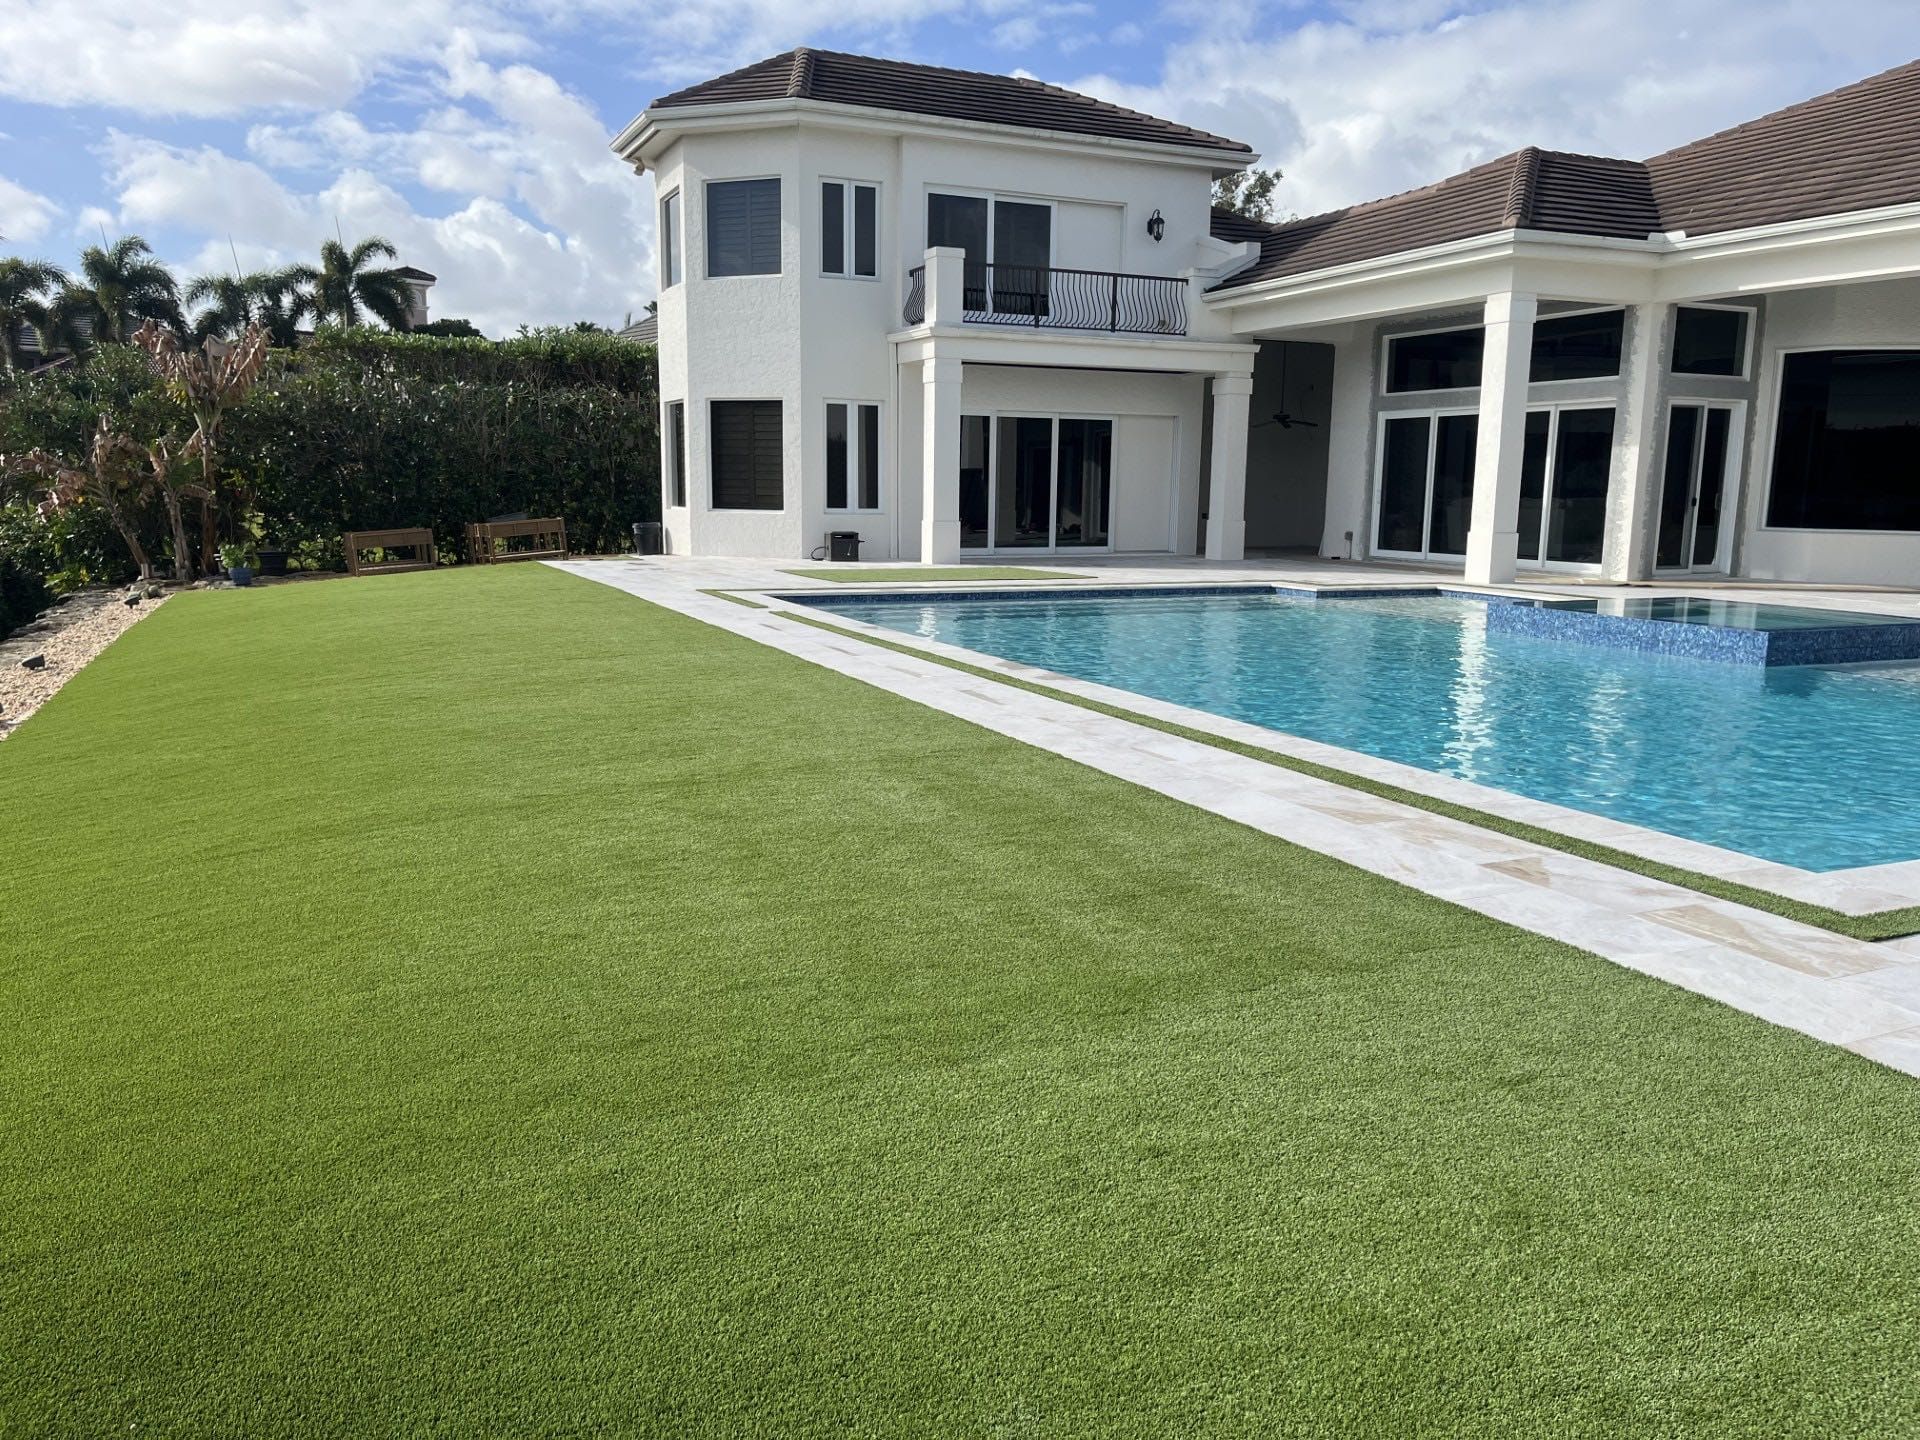
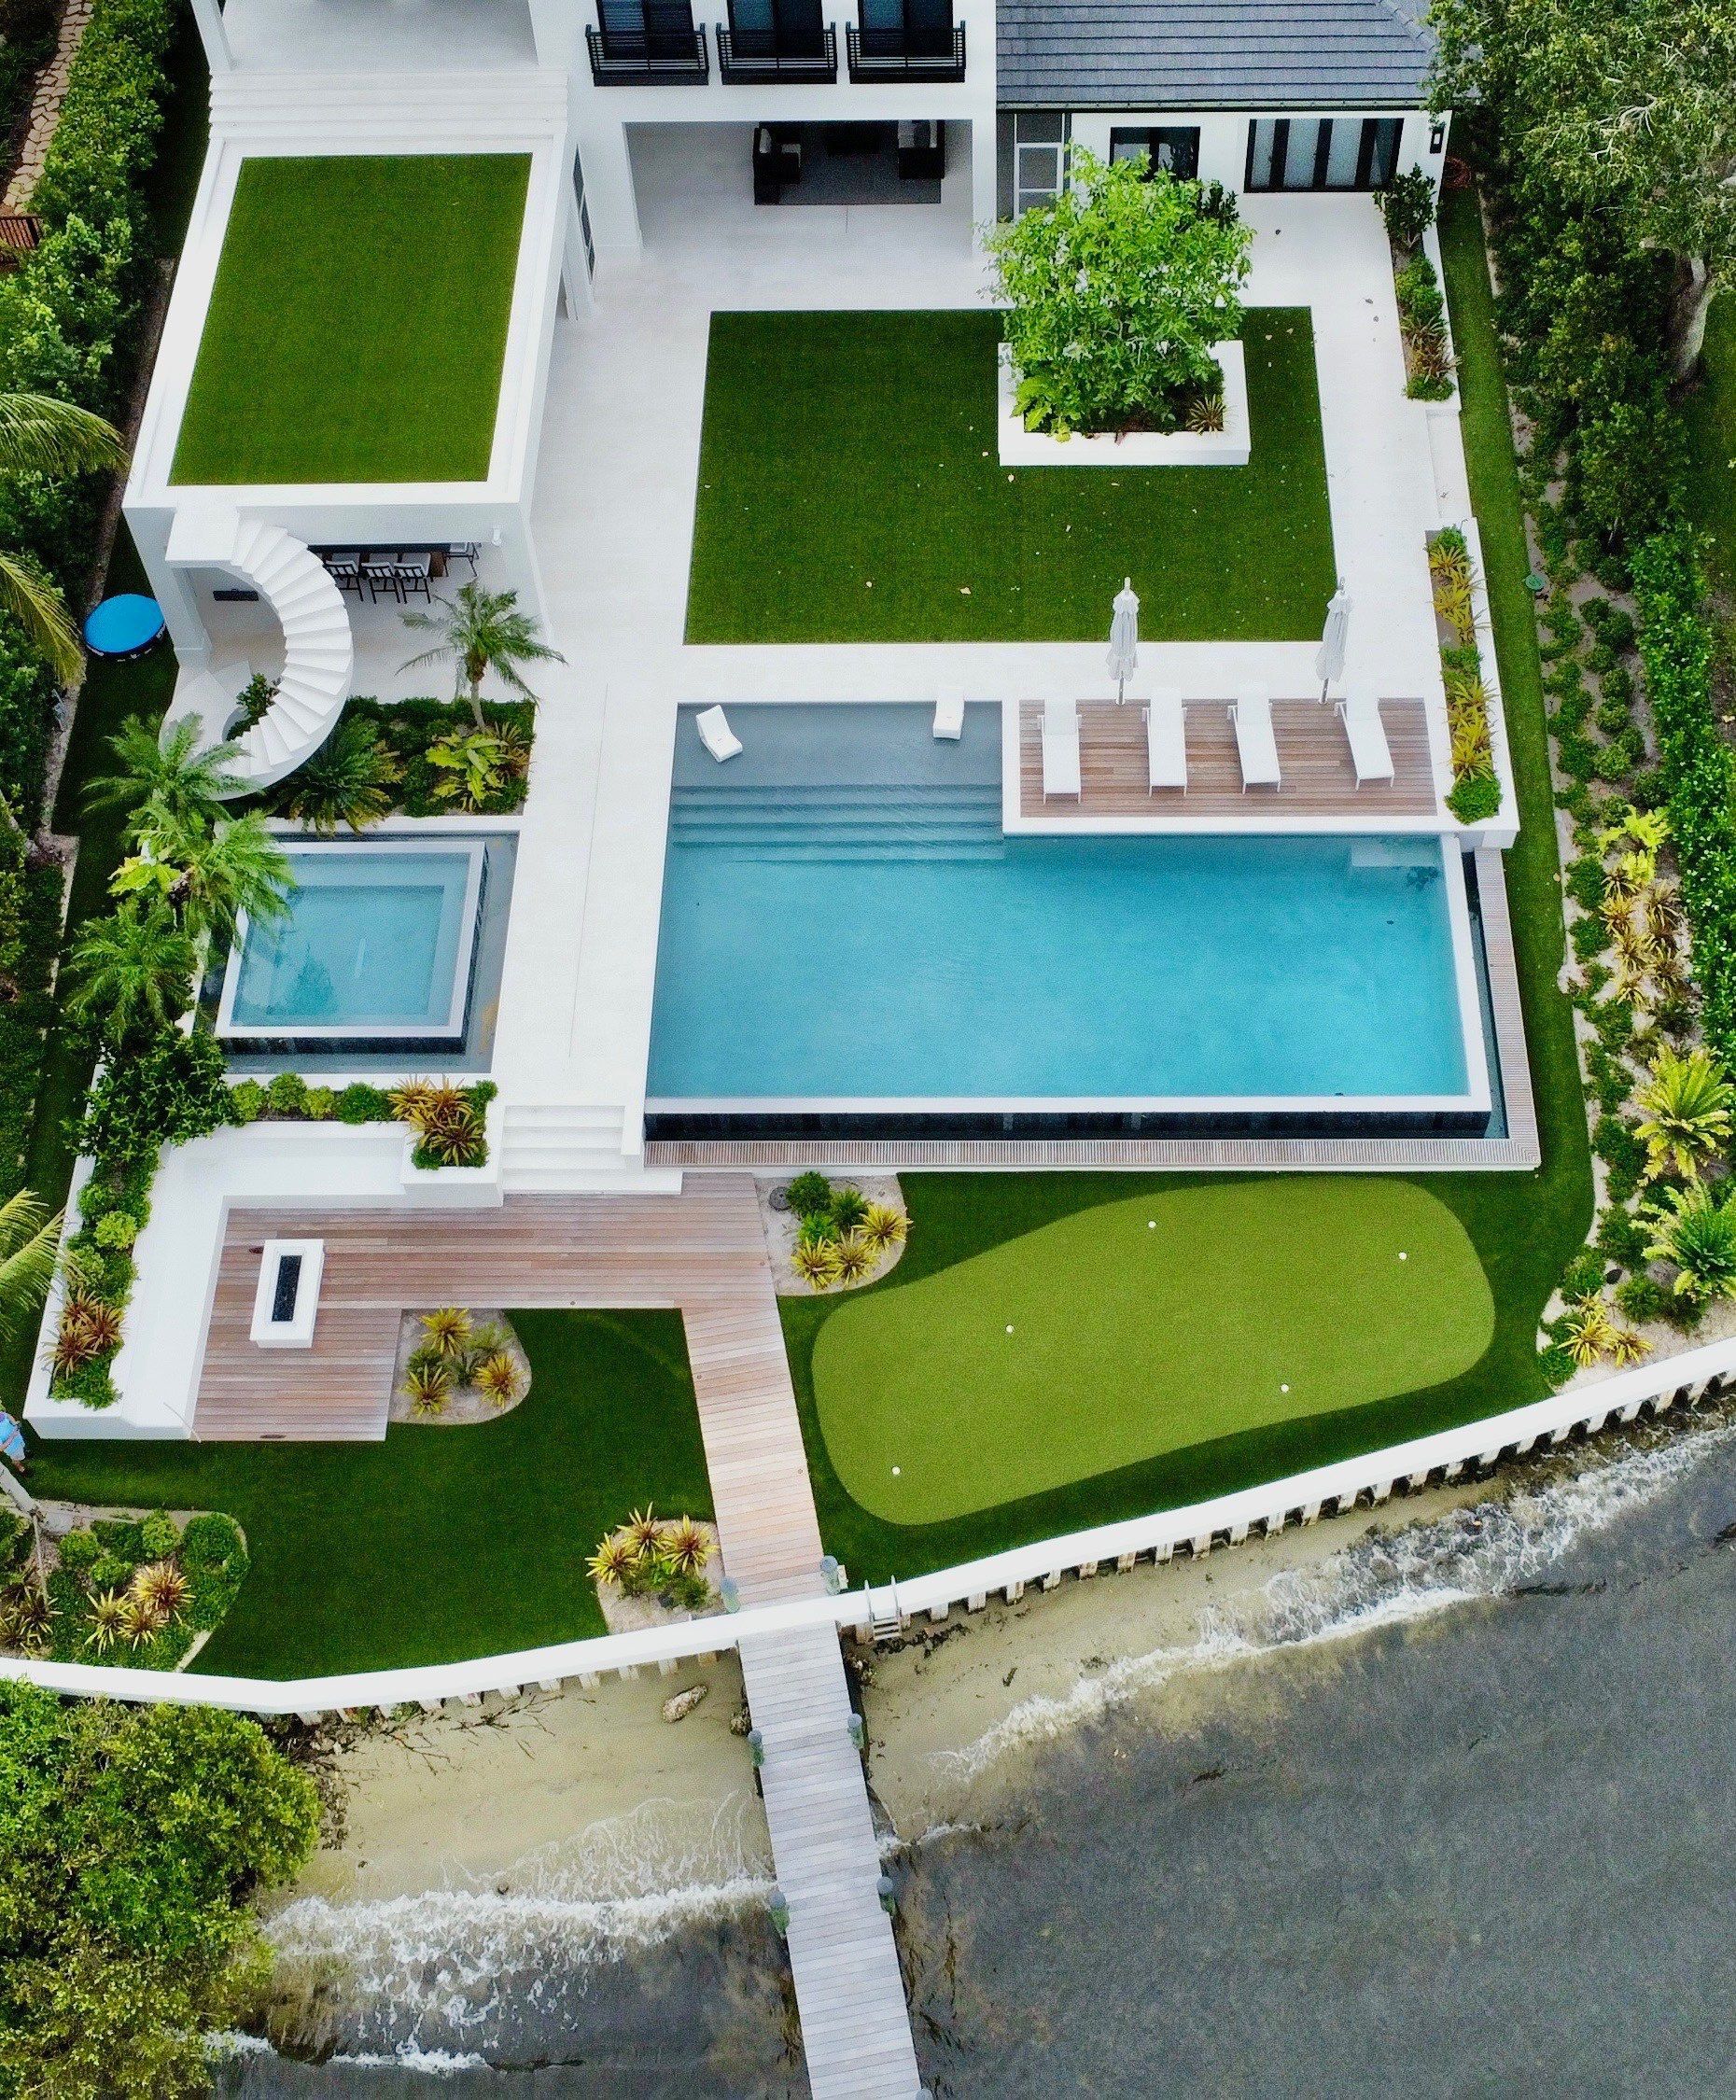
Benefits of Installing Artificial Grass
Artificial grass requires less care than real grass. You won't need to mow, water, or add fertilizer anymore. This option saves time and money while looking good all year.
Pets can safely use artificial turf without creating bare spots or mud. Liquid waste drains through easily, and solid waste can be picked up normally. You'll also stop using harmful chemicals, making your yard safer for everyone.
Modern synthetic grass stays beautiful in all weather conditions. It can handle hot summers and cold winters without damage. If you want a perfect lawn without the work, artificial grass might be right for you.
Artificial grass offers a hypoallergenic surface that benefits people with grass allergies while eliminating the need for pesticides.
Tools and Materials Needed
You need several tools and materials for artificial grass installation. Having the right equipment ensures your project goes smoothly. Proper materials help create a long-lasting result.
For ground preparation, gather a turf cutter, shovel, rake, and compactor plate. You'll need a sharp utility knife to cut the grass to size. Seam tape and adhesive are essential for joining separate sections together.
A power brush helps with final texturing after installation. A stiff broom will distribute infill material across the surface. These finishing tools give your artificial grass a natural appearance.
The main materials include artificial turf and weed membrane fabric. You'll also need sub-base material like crushed stone for proper drainage. Infill materials such as silica sand or rubber granules provide stability to the turf.
Edging materials create clean boundaries around your artificial grass. You might choose pressure-treated lumber for a natural look. Metal or plastic landscape edging works well for curved areas.
A knee kicker helps stretch the turf to eliminate wrinkles and loose areas for a professional finish.
Measuring Your Lawn Area
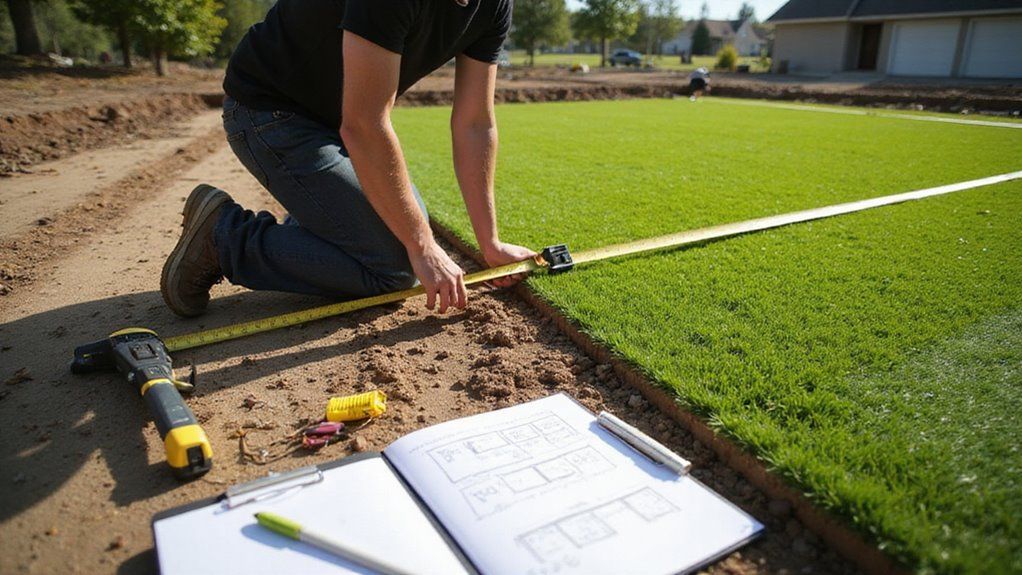
Accurate measurement of your lawn area forms the foundation of a successful artificial grass installation. You'll need to calculate the total square footage by measuring the length and width of each section, then add 10-15% extra material to account for waste during cutting and fitting.
Creating a detailed diagram with measurements, noting any obstacles or special features, will serve as your installation roadmap and help determine precise material requirements. Before beginning your installation, you should install a waterproof lawn border along the edges of your designated area to create a clean boundary for your artificial turf.
Calculate Square Footage
You need to know your lawn's size before buying artificial grass. Measure the length and width of each area in feet. Multiply these numbers to find the square footage of rectangular spaces.
Irregular shapes should be split into smaller rectangles or triangles. This approach helps you get more exact measurements. Add up all section areas to find your total square footage.
Always include 10-15% extra material for waste and edges. This buffer prevents running out during installation. Artificial turf is sold by the square foot, so correct measurements save money.
Precise calculations help you avoid buying too much or too little. You won't face delays from ordering more materials mid-project. Good measurements are key to your project's success.
Account For Waste
You need to add 10-15% extra when calculating artificial grass needs. This covers waste during installation. Most professionals recommend this buffer for a successful project.
Waste material is necessary for cutting around curves and obstacles in your yard. You will use extra turf when joining sections together. Proper seaming requires overlap and trimming to create invisible connections.
Your project will require additional materials beyond the turf itself. These include weed barrier fabric, infill, joining tape, adhesive, and fasteners. If you run out of supplies mid-project, your installation could suffer damage from weather or shifting base materials.
Draw Detailed Diagram
A precise diagram with measurements should be created before buying materials. Graph paper works best for drawing your lawn to scale. Include trees, pathways, and sprinklers that might affect installation.
Show which direction you'll place the turf in your layout. Consider water drainage and how to minimize visible seams. Add a cross-section view showing all layers: base material, weed barrier, drainage components, and grass.
Mark all seam locations and places where anchoring will be needed. This blueprint helps calculate exact material amounts needed. It also helps identify potential problems before installation begins.
Keep your diagram nearby throughout the entire project. You'll refer to it often when making decisions. It serves as your guide from planning through completion.
Preparing the Ground Surface
Good ground preparation creates a solid base for artificial grass. First, remove all plants and roots completely. Then dig down 3-4 inches to make room for base materials.
Level the ground carefully with a rake and tamper tool. Fix any low spots or bumps to create an even surface. The soil should have a slight slope (1-2%) away from buildings for proper drainage.
Place weed barrier fabric over the cleaned area. Make sure seams overlap by 4 inches. This prevents unwanted plants from growing through your turf.
Add a 2-3 inch layer of crushed stone or decomposed granite as the base. Compact this material firmly using a plate compactor. If the surface feels loose, make additional passes until it becomes solid and level.
You might consider using a gravel base for your installation as it's easy to maintain and offers a more forgiving surface if falls occur.
Removing Existing Grass and Vegetation
You must remove all vegetation before installing artificial turf. Use a sod cutter set at 2 inches deep to remove grass and roots. A sharp spade works well for smaller areas.
Check for any remaining deep roots or stubborn weeds after initial removal. Apply weed killer to prevent regrowth, following safety guidelines carefully. The herbicide needs 7-14 days to work completely.
Clean the area by removing all plant debris and large rocks. Rake the soil until it's smooth and even. This thorough preparation prevents future weed growth and keeps your artificial lawn looking good.
If you skip proper vegetation removal, weeds might grow through your new turf. Small roots left behind can cause bumps in your artificial grass. Good preparation saves you maintenance problems later.
This preparation is essential whether you're installing on soil or following hard surface applications techniques for concrete or stone areas.
Installing a Proper Drainage System
A proper drainage system begins with a 3-4 inch base layer of crushed stone or decomposed granite that allows water to flow freely beneath your artificial turf. You'll need to establish a minimum 1-2% slope gradient away from structures to prevent water pooling and potential damage to your installation.
Installing perforated drainage pipes in a herringbone pattern within your base material will efficiently channel excessive water away, especially in areas with heavy rainfall or poor natural drainage. Proper drainage also helps maintain turf integrity by preventing matting and allowing you to rinse with water periodically to remove dust and pollutants.
Base Layer Materials
A good artificial grass installation needs a strong base layer for drainage. You should choose materials that are stable but also let water pass through. Class II road base or crushed stone (3/4" or smaller) works well as the main foundation.
Poor drainage areas might need special systems like geogrids or drainage mats under the aggregate. These tools stop shifting and help water flow better. A layer of decomposed granite or crushed stone screenings (1/4" or smaller) should go on top.
You must compact each layer to 90% density with a plate compactor. Make several passes in different directions for even stability. This method maintains proper drainage while creating a solid base.
Proper Slope Requirements
Your artificial grass needs a slope of 1-2% for good water flow. This means a drop of about ¼ inch per foot away from buildings. Areas with heavy rain might need a 3% slope instead.
Use a laser level to check the slope across your installation area. You must fill any low spots with more base material and compact it again. If your ground has poor drainage, you can add perforated pipes in a herringbone pattern under the base.
Check with local building codes for specific slope requirements. Some areas have rules about minimum slopes for artificial turf. Following these rules ensures your installation works well and lasts longer.
Perforated Pipe Installation
Good drainage is essential for artificial turf to last a long time. Perforated pipes must be placed in key spots across your base. These pipes will move water away from your turf.
Dig trenches 8-12 inches deep in a herringbone pattern. All channels should slope toward your drainage exit at a 1% grade. Cover these trenches with landscape fabric to keep soil out.
Place 4-inch perforated pipes with holes facing down in the trenches. Fill around the pipes with 3/4-inch clean gravel. This allows water to flow freely through the system.
The main drainage line should run along the lowest edge of your area. Branch lines should extend upslope at 45-degree angles. If you connect all pipes with proper fittings and secure with pipe tape, your drainage will work better.
Adding Base Materials and Compaction
Two key base materials create a solid foundation for artificial grass: crushed stone and leveling sand. You need to spread 3-4 inches of 3/8" crushed stone evenly across your prepared area. This layer ensures proper drainage and stability for your turf system.
Choose angular crushed stone instead of rounded pebbles for better interlocking properties. A plate compactor should be used in overlapping paths until the surface feels firm. If the stone moves under your feet, additional compaction may be necessary.
Add a thin layer of fine leveling sand (½-1 inch) on top of the stone base. This creates a smooth surface for your artificial grass installation. The sand layer needs thorough compaction too, so check for low spots using a straight edge.
Proper compaction prevents future settling issues with your artificial turf. You should compact both layers carefully to extend your installation's lifespan. If you skip proper compaction, your turf may develop bumps or depressions over time.
Using a geotextile cloth between the soil and base materials will prevent weed growth while still allowing for proper drainage throughout your installation.
Placing the Weed Barrier
A weed barrier fabric stops plants from growing through your artificial turf. Lay this fabric over your prepared ground before installing the turf. Make sure it covers a bit beyond the edges of your planned installation area.
Overlap any fabric seams by at least 4 inches for complete coverage. Use landscape staples or pins to secure the barrier every 12-18 inches along edges and seams. Leave a little slack in the fabric to allow for ground movement.
Cut holes in the fabric where needed for sprinklers or drainage systems. The barrier serves two purposes beyond stopping weeds. It helps with drainage and keeps soil separate from your new turf.
After preparing the ground and before laying the weed barrier, ensure you've properly compacted the ground for long-term stability of your artificial grass installation.
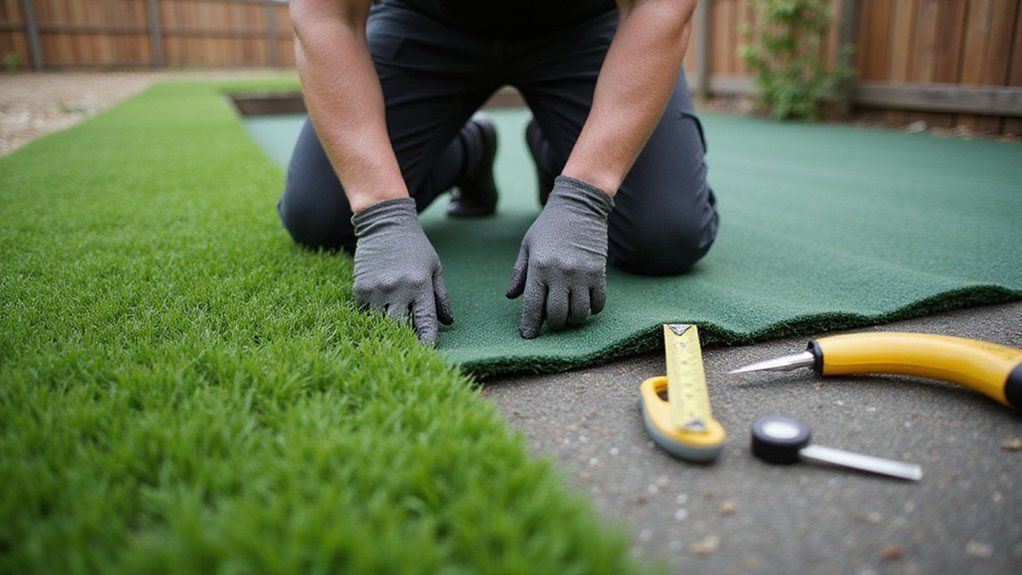
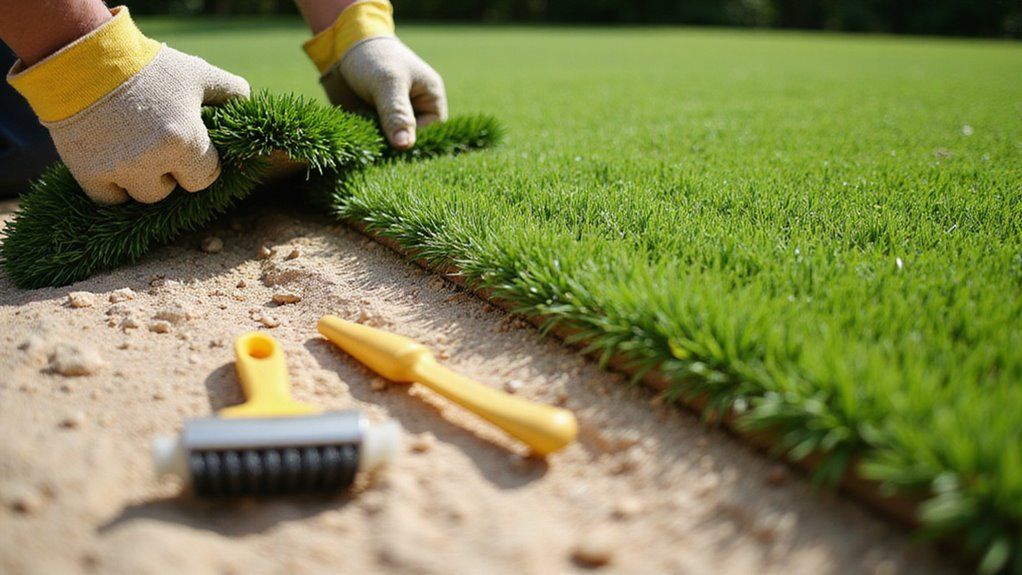
Cutting and Fitting the Artificial Turf
Roll out your artificial turf after installing the weed barrier. Position the grass so blades face your viewing area. Let the turf sit for 1-2 hours before you start cutting.
Trim the turf with a sharp utility knife along your installation area's edge. Measure twice and cut once to create precise cutting patterns. For curves, make small cuts to achieve smooth edges.
Join sections by placing edges together without overlapping. Secure the seams with joining tape and adhesive underneath. Leave a small overhang at borders that you'll tuck in later.
Proper cutting and fitting techniques are essential for extended turf life, which can span between 10-20 years with professional maintenance and repairs.
Securing the Edges and Seams
You must fasten all edges and seams after positioning your turf. Place landscape pins every 6 inches around the entire perimeter. Push each pin completely flush with the turf backing.
For seams, apply special tape where two turf pieces meet. Coat the tape with adhesive and press the edges together firmly. There should be no visible gaps between sections.
Edges against patios or walkways need both adhesive and nails. This combination prevents the turf from lifting over time.
Curved borders require more pins to maintain their shape. This extra support keeps curves looking natural and prevents warping.
Let all adhesive dry completely before walking on the seams. This usually takes about 24 hours, depending on weather. Well-secured edges create a seamless look and prevent tripping.
For challenging installations or custom applications like Bocce courts, you may want to consult professionals with industry experience to ensure proper edge securing techniques.
Adding Infill Material
After securing your artificial grass, you'll need to choose between sand and rubber infill, each offering different benefits for shock absorption and blade support. You should spread your chosen infill material evenly across the entire surface using a drop spreader, aiming for a rate of 1-2 pounds per square foot.
Work the infill deep into the grass fibers using a power broom or stiff brush, moving in multiple directions to ensure proper distribution between the blades.
Sand vs. Rubber Infill
Artificial grass installations require either sand or rubber infill, each with different benefits. Sand infill keeps grass fibers upright and provides stability for residential lawns. This option costs less and works well in most weather conditions.
Rubber infill comes from recycled tires and absorbs impact better than sand. It weighs less and allows water to drain faster during rainstorms. Children's play areas and sports fields benefit most from rubber's cushioning effect.
Your choice should match your lawn's main purpose and your local weather patterns. Budget concerns might lead you toward sand due to its lower price. Heavy use areas would work best with a combined approach.
The hybrid method uses sand as a foundation layer for stability. Rubber is then added on top to create comfort and softness. This combination gives homeowners the advantages of both materials.
Proper Distribution Techniques
You should spread infill material evenly across artificial turf using a drop spreader. Apply thin layers of about ¼-inch at a time for best results. Specialized tools help achieve an even coverage throughout the installation.
A stiff brush works well to push infill down between grass fibers. Brush in multiple directions to ensure the material settles properly. Power brooms can make this job faster on larger turf areas.
Check your progress with a depth gauge while working. Most installations need 1.5-2 pounds of infill per square foot. If your turf has taller blades, you might need to adjust the amount accordingly.
Careful layering prevents the grass from matting down over time. This methodical approach will make your artificial grass last longer. When done correctly, the turf will maintain its appearance and performance for many years.
Brushing and Finishing the Surface
Proper brushing creates a natural-looking artificial grass surface. Use a power broom or stiff brush against the fiber grain to make blades stand upright. This action helps level the surface while giving it a realistic appearance.
Work in small sections to prevent matting. Brush in different directions with firm, steady pressure. High-traffic areas may need extra attention.
Spray the entire area lightly with water after brushing. This helps the infill material settle properly. Allow your new turf to settle for 1-2 days before heavy use.
Regular maintenance will keep your artificial grass looking great for years. The proper finishing touches ensure both visual appeal and long-term performance. Your installation will reward you with a beautiful, low-maintenance lawn.
Maintenance Tips for Long-Lasting Results
Maintaining your artificial grass requires consistent seasonal care to preserve its appearance and functionality. You'll need to remove debris quarterly, rinse surfaces during pollen season, and brush fibers upright after heavy use or snowfall.
Prevent damage by keeping sharp objects, fire sources, and harsh chemicals away from the turf while promptly addressing any tears or separations at the seams.
Seasonal Care Routine
Artificial grass needs less care than real grass but still benefits from regular seasonal upkeep. A simple care schedule will keep your turf looking great for many years. Following these seasonal tips prevents damage and maintains your lawn's appearance.
Winter calls for regular debris removal to prevent buildup on frozen turf. Apply a mild disinfectant during warmer periods to kill bacteria. Brush the fibers against the grain in spring to lift flattened areas caused by snow.
Summer requires monthly rinsing to clean away dust and pollen. Fall maintenance focuses on removing leaves quickly to avoid moisture problems. Check all seams and edges every three months for any separation issues.
You should move furniture and heavy items regularly in busy areas. This practice ensures the turf wears evenly across all seasons. Your artificial grass will stay in excellent condition if you follow these simple care steps.
Damage Prevention Strategies
Protect your investment in artificial grass with simple care steps. Check the base layer every three months for sinking or washing away. Fill any low spots quickly with more gravel.
Keep water drainage systems clean by removing leaves and dirt from pipes. Water buildup can harm the backing of your turf. Place thick mats under heavy items to spread weight across the surface.
Brush high-traffic areas weekly to keep fibers standing up straight. This prevents the grass from becoming flat too soon. Never put hot objects on your turf as they can melt the surface when hotter than 175°F.
Use only plastic shovels to remove snow from your artificial grass. Metal tools might cut or tear the material. If you live in a humid area, apply mold treatments twice a year underneath the turf.
Cost Considerations and ROI
Artificial grass costs between $8-$20 per square foot with professional installation. Your total expense depends on lawn size, turf quality, drainage needs, and ground preparation. Several budget factors affect the final price.
Artificial grass pays for itself over time. You won't need to pay for watering, fertilizers, mowing, or new grass seed anymore. These savings add up to about $500-$1,000 each year.
Good quality turf lasts 15-20 years, which justifies the higher upfront cost. It can also raise your property value by up to 5%. Homes with artificial grass often attract more potential buyers.
You can get better value by comparing prices from different installers. If your yard is small, you might install the turf yourself to save money. Choose turf that matches your needs rather than buying the most expensive option.
Conclusion
Proper installation of artificial grass requires careful attention to each layer. Skipping steps can lead to premature wear, shifting, and other problems down the road. When you follow the correct procedures, your synthetic lawn becomes a lasting investment.
With proper installation, your artificial grass can last between 15-20 years with minimal upkeep. This durability makes the initial time investment worthwhile for most homeowners. If you're concerned about longevity, paying attention to the base preparation becomes especially important.
Your new synthetic lawn will provide years of enjoyment without the hassle of traditional grass maintenance. Consider the long-term benefits when deciding whether to install it yourself or hire professionals. Install your artificial grass with Synthetic Turf Treasure Coast for expert results that stand the test of time.
About the author
Kathy Leavell
Kathy Leavell is the founder and owner of Synthetic Turf Treasure Coast, a leading provider of synthetic grass solutions for residential and commercial properties in Florida. With over a decade of experience in the industry, Kathy has become a recognized expert in synthetic turf installation, maintenance, and repair. Under her leadership, Synthetic Turf Treasure Coast has earned a reputation for exceptional customer service and high-quality workmanship.
Prior to starting her own business, Kathy worked in sales and marketing roles at several major synthetic turf manufacturers.
Artificial Turf Installation in Vero Beach, FL: Cost, Process & What Homeowners Should Expect (2026)