How to Install Artificial Grass on Concrete

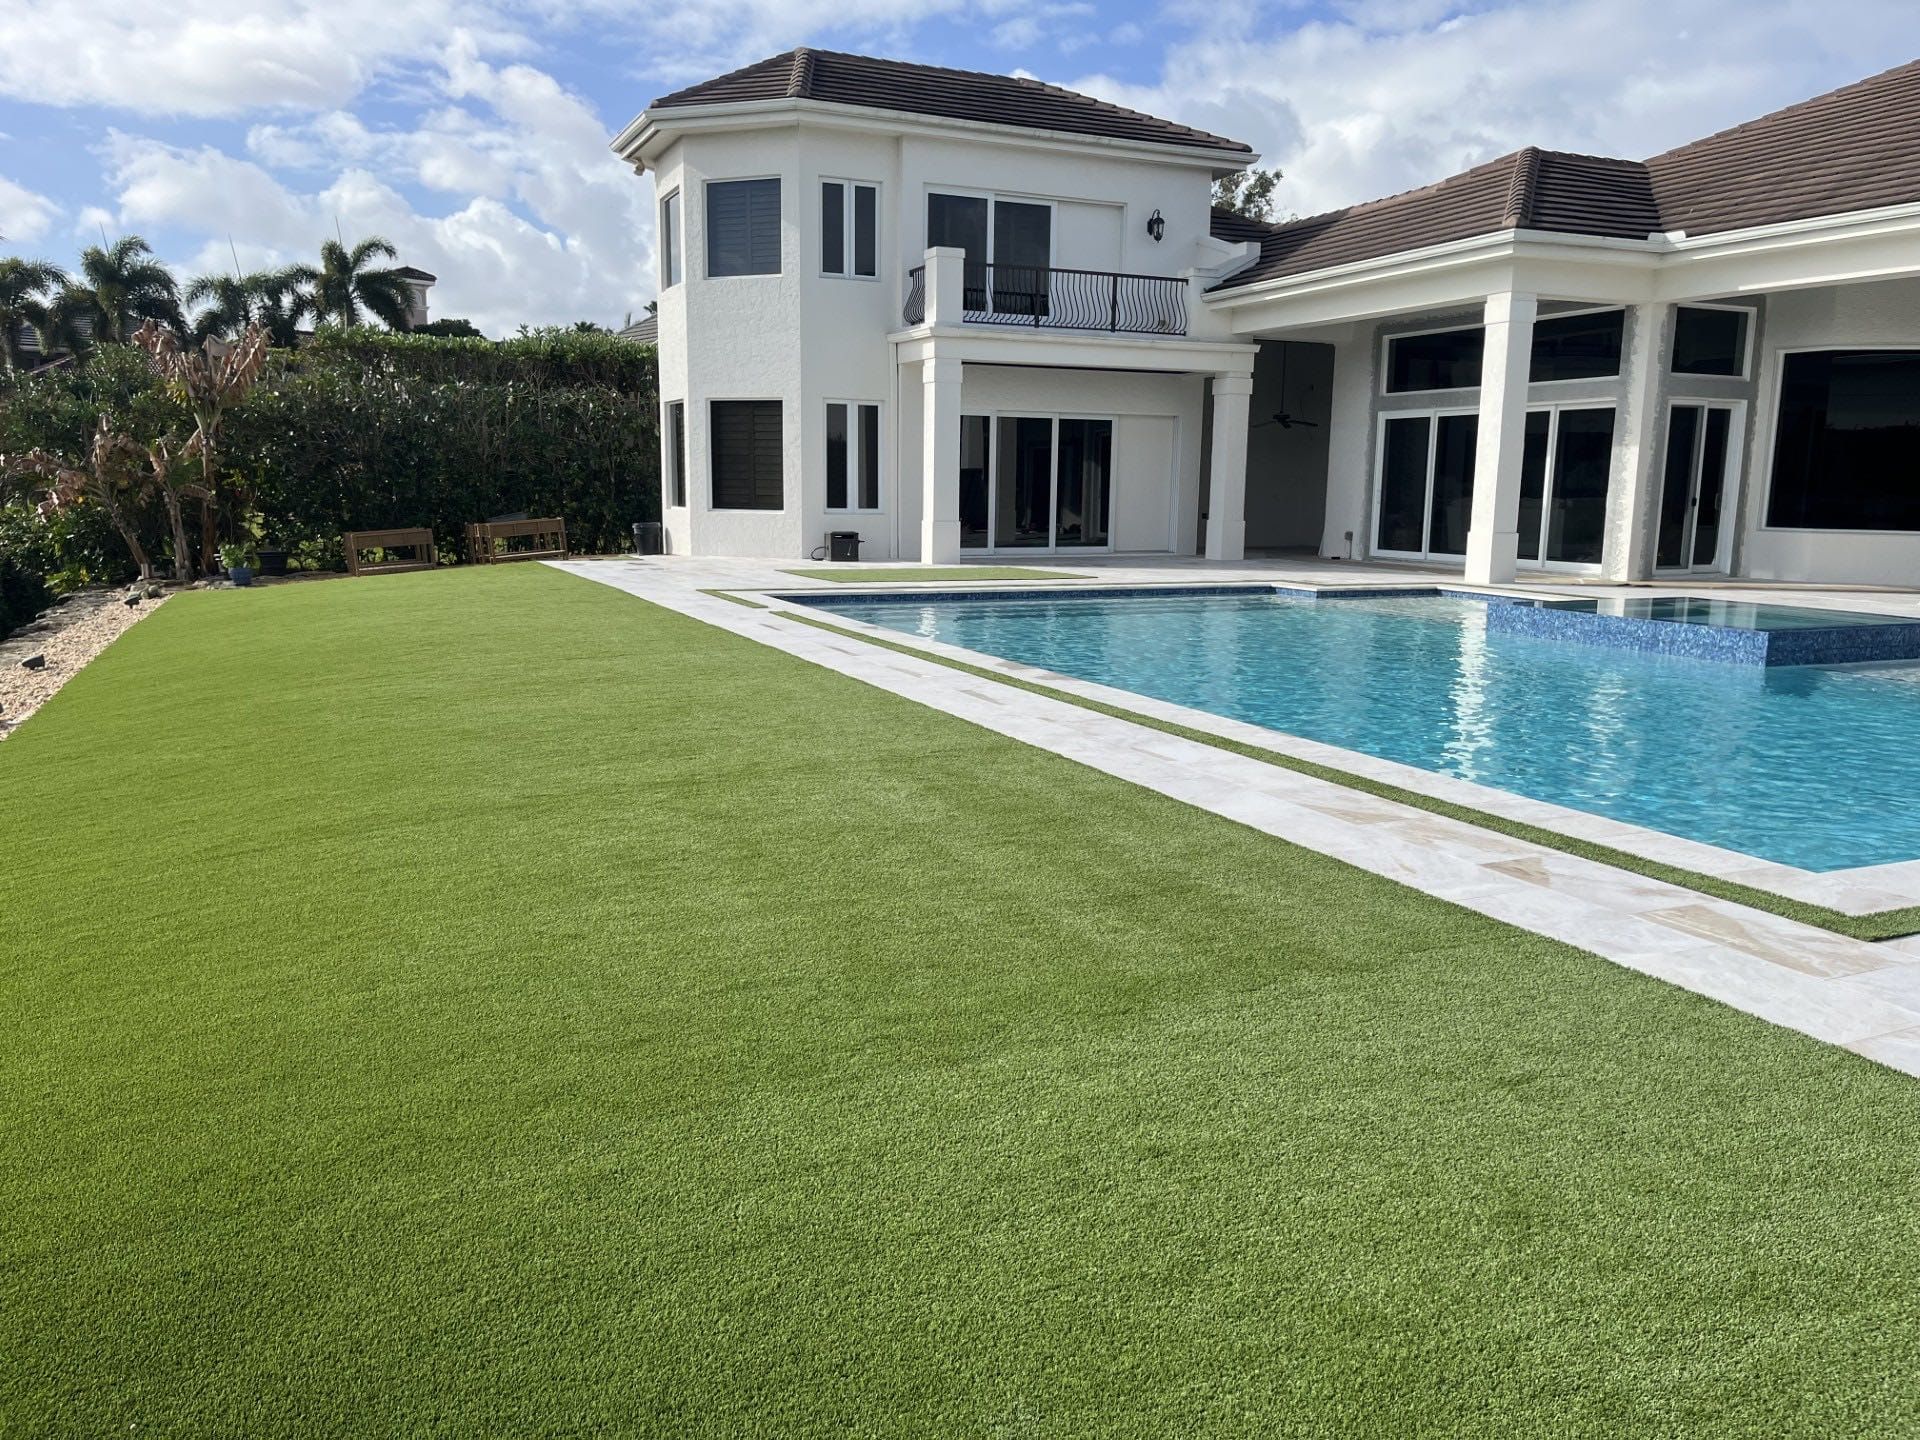
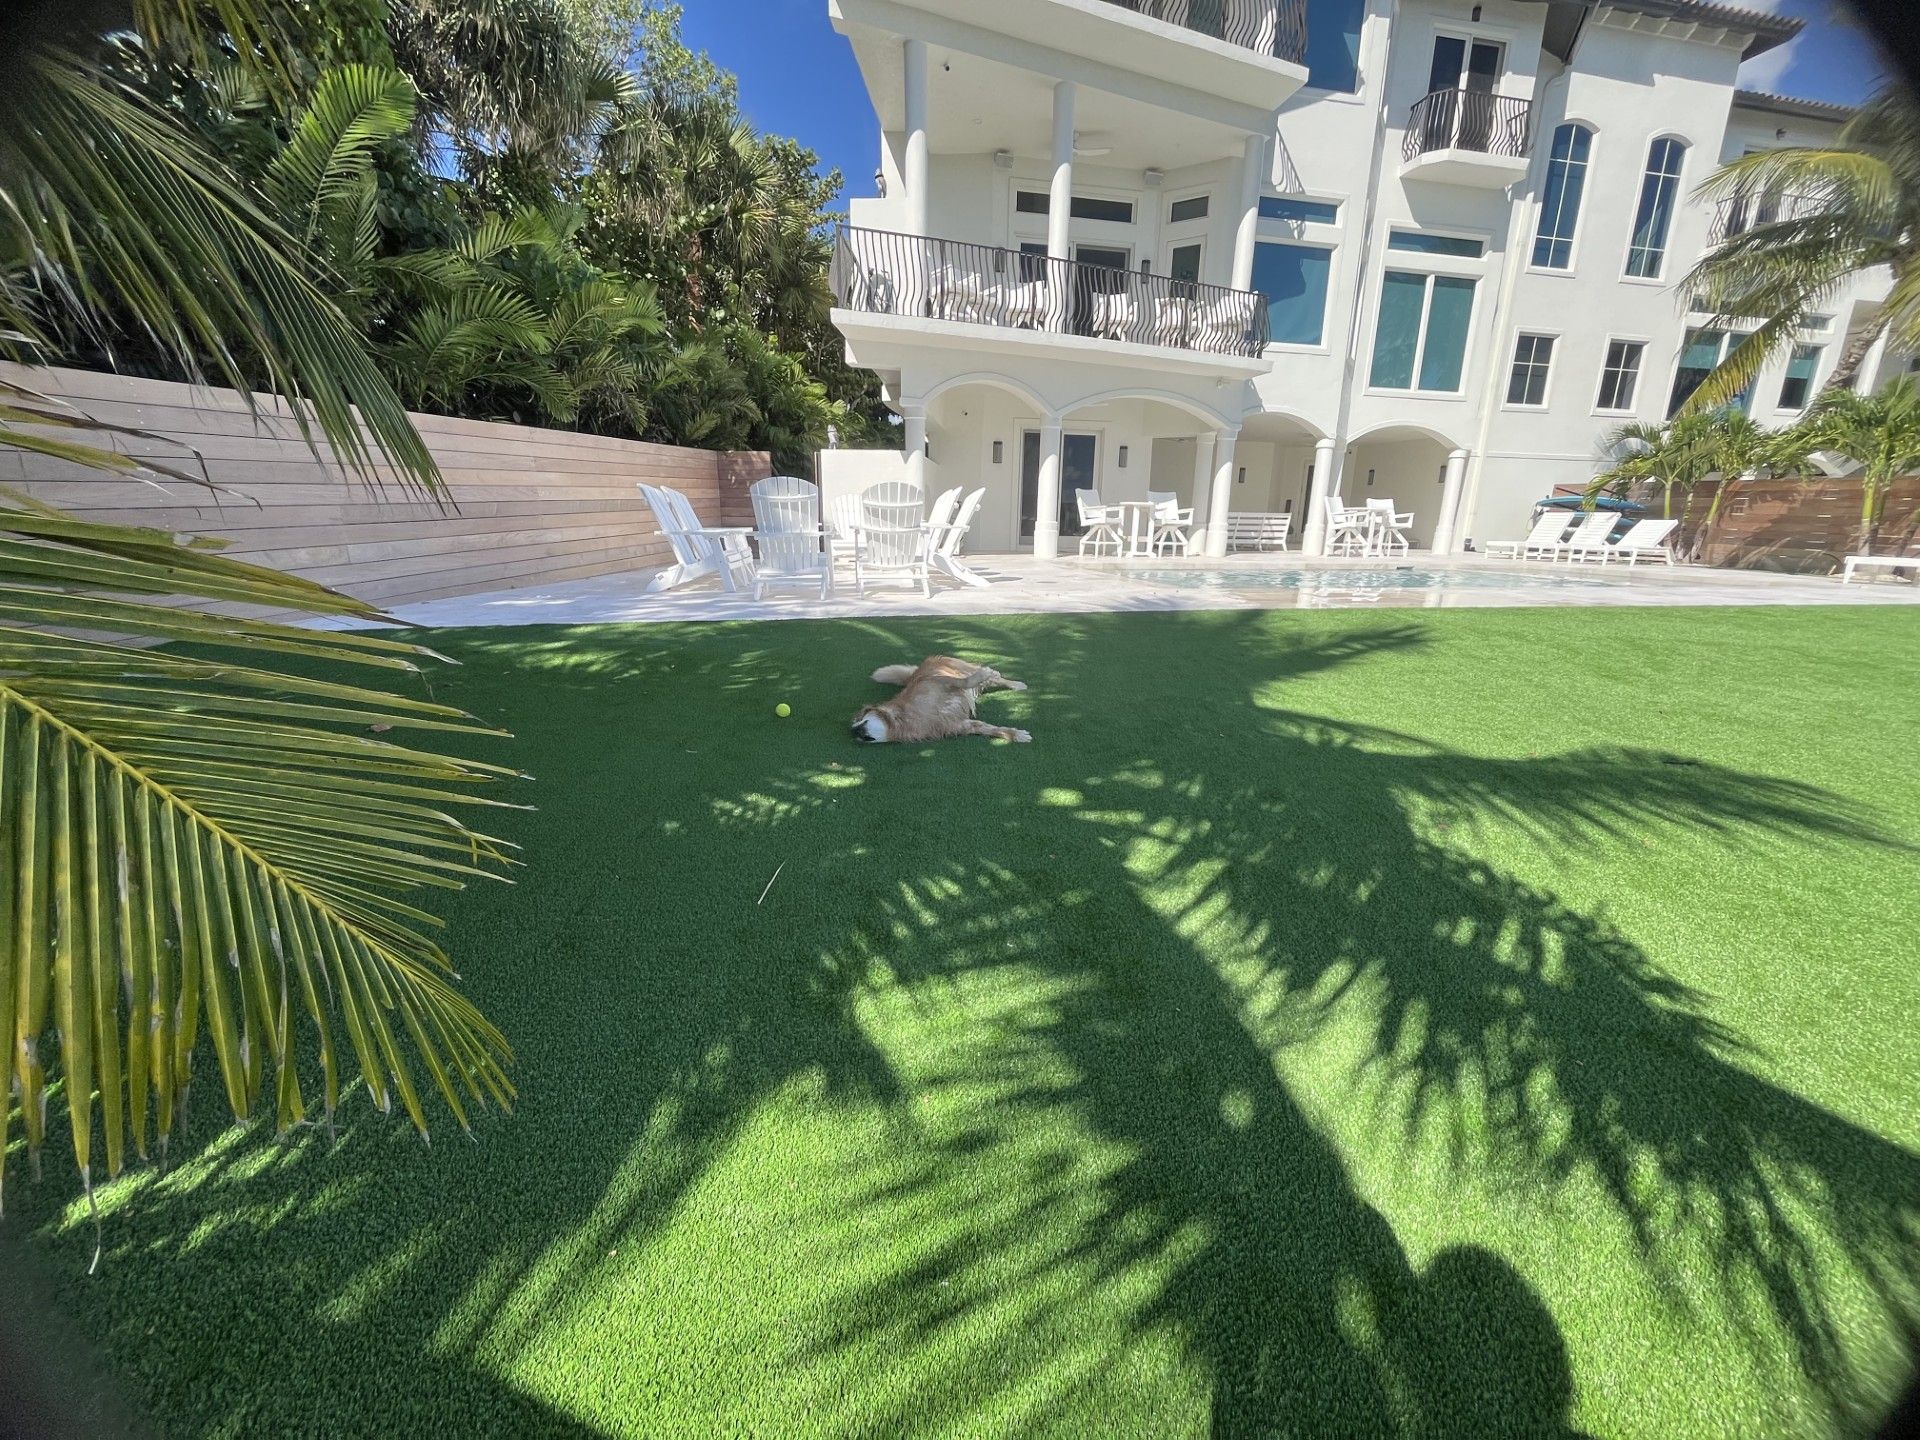
Gone are the days of dull, maintenance-heavy concrete patios stealing the joy from outdoor spaces. Concrete surfaces limit landscaping options, leaving homeowners stuck with gray, lifeless outdoor areas that lack curb appeal. Without proper transformation, these spaces remain unused and uninviting, diminishing the overall value of your property. Artificial grass installation offers a permanent solution, transforming concrete into lush, evergreen spaces that require minimal upkeep.
The installation process starts with pressure washing the concrete surface at 3000 PSI. After 24-48 hours of drying, repair cracks with polyurethane sealant and install drainage matting. Finally, lay UV-resistant turf panels with adhesive and distribute infill materials.
This comprehensive guide will explore every aspect of installing artificial grass on concrete surfaces successfully.
Key Takeaways
- Pressure wash concrete at 3000 PSI and allow 24-48 hours drying time before installation begins.
- Repair cracks with polyurethane sealant and cut drainage grooves every 4-6 feet to prevent water pooling.
- Use UV-resistant artificial grass with drainage backing and secure with concrete-rated polyurethane adhesive and seaming tape.
- Measure, cut, and lay turf panels with uniform pile direction, then distribute infill and brush fibers upright.
- Maintain with weekly debris removal, monthly rinsing, and quarterly drainage inspections for 8-10 year lifespan.
What are the Benefits of Installing Artificial Grass on Concrete?

You’ll gain multiple advantages when installing artificial grass over concrete surfaces, from eliminating mowing and irrigation costs to creating usable outdoor areas in spaces previously limited by hardscape. The installation provides consistent drainage solutions through proper underlayment systems while maintaining year-round aesthetics regardless of Florida’s weather extremes.
Property owners also benefit from increased real estate value and expanded functionality for residential patios, commercial rooftops, and recreational spaces that concrete alone can’t deliver.
Eliminates Maintenance Requirements
Yes, artificial turf eliminates routine lawn maintenance requirements. Traditional grass needs frequent mowing, fertilizing, and watering throughout the year. Switching to artificial turf cuts maintenance costs by 70%. A simple power broom removes loose debris from the turf surface.
Moreover, monthly rinsing prevents organic matter buildup in humid conditions. The drainage system prevents standing water and mosquito concerns. As a result, properties maintain their aesthetic appeal without extensive upkeep. In addition, this solution helps conserve water during drought restrictions.
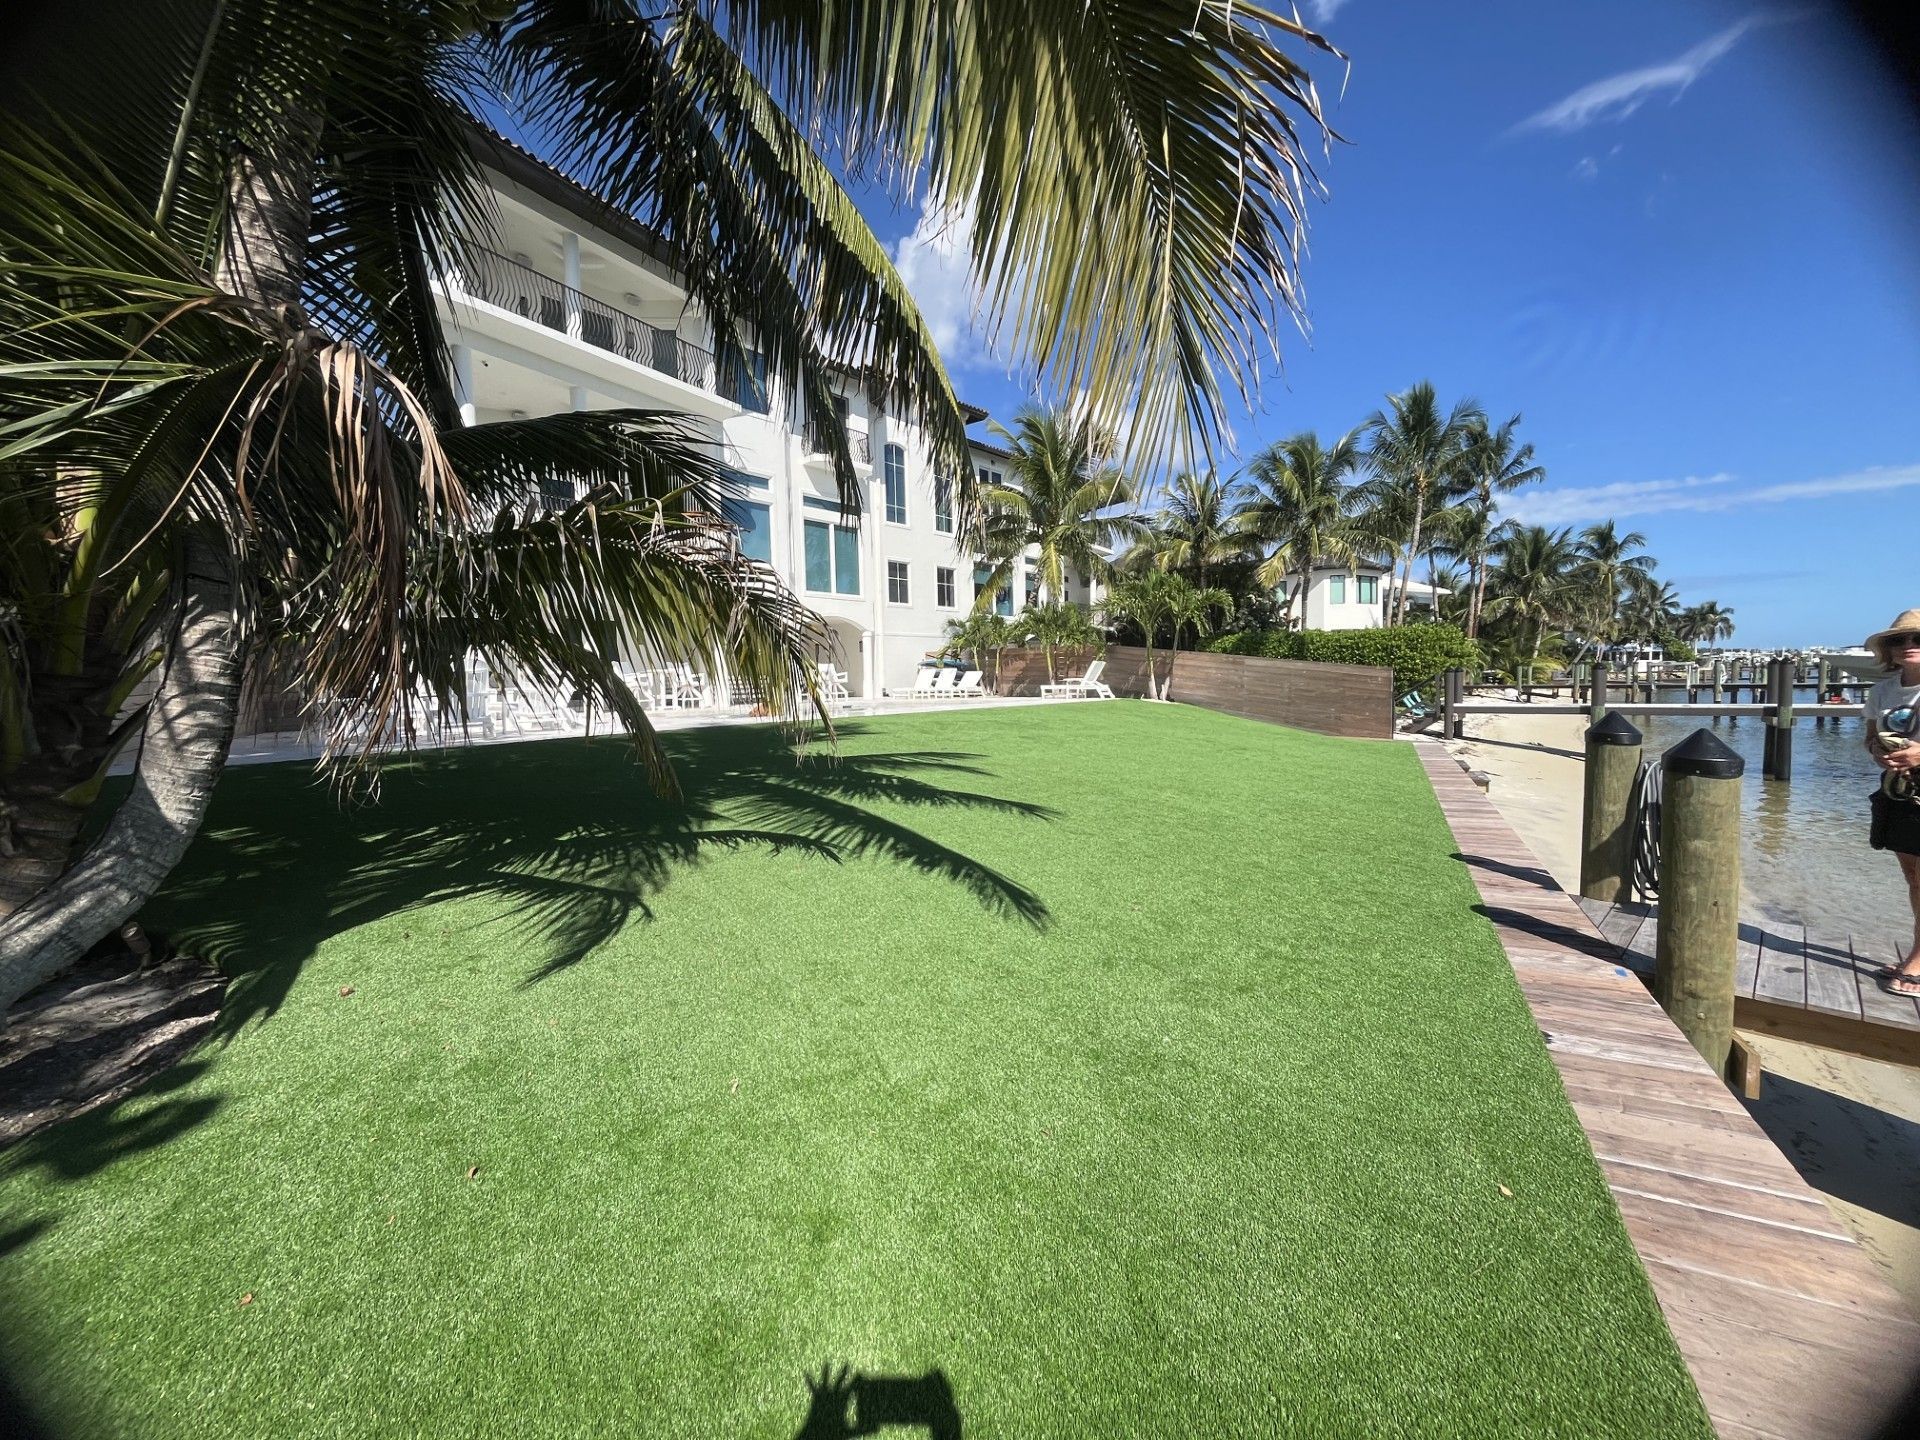
Provides Year-Round Green Space
Yes, artificial grass provides green space all year long.
Synthetic turf stays vibrant and lush through every season, without dead patches or dormant periods. High-quality artificial grass lasts 8-10 years with proper UV protection and stabilizers. The material withstands extreme weather conditions like intense heat and heavy storms.
Moreover, this consistent appearance makes artificial grass perfect for concrete patios, restaurants, and home entertainment areas. The low-maintenance solution eliminates seasonal care and watering schedules while maintaining its fresh look.
Offers Drainage Solutions for Hard Surfaces
Artificial grass systems offer effective drainage solutions for concrete and other hard surfaces. Modern turf installations include permeable backing and specialized drainage mats underneath. These materials create water channels that prevent pooling on the surface. The system must comply with Florida Building Code standards for proper slopes and drainage holes.
Special infill materials like sand or rubber enhance water flow while keeping the surface stable. This careful engineering stops standing water and mold issues in humid areas. The result delivers reliable performance through all seasons with minimal upkeep needed.
Enhances Property Value
Yes, artificial turf increases property value by enhancing usable outdoor space and reducing maintenance costs.
Properties with artificial turf installations see a 70% reduction in annual maintenance expenses compared to natural grass. The durable surface transforms concrete areas into functional spaces like pool decks and rooftop lounges. These improvements create lasting value for commercial and residential properties.
Moreover, professional turf installations meet building codes while providing year-round green spaces. Real estate appraisers recognize artificial turf as a permanent property upgrade that stands out in competitive markets.
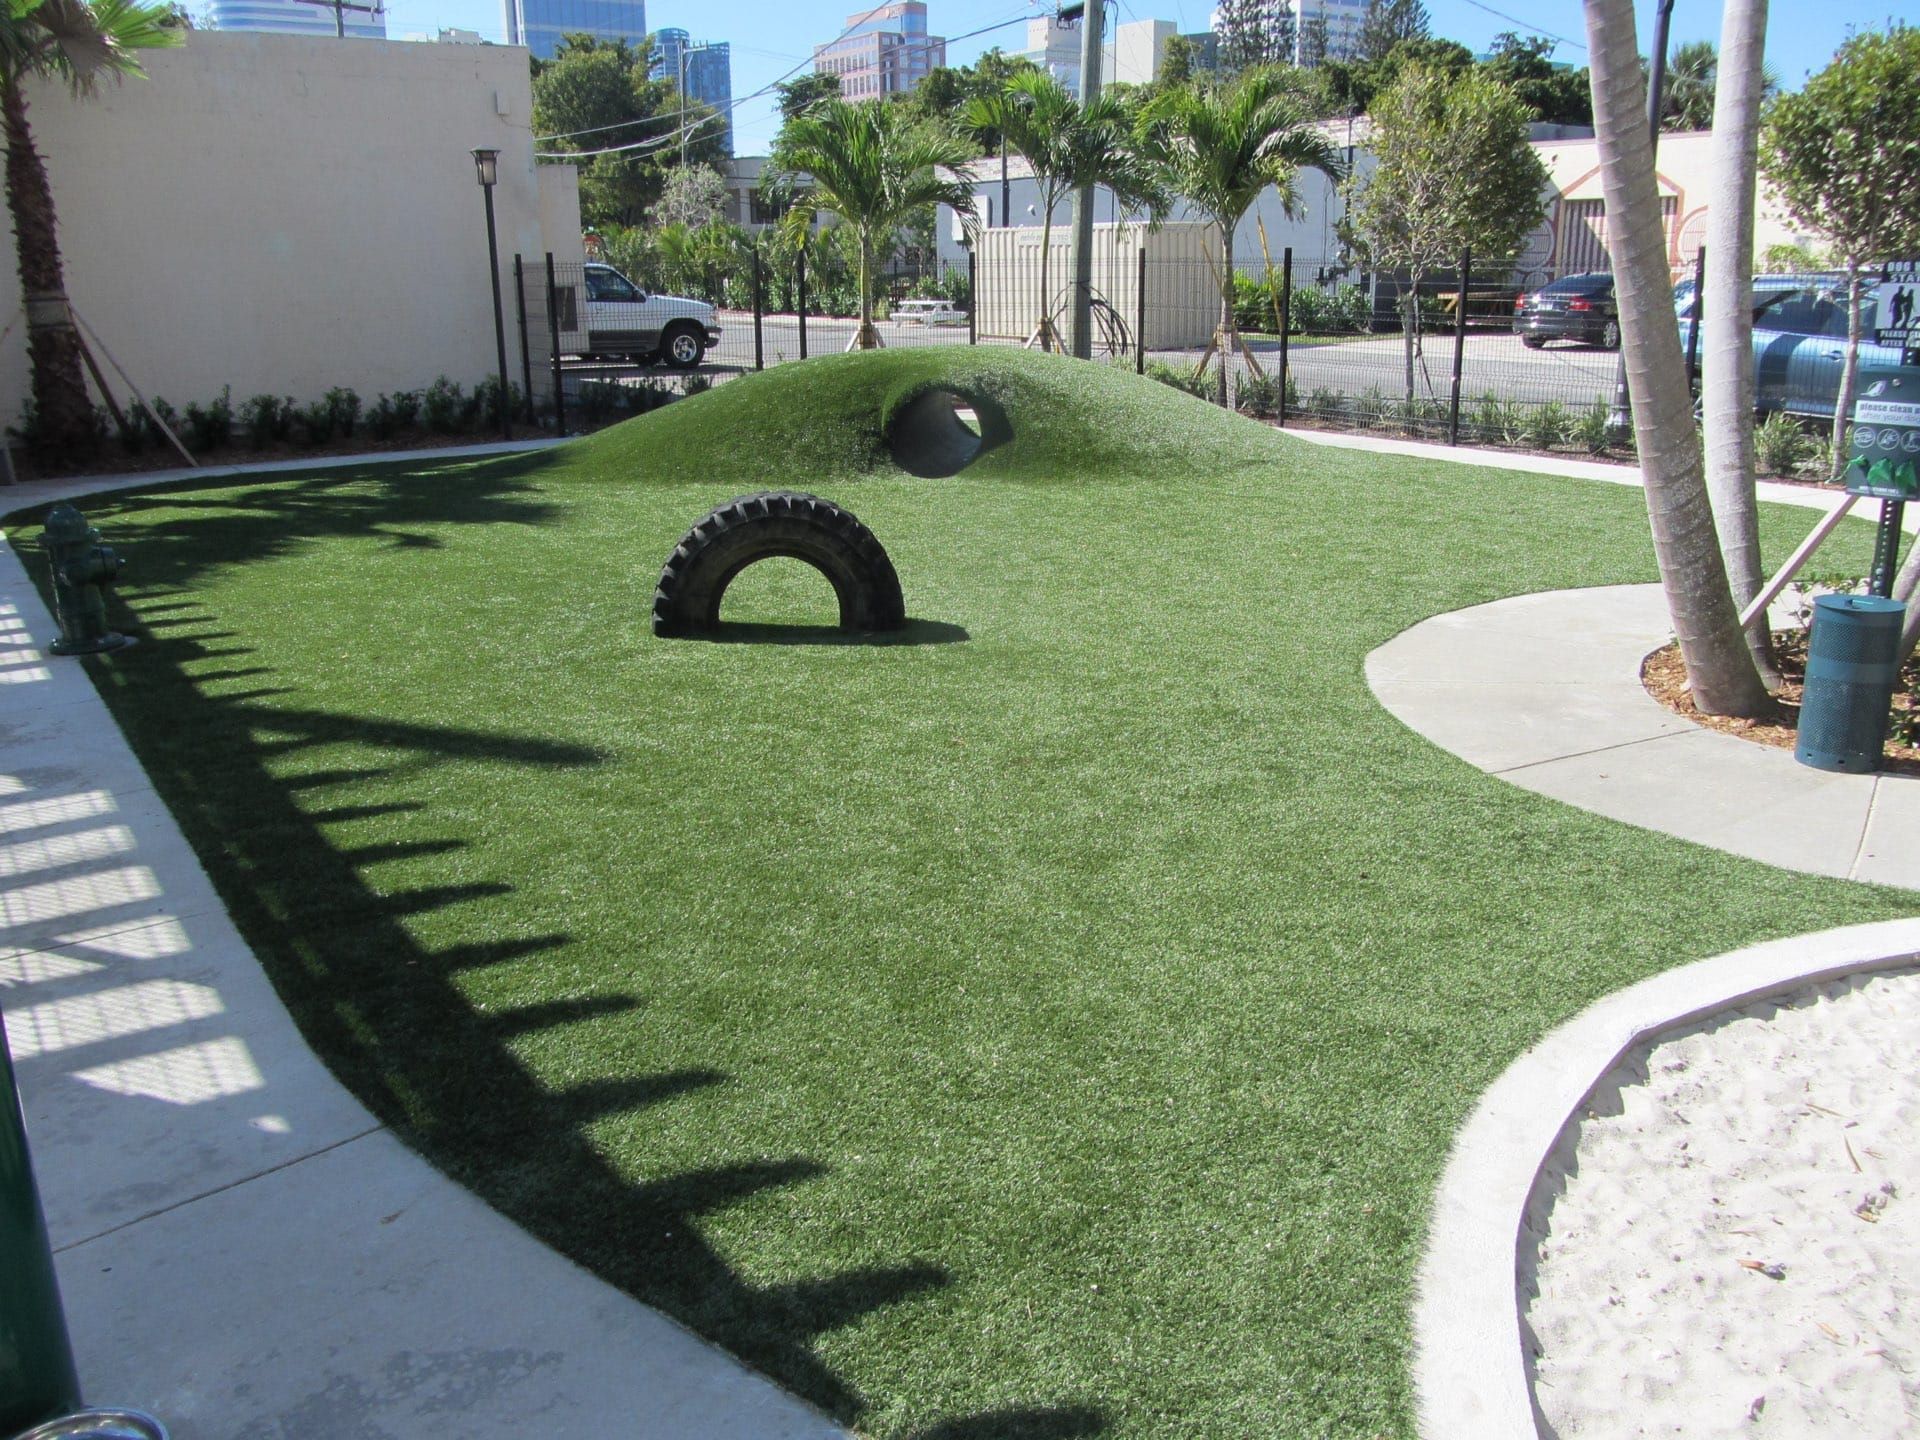
Creates Versatile Outdoor Spaces
Artificial turf creates adaptable outdoor spaces through strategic designs and features. Play zones require proper cushioning through specialized infill materials to minimize fall impacts. Children can safely enjoy active play on these protected surfaces. Weather-resistant synthetic grass transforms unused areas into functional gathering spots.
Advanced drainage systems allow quick water dispersal during Florida’s frequent storms. These spaces remain usable even after heavy rainfall. Pet-friendly zones include antimicrobial materials for easy maintenance.
Moreover, each area includes climate-specific engineering that prevents moisture problems. The right design choices ensure year-round functionality in Florida’s challenging weather.
What Tools and Materials Will You Need?
You’ll need specific materials and equipment to ensure proper installation of artificial turf over concrete surfaces, particularly in Florida’s humid climate where drainage is critical. Essential components include UV-resistant artificial grass rolls, polyurethane adhesive rated for concrete bonding, seaming tape for joins, and drainage matting or perforated underlays to prevent water pooling.
Your toolkit must also include precision cutting instruments, measuring devices, appropriate infill material (silica sand or rubber granules), and surface preparation supplies to achieve a secure, long-lasting installation.
Artificial Grass Rolls
Artificial grass rolls provide synthetic turf solutions for outdoor spaces. High-quality rolls must have UV protection and proper drainage features. These materials create long-lasting, low-maintenance lawns.
Quality artificial grass requires a face weight of 50-80 ounces per square yard. The ideal pile height ranges from 1.5 to 2 inches. Each square foot needs at least 30 drainage holes for proper water flow.
Moreover, all artificial grass should include polyurethane backing for stability. Safety certifications guarantee lead-free materials and fire resistance. Professional installation ensures the best performance on concrete surfaces.
Adhesives and Joining Tape
Essential adhesives and tapes create strong, lasting bonds for artificial grass installations. A polyurethane turf adhesive provides permanent bonding to concrete and withstands temperatures above 150°F. Seaming tape connects grass panels seamlessly at the edges.
Proper tools ensure professional results during installation. A notched trowel spreads adhesive evenly across surfaces. The concrete primer must cure for 24 hours before adhesive application. Meanwhile, a roller tool compresses seams effectively.
Quality materials and correct application techniques guarantee long-lasting results. The right combination of adhesives and tools prevents lifting or separation over time.
Drainage Solutions
Proper drainage solutions protect artificial grass installations from water damage and extend their lifespan.
Three key drainage elements must work together: permeable base materials, correct slope angles, and strategic water channels. Base materials like polypropylene pads allow water to flow underneath the turf surface. A minimum slope of 1% away from buildings prevents pooling and water damage.
Perimeter drains capture excess water and direct it away from the area. These systems eliminate common problems like mold growth and unpleasant smells. As a result, homeowners enjoy lower maintenance costs and better outdoor spaces.
Cutting Tools and Measuring Equipment
Essential cutting tools include utility knives with hooked blades and a straight edge for clean cuts. A 100-foot tape measure helps assess large spaces accurately. A carpenter’s square ensures precise 90-degree angles in corners. Chalk lines mark straight cutting paths across extended areas.
Safe and efficient work requires frequent blade changes and protective gear. New blades become necessary after cutting 15-20 linear feet of turf. Cut-resistant gloves protect hands during installation. The right tools prevent material waste and create professional results.
Infill Material
Crumb rubber or sand serves as essential infill material for artificial turf, providing stability and blade support.
Each square foot of turf requires 1.5 to 2 pounds of infill material for proper installation. The material settles between turf fibers to keep them upright and protect the backing.
Two perpendicular passes ensure complete coverage across the surface. A stiff brush works the particles down between blades. Professional installers recommend brushing against the grain to achieve optimal distribution.
Moving methodically across sections helps prevent gaps or uneven spots. Regular maintenance checks should verify infill depth remains at least half the blade height.
Brushes and Finishing Tools
Essential finishing tools for artificial grass installation include power brooms, push brooms, carpet rakes, seam rollers, and specialized vacuums.
Power brooms work effectively to spread infill material and lift grass fibers uniformly. A seam roller must weigh at least 100 pounds to properly bond turf sections together.
Quality push brooms with stiff bristles help remove debris without causing damage. Carpet rakes maintain proper blade direction throughout the installation process.
Additionally, UV-resistant leaf blowers provide convenient maintenance options.
These tools ensure professional results and long-lasting artificial grass installations. Most importantly, proper equipment helps create natural-looking landscapes that require minimal upkeep.
How to Prepare Your Concrete Surface?
Proper concrete preparation directly determines your artificial grass installation’s longevity and drainage performance in Florida’s humid climate. You’ll need to systematically address surface cleaning, structural repairs, and drainage modifications before laying any turf materials.
This preparation phase prevents common failures like pooling water, mold growth, and premature adhesive breakdown that plague poorly prepped installations.
Cleaning and Removing Debris
Clean surfaces thoroughly before installing artificial turf on concrete. Proper cleaning prevents mold and extends the life of your installation.
Start with a powerful pressure wash to remove all contaminants. A pressure washer with at least 3000 PSI will effectively clean oil, dirt, and organic matter. Stubborn stains require degreaser treatment and scrubbing with stiff brushes.
As a crucial next step, allow the concrete to dry completely for 24 to 48 hours. Remove any remaining debris with a commercial blower. Check carefully for chemical residues that need special treatment.
Repairing Cracks and Surface Damage
Fix concrete cracks and damage before installing artificial turf to prevent future issues. Small hairline cracks need flexible polyurethane sealant for proper repair. Wider cracks over 1/4 inch require concrete patching compound. Loose or spalling concrete must be removed and resurfaced.
High moisture levels can lead to mold under the turf surface in humid areas. A concrete grinder helps create an even surface for proper installation. Moreover, quick repairs prevent water accumulation and extend turf life.
Creating Proper Drainage Channels
Drainage channels direct excess water away from artificial turf on concrete surfaces. Proper channels prevent water damage and extend the lifespan of your installation.
Create channels by cutting 1-2 inch wide grooves every 4-6 feet across the concrete surface. The channels must slope at a 2% minimum grade toward drainage points. Install perforated pipes in these channels before adding underlayment.
Moreover, strategic placement of these channels stops water pooling and mildew growth. Professional installers understand local weather patterns to optimize drainage system design. A well-planned channel system protects your investment and maintains turf quality.
Surface Leveling Techniques
Surface leveling corrects uneven ground before artificial turf installation. Three main surface issues require specific solutions: high spots need diamond grinding, low spots need self-leveling compound, and cracks need epoxy filling. Each problem demands appropriate tools and materials for proper correction.
Professional equipment helps achieve optimal results. Cup wheel grinders smooth raised areas effectively. Trowels and gauge rakes spread leveling compounds evenly. Caulk guns deliver precise filler application into gaps.
Proper surface preparation prevents future drainage problems. Level ground extends turf lifespan and maintains consistent appearance. A well-prepared base ensures long-term artificial grass performance.
Applying Primer (If Necessary)
Primer application depends on your concrete surface condition. Most artificial grass installations require a primer coat for proper bonding.
A high-quality acrylic primer should dry for 2-4 hours between coats in Florida’s humid climate. Use a paint roller to spread thin, even layers across the surface. The primer will seal porous areas and prevent moisture problems.
A simple tape test confirms proper primer adhesion. Press adhesive tape firmly onto the primed surface and pull it back. Your surface needs more primer if the tape removes any material.
What Are the Different Drainage Options?
You’ll need to address water management before laying turf, as Florida’s heavy rainfall and humidity make proper drainage critical for preventing mold, odors, and material degradation.
Your drainage solution must integrate with the concrete substrate through perforations, underlays, or slope modifications to ensure rapid water evacuation. Each drainage option—from perforated turf systems to self-draining bases—requires specific installation techniques and materials to meet Florida Building Code requirements and maintain long-term performance.
Perforated Artificial Grass Systems
Perforated artificial grass systems allow water drainage through pre-punched holes in the turf backing. The holes prevent water pooling and maintain a dry, safe surface in wet conditions.
Each square foot requires 8-12 drainage holes for optimal water flow rates of 30+ inches per hour. Standard holes measure 6-8mm in diameter to prevent debris buildup. Polyurethane-coated backing materials offer superior mold resistance.
Moreover, drainage mats beneath the turf create additional water channels away from concrete surfaces. This complete system ensures proper drainage even during heavy rainfall.
Drainage Mats and Underlays
Drainage mats and underlays prevent water buildup under artificial turf in Florida installations. Three main drainage options exist: polyethylene grids (3/8" to 3/4" thick), foam-based shock pads, and geotextile fabric systems. Each type serves a specific purpose in water management.
Polyethylene grids offer superior drainage at 150-200 gallons per minute per square foot. These grids work especially well for pool areas and high-traffic spaces. The right drainage system stops mold growth and protects turf from water damage in humid weather.
Creating Proper Slope for Water Runoff
Water runoff requires a specific slope when installing artificial grass on concrete in Florida. A proper slope prevents water from pooling underneath the turf and causing damage.
The ideal slope must maintain a 1-2% grade, which equals 1/4 inch drop per linear foot. Florida Building Code requires water to flow away from all structures toward designated drainage points.
Self-leveling cement fixes uneven surfaces while preserving the correct pitch. Additionally, strategic drainage channels direct excess water to storm drains or permeable areas.
Self-Draining Base Options
Self-draining bases come in two main types: drainage mats and modular grid systems.
Drainage mats create a 10-15mm air gap under artificial grass to channel water away from concrete surfaces. Modular grid systems use perforated panels that allow water to flow through quickly. These systems prevent water pooling and protect against mold growth.
For best results, combine your chosen drainage system with sand or rubber infill material. This combination ensures proper water management in high-rainfall areas. Moreover, the right base system will extend the life of your artificial turf installation.
Maintenance of Drainage Systems
Regular drainage system checks protect artificial turf from water damage and mold. Monthly inspections allow early detection of problems in concrete holes and drain channels. A thorough maintenance plan extends the life of your drainage investment.
Quarterly pressure washing removes up to 95% of debris blockages from drainage channels. Professional vacuum extraction clears perforations during routine turf cleaning visits. These steps prevent standing water issues common in humid climates.
Moreover, flow testing reveals trouble spots before they become major problems. Simple water tests twice per year help identify slow-draining areas that need attention. Written inspection records create reliable maintenance schedules for long-term protection.
How to Install Artificial Grass on Your Concrete?
You’ll need to follow a precise sequence of steps to achieve a professional artificial grass installation on concrete: measuring and cutting the turf to fit your surface dimensions, positioning and laying it with proper orientation, securing all edges and seams with adhesive and seam tape, distributing infill materials evenly across the surface, and finishing with thorough brushing to activate the fibers.
Each phase requires specific tools and materials outlined in the Florida Building Code’s drainage requirements. Skipping steps or improper execution compromises drainage performance and longevity in Florida’s humid climate.
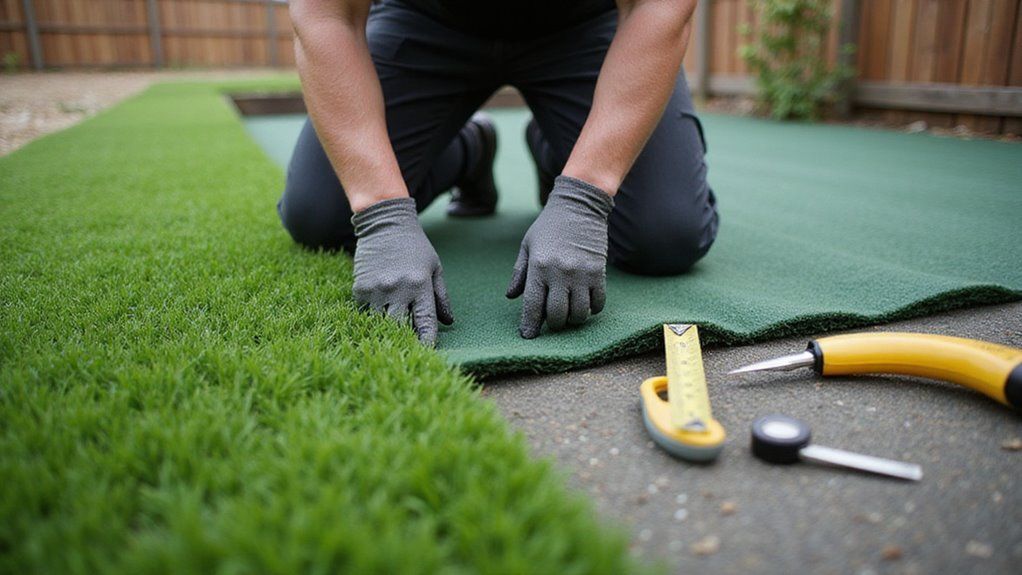
Measuring and Cutting the Grass
Proper grass measurement ensures even cuts and a polished lawn appearance. A tape measure helps determine the exact length needed for each section. Sharp tools create clean cuts without damaging grass blades.
Cut grass to a length between 2.5 to 3 inches for most residential lawns. Different grass types require specific cutting heights: Bermuda (1-2 inches), Kentucky Bluegrass (2.5-3 inches), and Fescue (3-4 inches).
For best results, measure the lawn area before cutting. Mark any obstacles or boundaries clearly. Additionally, check grass moisture levels to avoid uneven cuts.
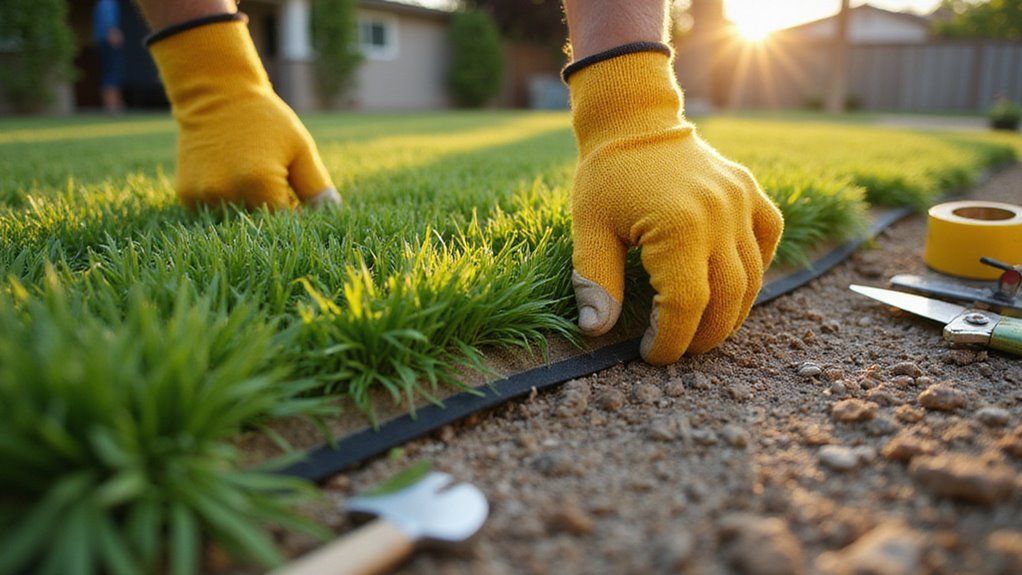
Laying and Positioning the Turf
Roll out artificial grass panels with the pile direction facing uniformly. Each seam needs 3-4 inches of overlap for proper trimming. Panels must align precisely against walls, drains, and borders.
Proper drainage alignment remains crucial for long-term performance. Place sandbags temporarily to prevent movement during installation. The turf surface should lie completely flat.
Check that all panels maintain proper spacing and positioning before final attachment. A smooth, wrinkle-free surface ensures optimal results. The correct layout now prevents future maintenance issues.
Securing Edges and Seams
Secure artificial turf edges and seams with adhesive and proper alignment techniques. A polyurethane adhesive must cover the entire seam tape width without excess. Place both turf edges onto the tape simultaneously while keeping grass blades pointed in matching directions. Weigh down all seams with heavy objects for at least 24 hours during curing.
A final check of alignment helps prevent permanent mistakes. Professional installers recommend working in small sections to ensure perfect seams. This methodical approach creates invisible, durable connections between turf pieces.
Adding Infill Materials
Silica sand and rubber granules fill artificial turf to create stability and cushioning. Apply 1.5 to 2 pounds of sand infill per square foot using a drop spreader. Work the material into the turf base with a power broom, brushing against the grain.
For optimal drainage, the sand should settle between turf fibers without completely covering them. A proper infill application prevents matting and keeps grass blades standing upright. As a final step, test the surface firmness by walking across different areas.
Brushing and Final Finishing
Proper brushing and finishing ensure a natural, professional look for artificial grass installations.
A utility knife creates precise cuts along edges where grass meets hardscaping or borders. Each seam requires careful inspection to prevent gaps and maintain a seamless appearance. Water must flow at a rate of 30 inches per hour through the turf surface.
Once installation is complete, brush the grass fibers upright with a stiff-bristled broom. This step restores the natural grass appearance and removes installation debris. The final look should mimic real grass in texture and direction.
What Maintenance Does Artificial Grass on Concrete Require?
Artificial grass on concrete needs minimal but consistent maintenance for long-term durability.
Regular cleaning tasks include weekly debris removal with a shop vacuum and monthly surface rinsing with a garden hose. A stiff-bristled broom helps keep grass fibers upright and prevents matting. Proper drainage remains essential for artificial turf performance.
Quick spill cleanup with mild soap prevents stains and bacteria growth. Professional inspections should check drainage channels every three months. The edges require occasional weed treatment where seeds might collect between seams.
What Are Common Mistakes to Avoid?

Common installation mistakes can ruin your artificial grass investment and performance. Poor adhesive application leads to visible seams and separation between turf sections. Improper ground preparation causes drainage issues and uneven surfaces.
Three major errors will impact your installation: using too little adhesive, skipping proper base preparation, and applying incorrect infill amounts. These problems reduce the lifespan of your artificial turf. Furthermore, hasty installations without proper tools and materials create long-term maintenance headaches.
To ensure success, hire experienced installers or follow manufacturer guidelines carefully. Professional installation prevents costly repairs and extends your turf’s durability.
Ready to Transform Your Concrete Space with Beautiful Turf?
Transforming concrete spaces with artificial turf is possible with proper materials and installation.
Professional installation requires outdoor polyurethane adhesive with 3,000 PSI strength and UV-resistant seam tape. A drainage system beneath the turf prevents water buildup and extends its lifespan. The right infill material must be antimicrobial to resist mold growth in humid conditions.
Quality turf products feature heat-reflective coatings and perforated backing for optimal drainage. Professional tools ensure precise cuts and secure installation. Moreover, proper slope grades of at least 1% allow efficient water flow. This sustainable solution saves water while creating beautiful, low-maintenance outdoor spaces.

About the author
Kathy Leavell
Kathy Leavell is the founder and owner of Synthetic Turf Treasure Coast, a leading provider of synthetic grass solutions for residential and commercial properties in Florida. With over a decade of experience in the industry, Kathy has become a recognized expert in synthetic turf installation, maintenance, and repair. Under her leadership, Synthetic Turf Treasure Coast has earned a reputation for exceptional customer service and high-quality workmanship.
Prior to starting her own business, Kathy worked in sales and marketing roles at several major synthetic turf manufacturers.