How to Install Artificial Grass on Dirt
Gone are the days of mowing, watering, and battling stubborn weeds in your backyard. Managing a natural lawn demands endless hours of maintenance and significant water consumption throughout the year.
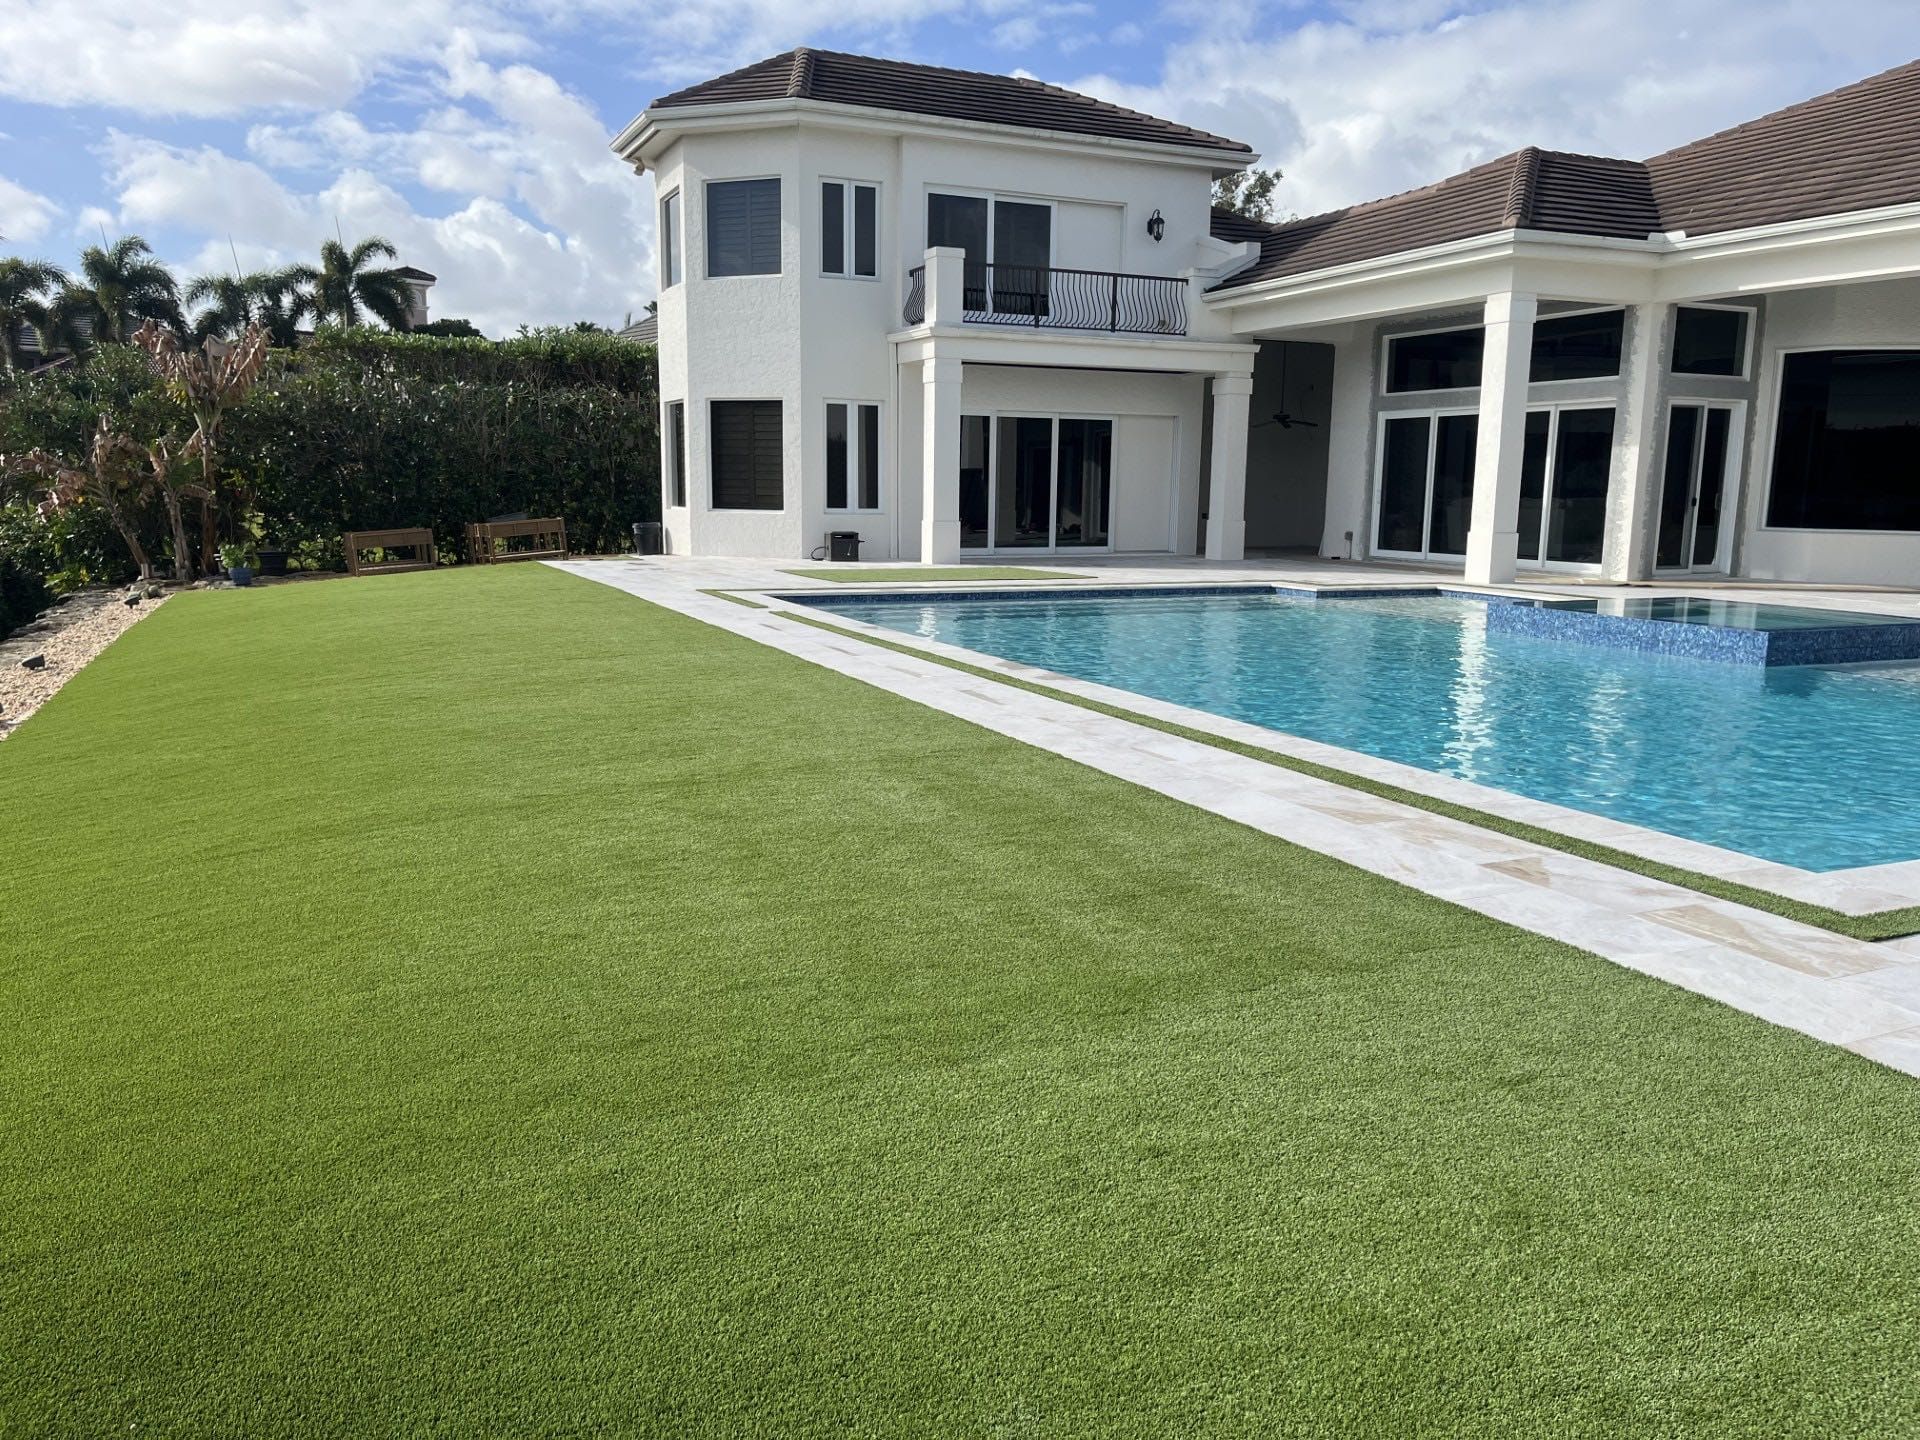
Installing artificial grass offers a permanent solution, providing a pristine, low-maintenance yard that stays green regardless of weather conditions.
To install artificial grass on dirt, start by removing 3-4 inches of soil and vegetation. Add a weed barrier membrane with overlapping seams, then layer 3-4 inches of crushed stone aggregate. Compact the base while maintaining proper drainage slope, then secure the relaxed turf with landscape staples.
This comprehensive guide explores every aspect of artificial grass installation, from preparation to finishing touches.
Key Takeaways
- Clear all vegetation and excavate 3-4 inches of soil to create a level base for installation.
- Install weed barrier membrane with 6-inch overlapping seams, secured with landscape staples every 2-3 feet.
- Spread and compact 3-4 inches of crushed stone in layers, maintaining a 1-2% drainage slope.
- Unroll artificial turf with blades facing the viewing area, allowing it to relax for 1-2 hours.
- Secure turf edges and seams with landscape staples every 6-8 inches, trimming excess material carefully.
Why Should You Install Artificial Grass on Dirt?
Dirt provides an ideal foundation for artificial grass installation due to its natural drainage properties and cost-effectiveness.
Native soil requires minimal preparation compared to concrete or other hardscape surfaces. The proper base needs only 3-4 inches of compacted aggregate material. A dirt foundation allows water to flow through naturally, preventing puddles and flooding issues.
Furthermore, soil bases make slope adjustments simple and reduce overall installation expenses. Natural ground also maintains proper stability when properly graded and compacted. After all these advantages, homeowners can expect their turf to last longer with better drainage performance.
What Materials Do You Need for Installation?
You’ll need specific tools, materials, and supplies to ensure a durable, well-draining artificial grass installation over dirt. Essential items include a weed barrier membrane, aggregate base material (crushed stone), landscape staples, infill products, and specialized tools like a turf cutter, compacting roller, and drop spreader.
Selecting the appropriate turf type and base components for Florida’s climate conditions will determine your installation’s long-term performance and drainage efficiency.
Essential Installation Tools
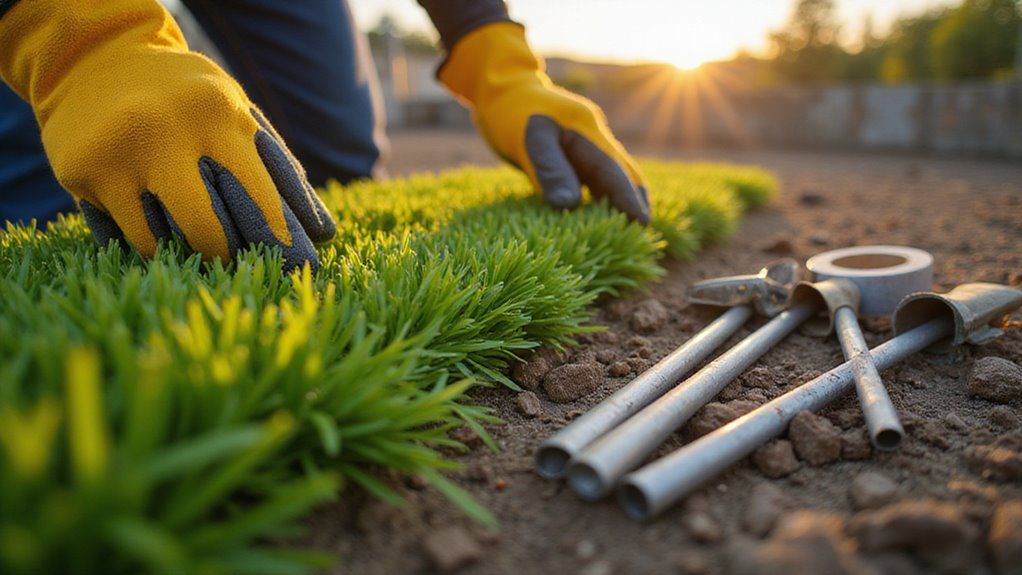
A complete artificial grass installation requires these key tools: turf cutter, compacting roller, utility knife, drop spreader, landscape staples, and broom.
The base preparation tools help create a solid foundation. A level checks proper drainage slopes. Measuring tape ensures accurate cuts. Marking paint helps outline the installation area.
Moreover, essential materials include weed barrier fabric and crushed stone aggregate. The right infill material ranges from 2-3 pounds per square foot of turf. These quality tools guarantee professional results.
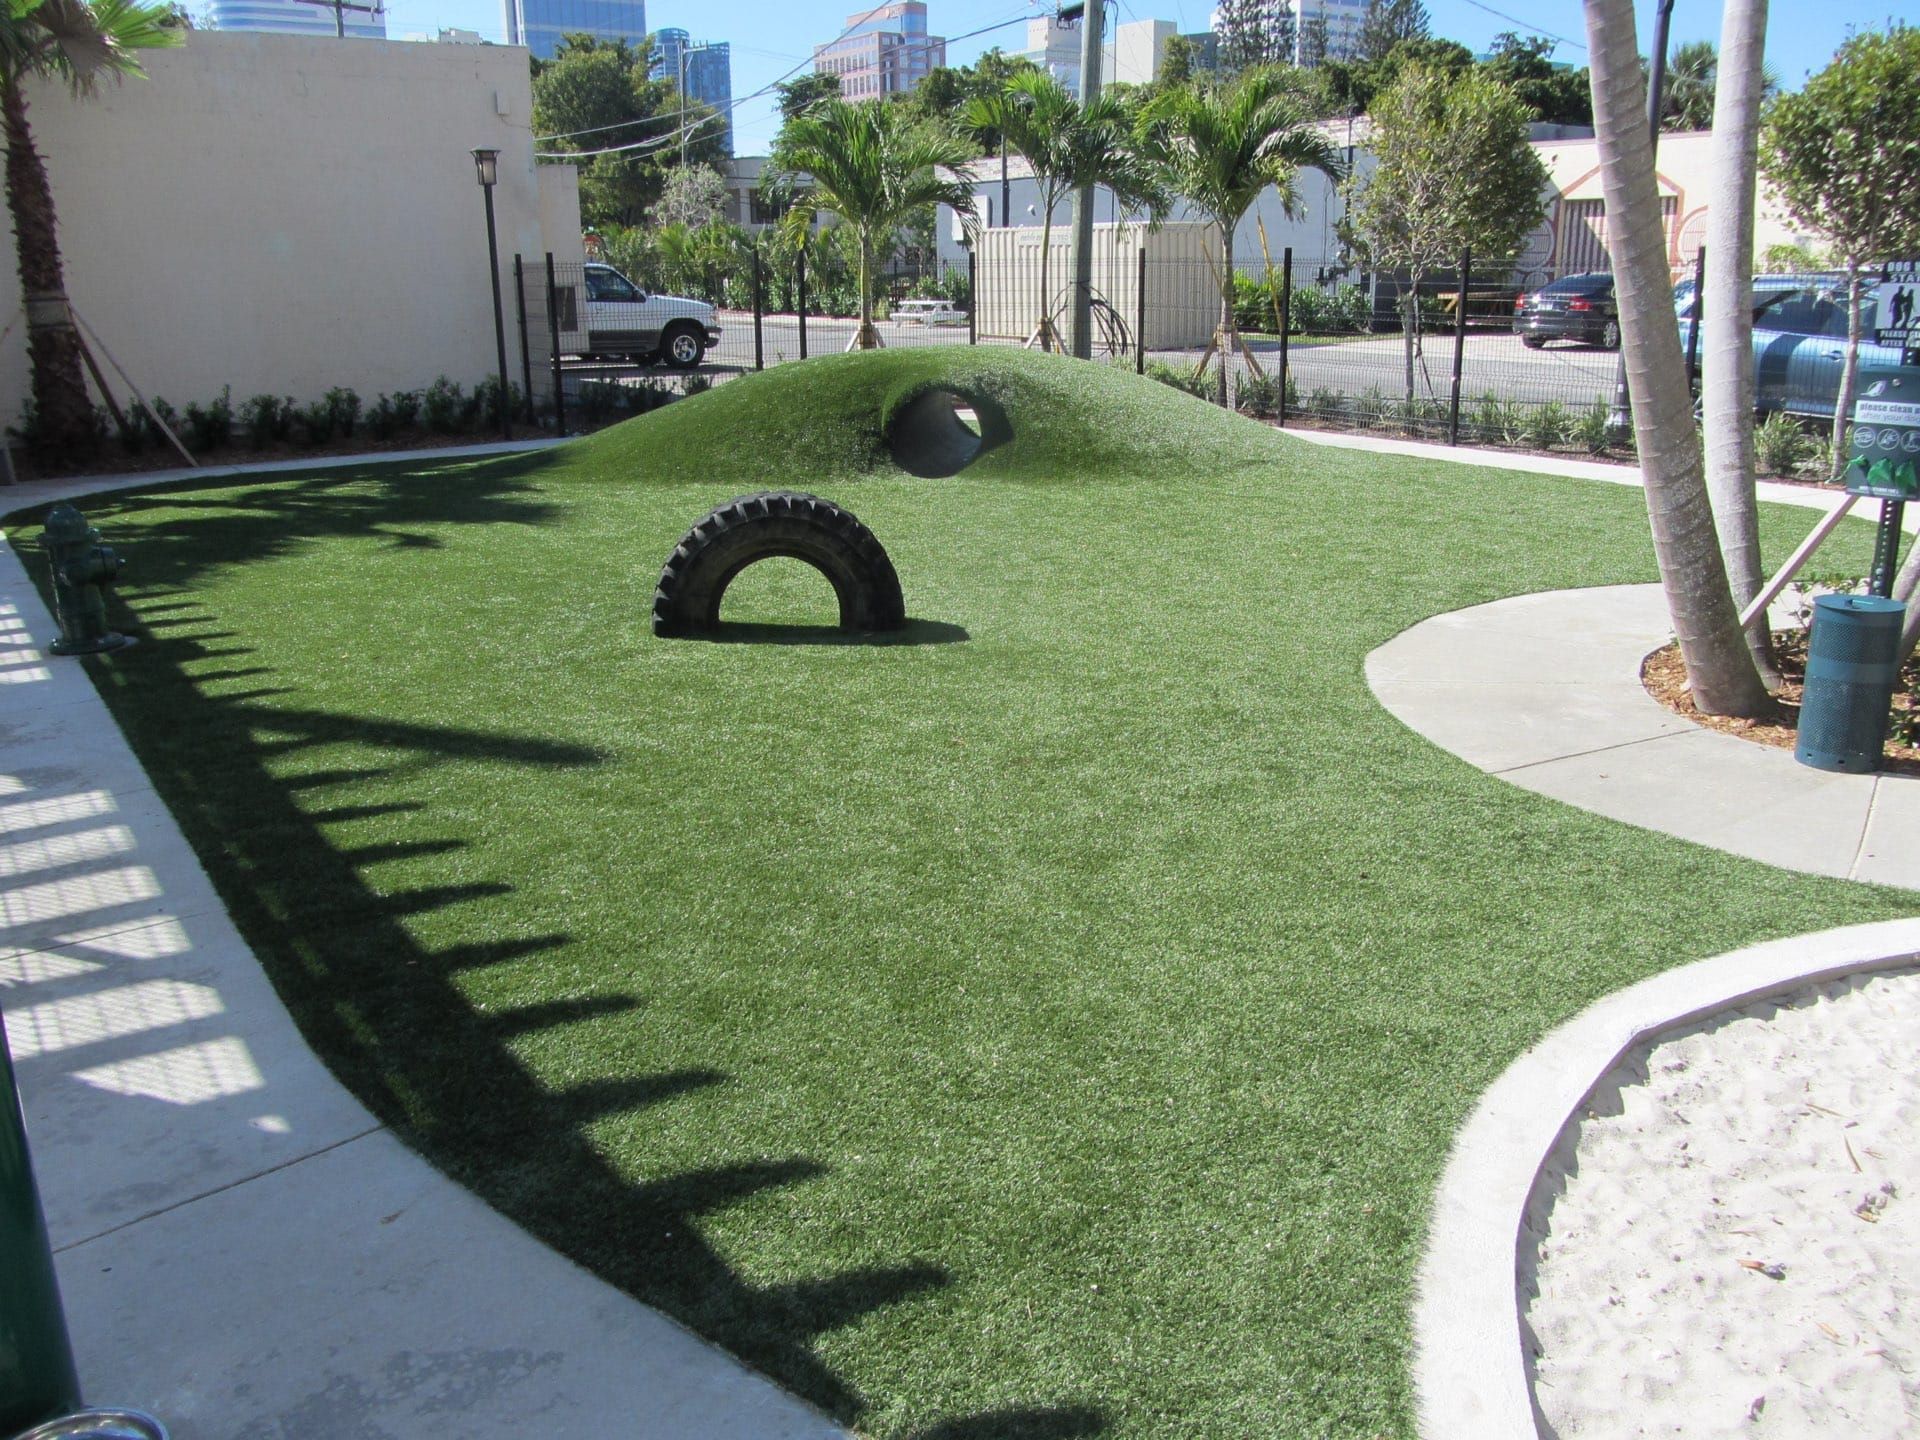
Types of Artificial Grass
Three main types of artificial grass exist for home installation: polyethylene, polypropylene, and nylon.
Polyethylene creates a soft, natural-looking surface perfect for home lawns and pet areas. Polypropylene costs less but shows wear under heavy foot traffic. Nylon stands up best to intense use and harsh conditions.
Essential factors affect grass selection. The ideal pile height ranges from 1.5 to 2 inches for residential lawns. Face weight should measure between 50 to 90 ounces per square yard. Moreover, Florida installations need drainage rates above 30 inches per hour.
Pet owners should focus on special features. Antimicrobial infill and perforated backing help manage pet waste effectively.
Base Materials and Infill Options
Essential base materials include weed barrier fabric and crushed stone aggregate. A 3-4 inch layer of Class II road base or decomposed granite creates the foundation. The stone must be compacted firmly for stability.
Three main infill options exist: silica sand, rubber granules, and antimicrobial-coated materials. These materials keep turf fibers upright and help with drainage.
Moreover, proper infill regulates surface temperature.
Basic installation tools needed are landscape staples, seaming tape, adhesive, utility knife, drop spreader, and a stiff broom. Each tool serves a specific purpose during the installation process.
Additional Supplies
Essential supplies needed for artificial turf installation include seaming materials, edge fasteners, and ground preparation tools.
Join turf sections with 6-inch seaming tape and outdoor polyurethane adhesive rated for 20°F to 120°F temperatures. Secure edges with galvanized landscape staples or 60-penny nails every 6-8 inches.
A heavy-duty weed barrier prevents unwanted growth beneath the turf. Basic tools required include a utility knife, drop spreader, and stiff-bristle broom. The proper equipment ensures professional results and long-lasting installation.
How to Prepare Your Dirt Surface?
Before you lay artificial grass, you’ll need to prepare a stable, well-drained dirt surface by removing all vegetation, grading for proper slope, and establishing a compacted aggregate base. Start by clearing organic matter—roots, weeds, and sod—down to bare soil, then measure and mark your installation area to confirm dimensions and identify low spots.
Address drainage by regrading to a 1–2% slope away from structures, conduct basic soil permeability testing if pooling is a concern, and treat for persistent weeds with appropriate herbicides or barriers.
Clearing and Removing Existing Vegetation
Remove all grass, weeds, and vegetation completely before installing artificial turf. Cut 2-3 inches below the surface with a turf cutter or sharp spade to eliminate roots. Herbicides work well for stubborn weeds that resist manual removal.
After clearing, level the ground properly for optimal drainage. Fill low areas and remove high spots across the surface. A thorough raking removes rocks, sticks, and organic matter. Moreover, clean soil creates a stable foundation for your artificial grass installation.
Allow 7-10 days between herbicide application and soil preparation. This waiting period ensures complete vegetation death and easier removal.
Measuring and Marking the Installation Area
Get accurate measurements with a tape measure and wheel to properly cover your installation space. Mark the perimeter clearly with stakes, string, or paint lines. Your installation area requires precise length and width measurements at 5-foot intervals.
A detailed layout prevents waste and costly mistakes during installation. Draw your measurements on graph paper or use a digital design app for reference. Consider any curves, edges, or obstacles that need special attention.
Follow these key marking steps: measure baselines first, place corner stakes second, mark drainage slopes third, and plan seam locations last. This sequence ensures proper coverage and efficient material use.
Addressing Drainage Issues
Poor drainage leads to mold, odors, and turf failure in artificial lawns. A proper drainage system requires a 1-2% slope away from buildings. The ground must allow water to flow freely through multiple layers.
Start by removing 3-4 inches of soil before adding a weed barrier. Next, install crushed stone in 2-inch sections. Each stone layer needs thorough compacting to prevent future settling.
As a final step, check the drainage by flooding the area. Water should drain completely within minutes. This simple test prevents costly repairs and maintenance issues later.
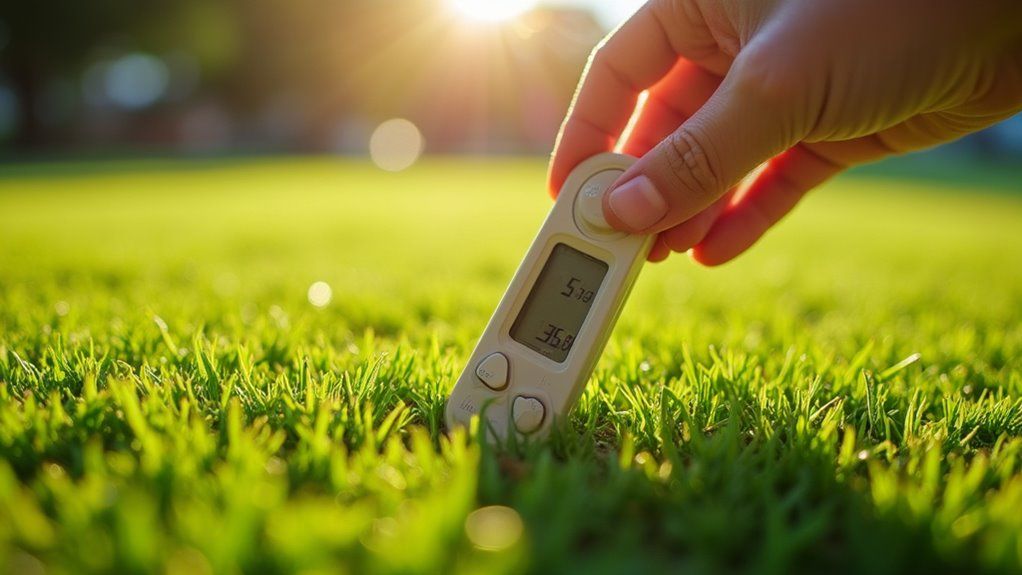
Soil Testing and Treatment
Soil tests reveal essential information about ground conditions before construction or landscaping projects begin.
A proper soil treatment process includes four key steps: soil composition analysis, pH level testing, nutrient content evaluation, and contamination screening. Based on test results, appropriate treatments can address specific soil issues.
Professional soil testing labs provide detailed reports with treatment recommendations. These reports help determine the right fertilizers, amendments, or remediation methods. Local extension offices often offer affordable testing services for homeowners and gardeners.
Follow the recommended treatment plan carefully to achieve optimal soil health and project success.
How to Install the Base for Artificial Grass?
Installing the base for artificial grass requires systematic execution across four critical stages that determine your turf’s longevity and performance.
You’ll excavate the installation area, install a weed barrier membrane, add and compact an aggregate base layer, and establish proper drainage slope—each step builds upon the previous one to create a stable foundation.
These sequential procedures prevent common failures like poor drainage, weed intrusion, and premature turf degradation that result from inadequate base preparation.
Excavating the Installation Area
Remove 3-4 inches of soil to prepare the area for artificial grass installation. This depth creates space for proper drainage and base materials. A correct foundation prevents future maintenance issues.
The excavation process requires four key steps: mark boundaries with paint, remove existing plant material, dig evenly to depth, and check measurements frequently. Consistent depth across the area stops water pooling and shifting.
Moving forward with careful excavation saves time and money on repairs. The extra attention to proper depth ensures your artificial grass stays level and functional.
Installing Weed Barrier Membrane
Place weed barrier membrane across the excavated area to prevent unwanted plant growth. Overlap all seams by 6 inches minimum to block weed penetration. The membrane must lay completely flat without any wrinkles or folds.
Secure the barrier with landscape staples every 2-3 feet along all edges and seams. Carefully trim excess material at the boundaries with a utility knife. A properly installed barrier protects artificial turf from vegetation damage underneath.
Furthermore, this protective layer maintains turf performance and visual appeal by blocking invasive roots. The barrier serves as a crucial foundation for long-lasting artificial grass installations.
Adding and Compacting the Base Layer
The base layer requires precise installation and proper compaction to create a stable foundation.
Spread a 3 to 4-inch layer of crushed stone across the entire area. A plate compactor works best for creating solid, even compression. Run the compactor in rows that overlap by 6 inches. Make several passes from different directions.
Test the firmness by walking on the surface. Your feet should not leave any marks or indentations. The finished surface needs a 1 to 2% slope away from buildings for water drainage. Subsequently, this careful preparation prevents future settling and extends the life of your installation.
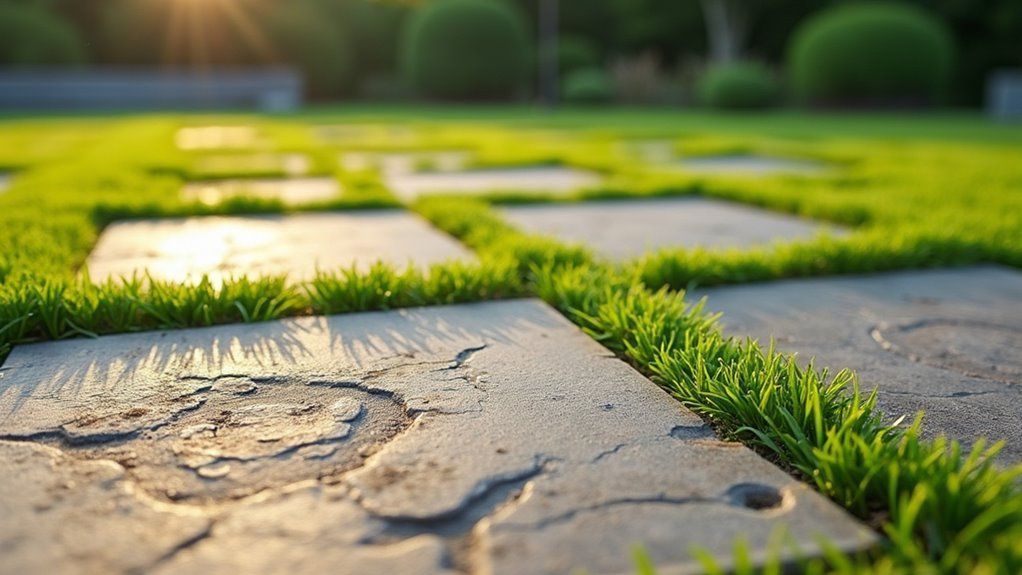
Creating Proper Slope for Drainage
A proper drainage slope prevents water damage and extends the life of your outdoor surfaces. The ideal slope ranges from 1% to 3%, with 1.5% being standard for most residential applications. For every foot of distance, the ground should drop between 1/8 inch to 3/8 inch, depending on local conditions.
Moreover, rainfall intensity and soil type determine the optimal slope percentage. Areas with heavy rainfall require a 2% grade, while spaces with poor soil drainage need 2.5%. The maximum recommended slope is 3%, as steeper grades can cause erosion.
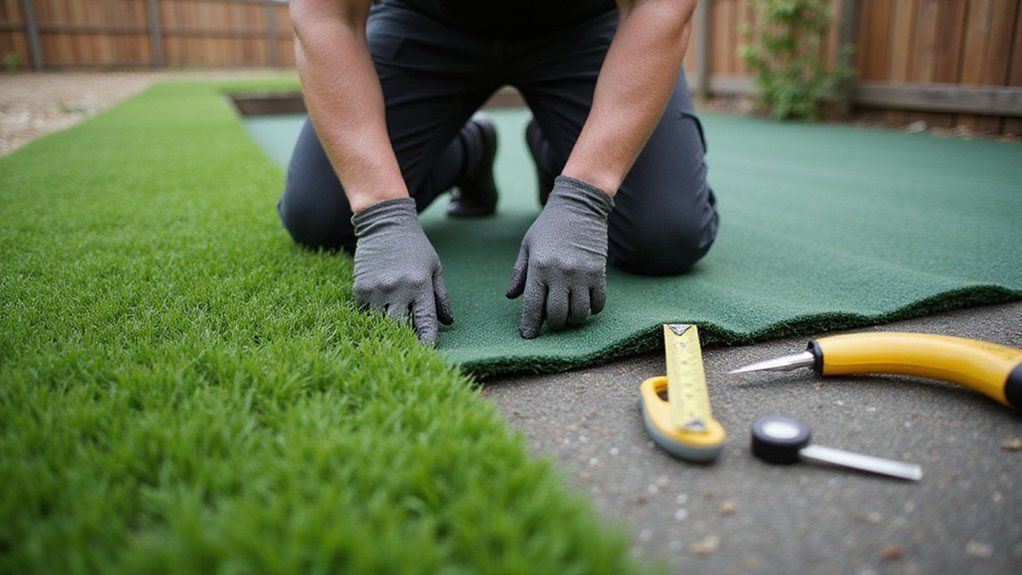
How to Lay and Secure Artificial Turf?
With your compacted base in place, you’re ready to unroll, position, and secure the artificial turf across the prepared surface. This phase requires precise cutting, proper seam alignment, and methodical fastening to prevent wrinkles, gaps, or edge lifting.
You’ll use landscape staples, infill material, and joining techniques to achieve a seamless, durable installation that withstands Florida’s climate and foot traffic.
Unrolling and Positioning the Turf
Roll out artificial turf with the blades facing your main viewing area. The direction impacts the overall look and appearance. A proper unroll prevents waste and unsightly seams.
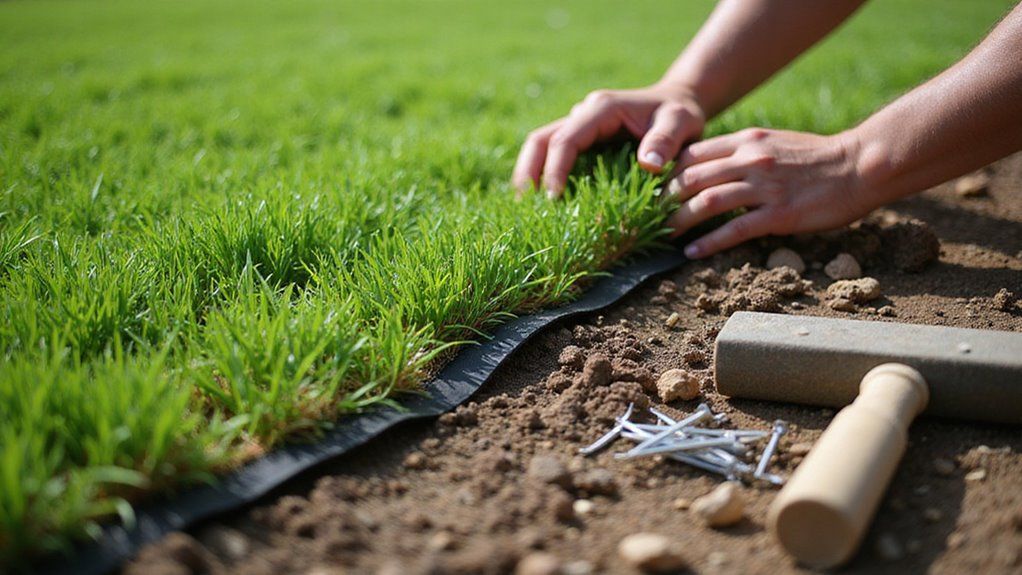
Let the turf relax in sunlight for 1 to 2 hours before installation. Place landscape staples every 6 to 8 inches on edges and seams. Overlap adjacent turf sections by 1 inch for seamless connections.
First, verify blade direction matches your plan. Next, mark your cutting lines with chalk. Finally, trim excess material carefully along marked lines.
Cutting and Fitting the Grass
Sharp cutting tools and proper techniques ensure a perfect artificial grass installation.
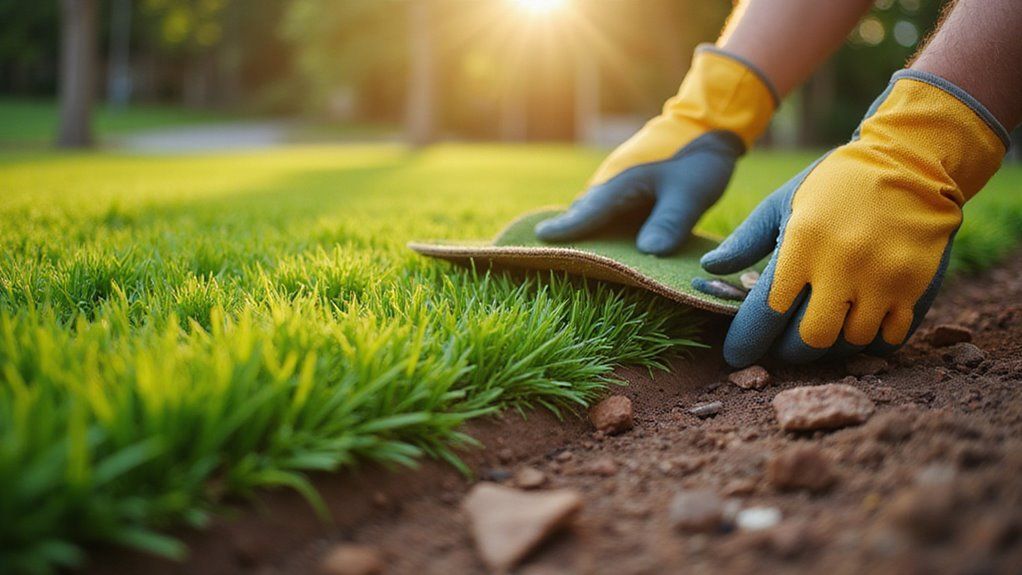
Cut from the backing side with a utility knife for clean edges. Keep pieces overlapped by one stitch line when joining sections. Place landscape staples every 6-8 inches around the perimeter.
The right approach creates seamless connections between turf pieces. Seam tape goes underneath joined sections with outdoor adhesive for secure bonding. A consistent blade direction throughout the installation maintains a uniform look.
Furthermore, quick removal of cut strips prevents accidents. Double-check all connections and edges before final securing.
Joining Multiple Pieces Together
Artificial turf pieces join securely with seaming tape and adhesive. This method creates professional-looking seams that last for years. A proper bond requires matching grain direction between sections.
Place seaming tape adhesive-side-up under the joint, then roll back edges 12 to 18 inches. Apply turf adhesive across the tape surface according to manufacturer guidelines. Press both edges firmly into the adhesive for complete contact.
Moreover, landscape staples must be inserted every 6 to 8 inches along seams. Brush the turf fibers upright as a final step. This conceals the seam line and creates a seamless appearance.
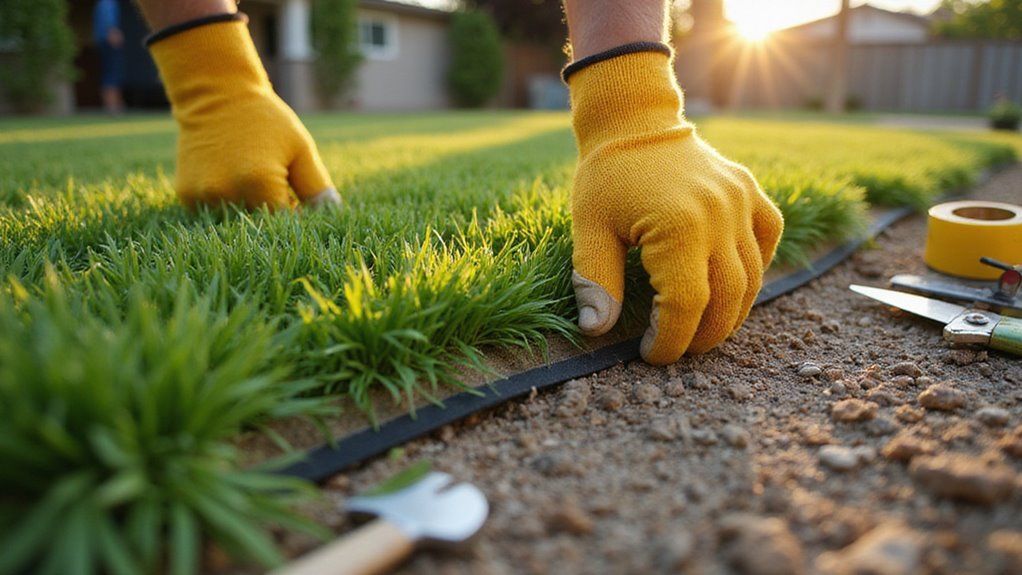
Securing Edges and Seams
To secure edges and seams effectively, use two key methods. Place landscape staples or galvanized nails every 4 to 6 inches around all outer edges. Each fastener must sit within 1 inch of the turf edge for maximum stability. The fasteners should penetrate through the backing into the base material.
Moreover, installations next to concrete or pavers require construction adhesive along the perimeter before fastening. This combined anchoring approach prevents lifting and edge curl. The secure edges will maintain their position despite weather changes and regular use.
What Are Common Mistakes to Avoid?
Common installation mistakes can damage artificial turf and increase maintenance costs. Poor base preparation leads to uneven surfaces and premature wear. A minimum 1-2% drainage slope prevents water pooling and unwanted odors. Turf must align in one direction for a natural appearance.
Skipping essential steps like weed barriers allows plant growth through the surface. Proper compaction of base materials creates stability and extends turf life by up to 15 years. On top of that, correct installation methods save water and reduce long-term maintenance expenses.
How to Maintain Your New Artificial Grass?
Once you’ve secured and infilled your artificial turf, establish a maintenance protocol to preserve drainage performance, infill integrity, and surface aesthetics.
Begin with initial post-installation brushing to redistribute infill evenly, then implement regular cleaning procedures—including debris removal, rinsing, and periodic brushing—to prevent compaction and odor buildup.
Address stains and spills immediately using appropriate cleaners, and adjust seasonal maintenance tasks to account for Florida’s heavy rainfall, organic debris accumulation, and temperature fluctuations.
Initial Care After Installation
Care for new artificial grass requires prompt attention within the first 24 hours. A stiff-bristled broom helps restore upright grass blades after installation. Water the surface thoroughly to settle the infill material properly.
Check all seams and edges to confirm secure adhesion between turf sections. Look for proper staple placement around the entire perimeter. Your first watering session offers a chance to verify drainage performance.
Proper initial care prevents long-term problems and extends the life of your artificial lawn. Professional maintenance during this critical period creates optimal conditions for years of reliable performance.
Regular Cleaning Procedures
Regular cleaning keeps artificial grass looking fresh and functional. Four essential cleaning steps maintain artificial grass properly. A stiff broom should brush the infill weekly to restore blade position. Homeowners must rinse the surface every two weeks to remove debris.
Prompt removal of leaves and twigs prevents permanent staining. Regular maintenance helps avoid costly repairs later. Smart upkeep preserves drainage quality and temperature control.
Annual infill checks with a depth probe ensure proper coverage levels. Recording each maintenance session helps track wear patterns.
Dealing with Stains and Spills
Prompt action prevents permanent damage from spills and stains on artificial turf.
Remove solid waste with a plastic scoop before applying enzymatic cleaners. Mix a pH-neutral detergent with water in a 1:20 ratio for general cleaning. Blot spills gently with absorbent cloths instead of rubbing.
To tackle tough stains, different solutions work best. Degreasers effectively remove grease spots. Mineral spirits help eliminate oil-based marks. A thorough rinse with clean water ensures no cleaning residue remains.
Moreover, proper brushing maintains the turf’s appearance. Test cleaning products on hidden areas to protect the fibers from damage.
Seasonal Maintenance Tips
Key Maintenance Tasks By Season
Inspect drainage and clear debris weekly during Florida’s rainy months from June through September. Power wash surfaces monthly to remove sediment deposits from heavy rains.
A stiff broom helps maintain the turf’s appearance through regular brushing.
Keep the artificial grass clean during dry periods with biweekly rinsing. This simple step prevents dust buildup and reduces heat retention. Essential tools include a leaf blower, stiff broom, and drop spreader for infill maintenance.
Additionally, check edge securing after storms to maintain proper drainage. Promptly re-stake any loose sections to prevent water pooling. Regular upkeep extends turf life and preserves its pristine appearance.
Ready for a Beautiful, Low-Maintenance Lawn? Contact Synthetic Turf Treasure Coast Today!
Professional installation creates a beautiful, low-maintenance lawn that lasts for years. Local experts handle all technical aspects correctly from the start. Proper base preparation requires specific compaction ratios and precise grading for water drainage.
Quality materials matter for Florida’s climate conditions. UV-stabilized turf products withstand intense sun exposure and maintain color for 15+ years. Our certified team prevents common issues like poor drainage or improper seaming.
Moreover, professional installation ensures full compliance with local codes. Each installation includes warranty coverage and meets strict industry standards. Contact
Synthetic Turf Treasure Coast for a lawn that stays perfect with minimal upkeep.
About the author
Kathy Leavell
Kathy Leavell is the founder and owner of Synthetic Turf Treasure Coast, a leading provider of synthetic grass solutions for residential and commercial properties in Florida. With over a decade of experience in the industry, Kathy has become a recognized expert in synthetic turf installation, maintenance, and repair. Under her leadership, Synthetic Turf Treasure Coast has earned a reputation for exceptional customer service and high-quality workmanship.
Prior to starting her own business, Kathy worked in sales and marketing roles at several major synthetic turf manufacturers.