How to Install Artificial Grass on Concrete?
Concrete patios and balconies often look dull and uninviting. Many homeowners struggle with these hard, gray surfaces that lack warmth and visual appeal. Without proper treatment, concrete spaces remain underutilized and fail to enhance your outdoor living experience.
Living with bare concrete is frustrating. Your outdoor gatherings lack comfort, and the harsh surface heats up excessively in summer. Children and pets find no joy playing on such unwelcoming areas, making your outdoor space practically unusable.
You can install artificial grass directly onto concrete by properly preparing the surface, using the right adhesive, and selecting appropriate turf. This transformation creates a soft, green area that stays beautiful year-round without watering or mowing. The installation process is straightforward when you follow the correct steps.
This guide will walk you through each stage of installing artificial grass on concrete, ensuring your project succeeds the first time.
Key Takeaways
- Prepare concrete by cleaning thoroughly, fixing cracks, and ensuring a level surface before installation.
- Apply a 5mm foam padding layer over the concrete for proper drainage and added cushioning.
- Spread specialized artificial grass adhesive evenly using a notched trowel at a 45-degree angle.
- Position turf carefully, avoiding wrinkles and ensuring pile direction remains consistent throughout installation.
- Secure seams with seaming tape and adhesive, then trim edges neatly using a utility knife with a straight edge.
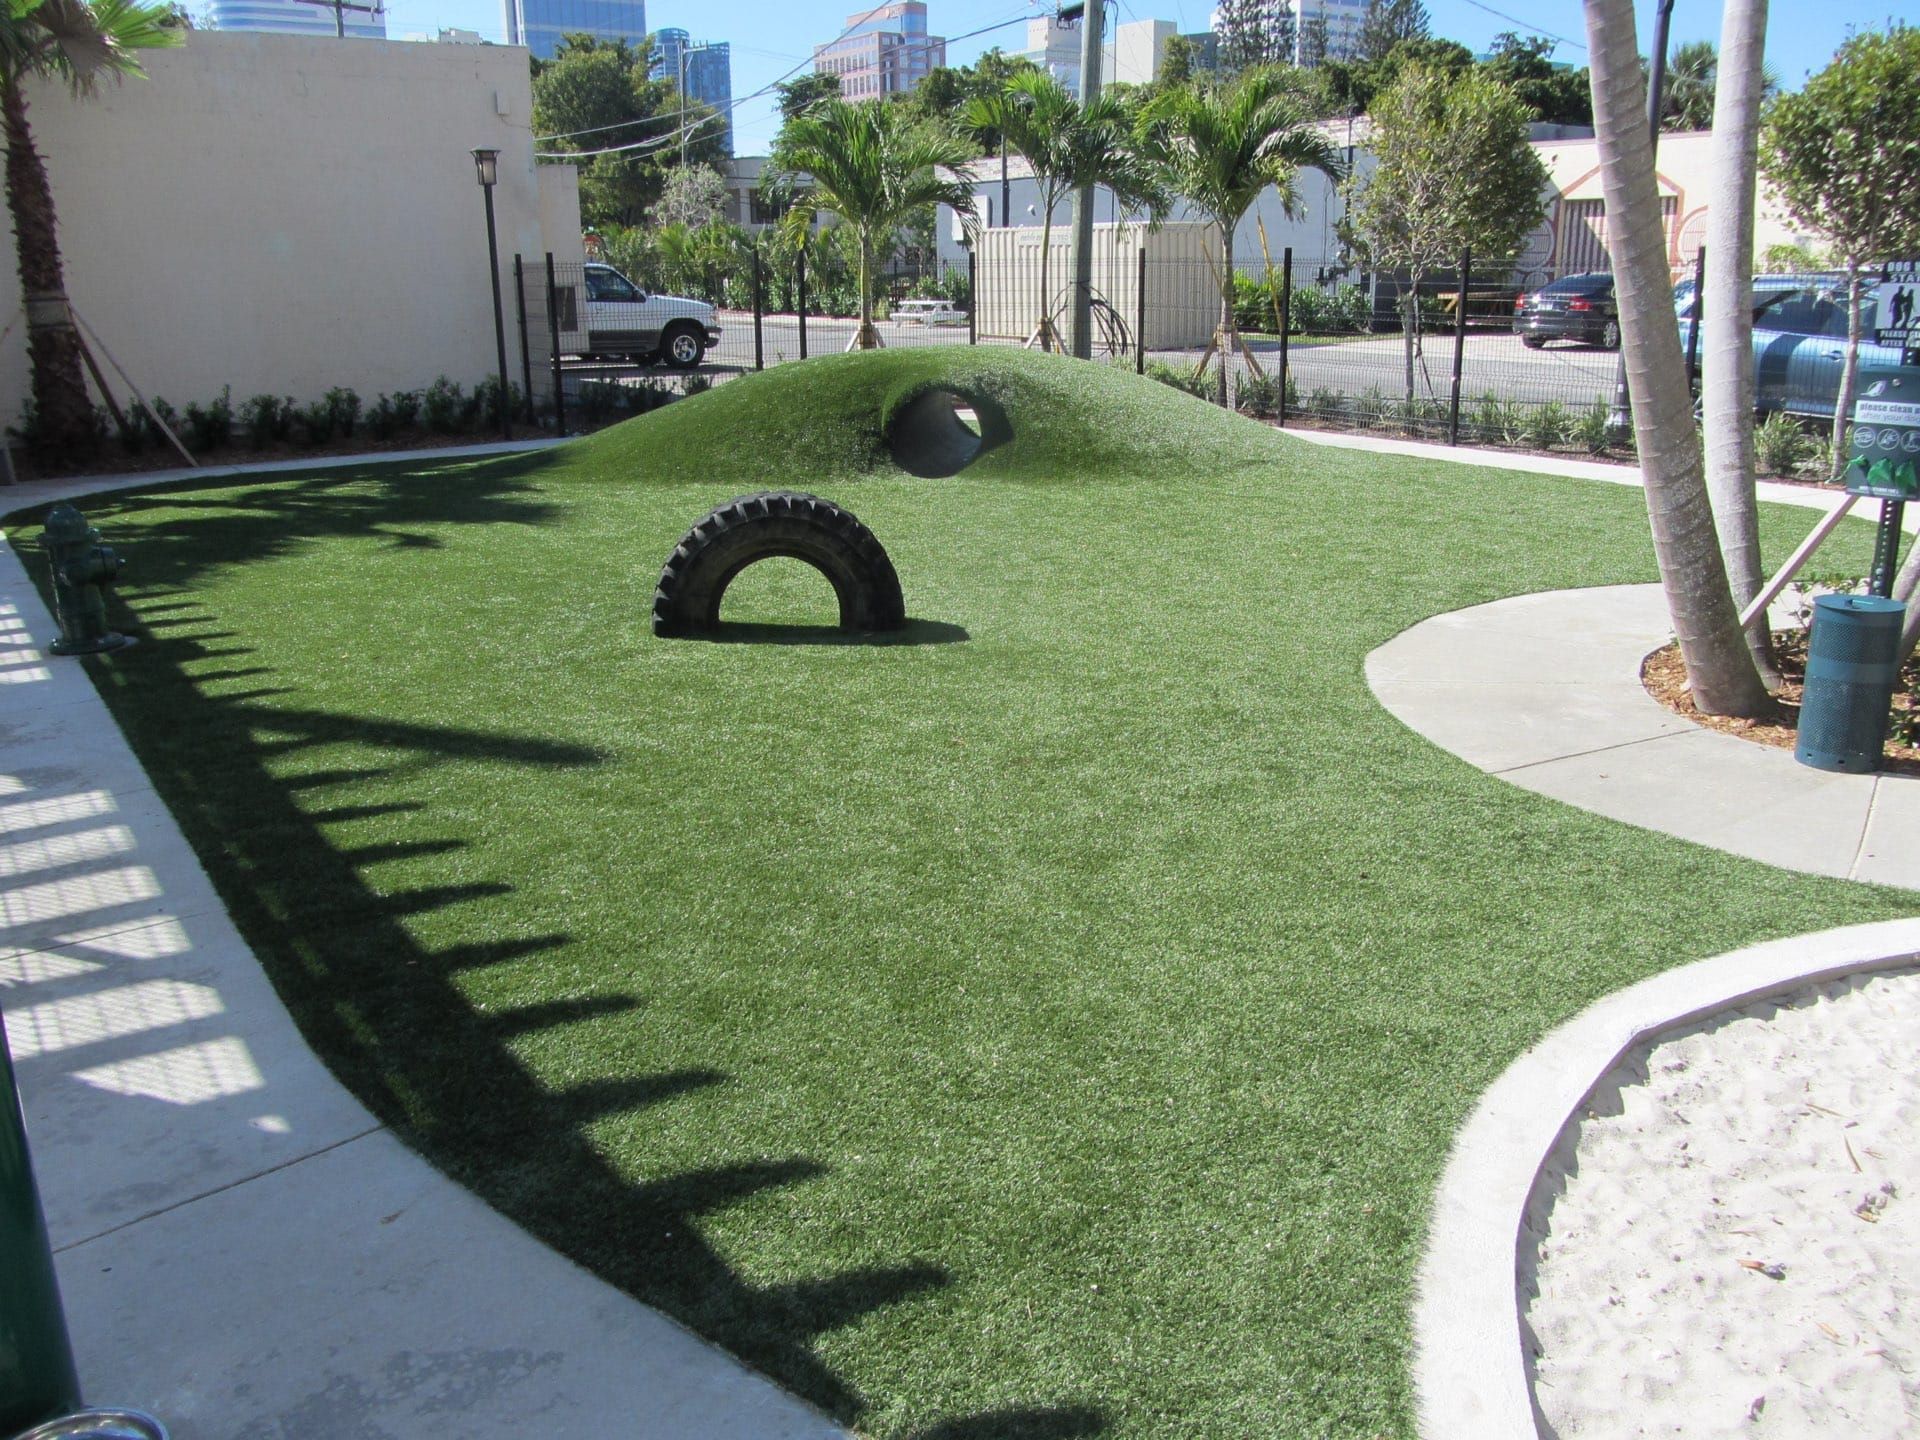
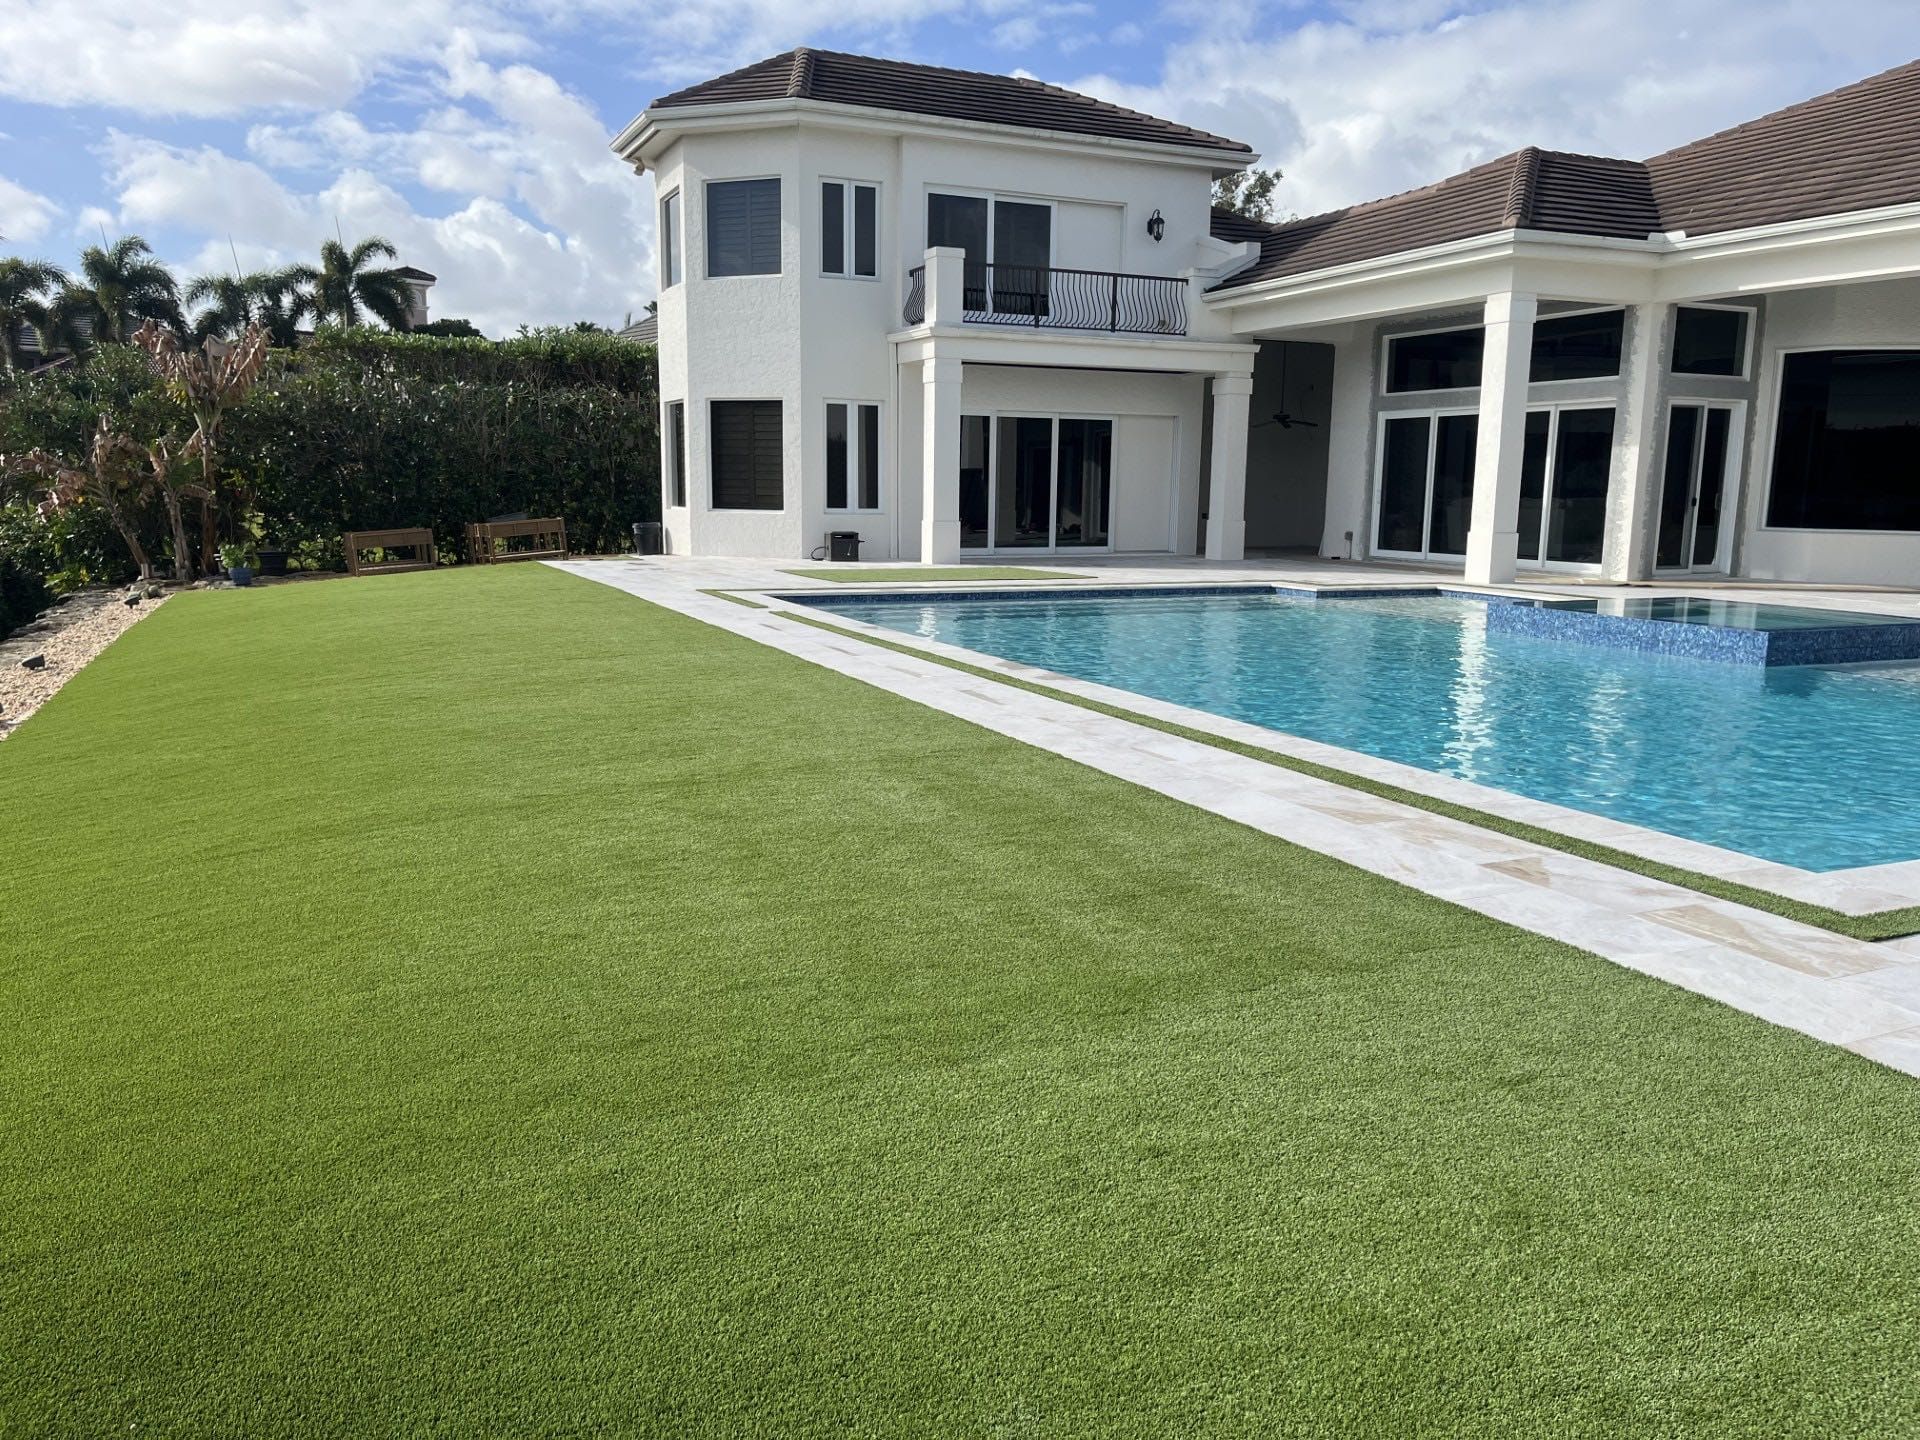
Benefits of Installing Artificial Grass on Concrete
Artificial grass transforms concrete surfaces into vibrant, usable spaces. It requires no mowing, watering, or fertilizing. The grass stays green all year regardless of weather conditions.
The soft surface reduces injury risks compared to hard concrete. Children can play more safely on this cushioned material. Parents appreciate this safety feature in play areas.
Water drains better through artificial turf than on concrete alone. This prevents puddles from forming after rainstorms. If you live in a rainy area, this improvement matters significantly.
Artificial grass stays cooler than concrete during hot weather. This creates more comfortable outdoor spaces in summer. Your feet won't burn when walking across these areas.
You can install turf in previously unusable spaces like rooftops and balconies. This maximizes your property's functional areas. If you have limited outdoor space, artificial grass provides more usable options.
With proper installation and care, artificial grass can offer exceptional longevity up to 20 years, significantly reducing the need for replacement and associated costs.
Tools and Materials Needed
You need specific tools and materials for installing artificial grass on concrete. Proper preparation of the surface ensures your turf will look good and last longer. Having everything ready before you start will make the job easier.
Base Materials include artificial turf and 5mm foam padding for drainage. You'll also need self-leveling compound to fix uneven areas on your concrete surface. Special artificial grass adhesive designed for concrete is essential for proper attachment.
Cutting Tools are necessary for shaping the turf to fit your space. A utility knife with extra blades will help with most cutting tasks. Carpet scissors and a chalk line will ensure your cuts are clean and accurate.
Installation Tools make the finishing process more professional. Use a notched trowel to spread adhesive evenly across the concrete. A rubber mallet helps join seams together without damage. Stiff and power brooms will lift the grass fibers for a natural look.
Consider the best pile height selection of two to three inches for high-traffic concrete areas to enhance durability and comfort.
Measuring Your Space
You need accurate measurements for successful artificial grass installation on concrete. Measure the length and width of your area carefully. Break complex spaces into simple shapes for easier calculations.
Don't forget to measure around obstacles like planters or posts. Calculate square footage by multiplying length by width for each section. Add these numbers together for your total area.
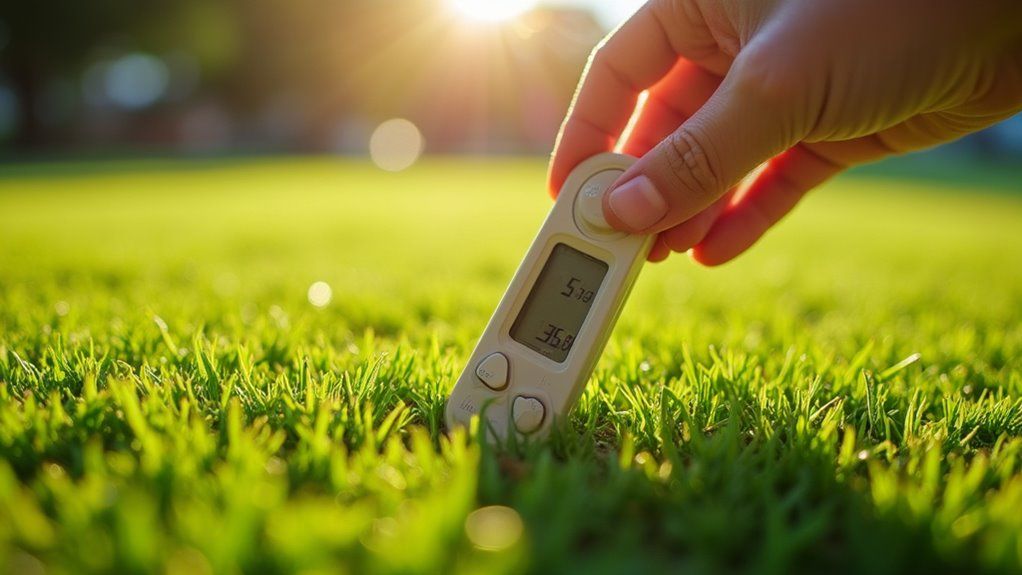
Check your concrete for cracks, uneven spots, or drainage problems. These issues should be fixed before installation begins. Look for areas where water collects, as good drainage keeps your turf lasting longer.
Creating a firm and even surface will ensure proper installation and long-term stability of your artificial turf.
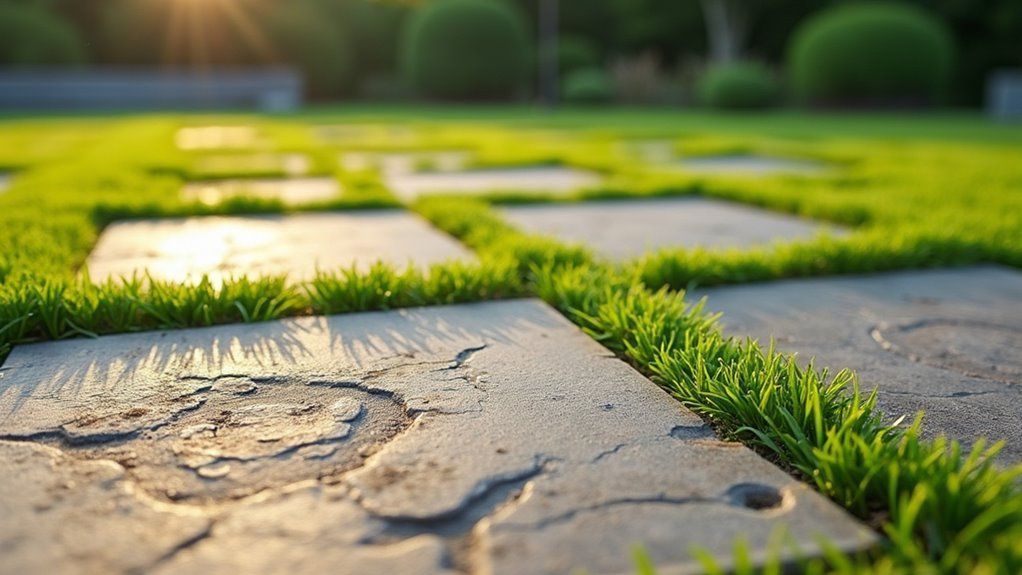
Preparing the Concrete Surface
A clean concrete surface is needed for artificial grass installation. Check for cracks, chips, or uneven spots first. Fix damaged areas with concrete patching compound.
Let repairs dry fully before moving on. Clean the concrete by sweeping away all dirt and debris. Pressure wash the area to remove tough stains and mold.
Use a concrete degreaser on any oil spots. The surface must be completely dry before you install the turf. This drying process may take one to two days depending on the weather.
If the concrete remains wet, your installation might fail. Good preparation helps the adhesive bond properly. A well-prepared surface will make your artificial grass last longer.
You may need to sand down concrete to create a slightly rougher texture that will help the synthetic turf adhere better.
Choosing the Right Artificial Grass Type
The best artificial grass for concrete needs proper pile height, density, and material composition. Good options have a pile height between 30-37mm to cushion against hard surfaces. Dense products with over 18,000 stitches per square meter last longer on concrete.
Polyethylene and polypropylene blends create natural-looking surfaces that resist flattening. Nylon fibers work better in high-traffic areas but cost more. All artificial grass should have UV protection to prevent color fading.
Backing material plays a crucial role in concrete installations. Look for products with extra cushioning layers designed specifically for hard surfaces. These special backings absorb shock and allow water to drain properly.
Various blade shapes including flat or diamond designs offer different levels of durability depending on your specific usage needs.
Installing a Proper Drainage System
To establish effective water flow solutions on your concrete base, you'll need to install a permeable layer that allows moisture to drain away from the surface. This drainage layer should consist of 3-5mm crushed stone or specialized drainage mats that create channels for water movement beneath your artificial turf.
You must ensure the drainage system slopes slightly (1-2%) away from structures to prevent puddle formation during heavy rainfall, maintaining both the integrity and appearance of your artificial grass installation.
While the initial installation cost may be higher, proper drainage provides long-term savings through reduced maintenance needs and extended turf lifespan.
Water Flow Solutions
Drainage matters when installing artificial grass on concrete because standing water causes serious problems. It can lead to mold growth and unstable turf installation. Good water flow extends your artificial lawn's life.
You should create a slight gradient of 1-2% across your concrete base. This slope helps water move naturally away from buildings. Water will flow instead of forming puddles.
Perforated drain pipes work well at points where water collects. Connect these pipes to your existing drainage systems. They will carry excess water away quickly.
A permeable layer between concrete and turf backing allows water to filter through. This aggregate layer should be 5-10mm thick. If installed correctly, it prevents water from pooling under your grass.
These drainage solutions keep water moving through and away from your artificial grass. Your installation will stay damage-free for years. The turf will maintain its attractive appearance with proper water management.
Preventing Puddle Formation
Good drainage stops puddles from forming on concrete-based fake lawns. Slope the surface at 1:100 (1cm drop per meter) for water runoff. This small slope helps water flow away but isn't noticeable.
Drainage mats work well between concrete and turf backing. These mats have holes that create paths for water to move sideways under the grass. Choose mats that can handle at least 15 tons/m² of pressure to stay strong when walked on.
Some areas might need extra help with drainage. You can add perimeter drains that connect to existing systems. These catch water before puddles can form and direct it elsewhere.
Applying the Adhesive
To apply adhesive for artificial grass, you need to spread it evenly on the prepared concrete surface. The adhesive bonds the turf backing to concrete permanently. Good application ensures your installation will last many years.
Mix the adhesive exactly as the manufacturer directs. Use a drill with a mixing paddle to blend it thoroughly. The right consistency makes application much easier.
Work on small areas of about 3-4 square feet at once. This prevents the adhesive from drying before you place the turf. If the adhesive dries too soon, the bond will be weak.
Use a notched trowel held at a 45-degree angle for even spreading. Apply a layer of 2-3mm thickness across the entire area. Uneven application might cause parts of your turf to lift over time.
After applying adhesive, press the seam firmly and consider using a heavy roller to ensure proper bonding and eliminate any visible joining lines.
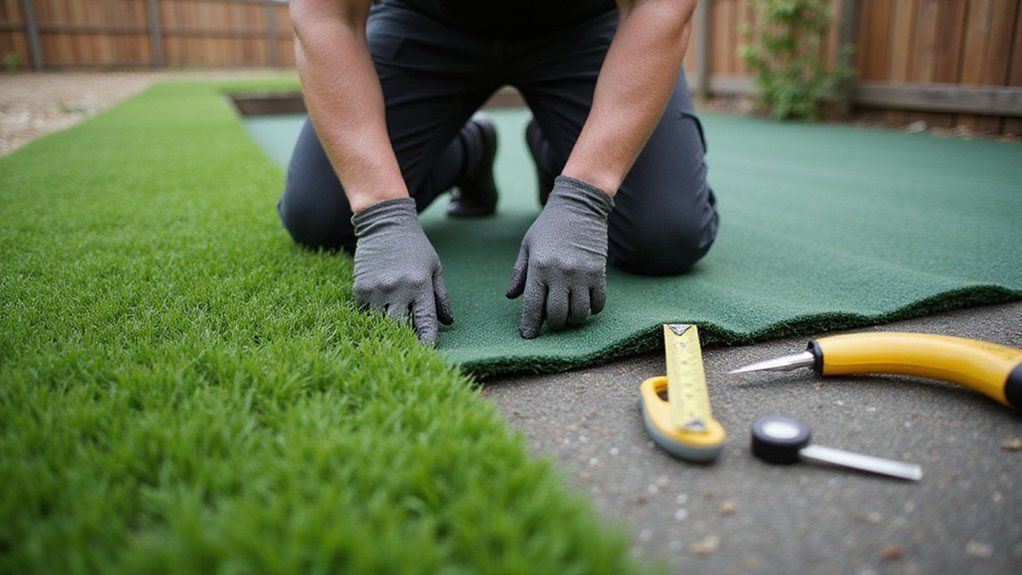
Laying the Artificial Turf
Position your artificial grass on the concrete after applying adhesive. Start from one end and roll it out slowly. Avoid creating wrinkles or trapping air underneath.
Next, walk across the surface or use a lawn roller to compact the base. This pressure helps the adhesive work better. The turf will bond strongly with the concrete.
Edges and seams need extra attention during this process. Use more adhesive along the perimeter since you can't use nails on concrete. Press all edges firmly to ensure they stick well.
Wait for the adhesive to cure completely before using the area. If you use the turf too soon, it might come loose. The manufacturer's instructions will tell you the exact waiting time.
For projects involving children or pets, consider using multi-purpose play sand or Enviro-Fill to make the surface safer and more comfortable.
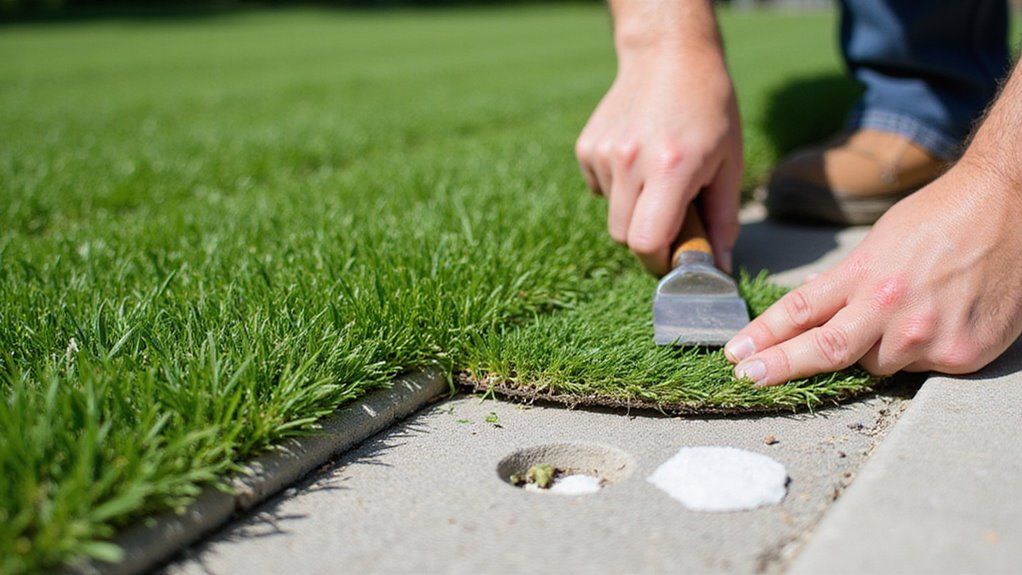
Cutting and Trimming the Edges
You must trim extra artificial grass after the glue has partly dried. This step creates neat edges for your finished project. A well-trimmed edge makes your installation look professional.
Sharp tools help make clean cuts. You should use a utility knife with a new blade for best results. Place a metal straight edge against the grass to guide your knife.
Work in small sections of 3-4 feet at a time. Move your straight edge as you finish each section. This method helps maintain even pressure while cutting.
If you cut from the back side, you'll have better control. This approach works especially well for curved areas. Your edges will look cleaner if you follow this technique.
Taking time with this step enhances the personal satisfaction that comes from transforming your concrete space into an attractive grassy area.
Joining Multiple Pieces Together
Large concrete areas may need several rolls of fake grass for full coverage. Always position pieces with the pile pointing in the same direction. This prevents visible seams in your installation.
Create overlaps of 2-3 inches between neighboring sections. Cut through both layers at once with a sharp utility knife. This technique ensures the edges match perfectly.
Place seaming tape along the entire join with the sticky side facing up. Spread grass adhesive evenly across the tape's surface. Then press both edges firmly together.
Secure the seams using landscape pins or nails every 6-8 inches. This prevents the sections from separating over time.
If pieces meet concrete borders, apply outdoor adhesive along the edge. This creates a strong and lasting bond. Let all adhesives dry for 24 hours before walking on the new surface.
With proper installation and care, your synthetic turf investment will remain beautiful and functional for 20-25 years.
Adding Infill Material
Infill material must be added after securing artificial grass to concrete. This step makes the turf heavier, helps the blades stand up, and improves water drainage. Proper infill creates a more natural-looking and better-performing lawn.
Pour silica sand or rubber granules across your turf at 1-2 pounds per square foot. Spread the material evenly with a stiff broom using back-and-forth movements. The infill should reach deep between the grass fibers.
A power broom or plate compactor will help pack down the infill correctly. The material should settle firmly at the base of the grass blades. If you skip this step, your turf might mat down and wear out faster.
Proper infill application prevents damage and extends the life of your artificial grass. Your lawn will feel more realistic when walked on. The turf will maintain its appearance for many years if infill is applied correctly.
Brushing and Finishing Touches
Proper brushing gives artificial grass a natural look after concrete-based installation. You should use a stiff-bristled broom against the grain to make fibers stand up. This fixes any flattening that happened during installation.
Brush in different directions with firm strokes to spread infill evenly. Edges and seams need extra attention because problems show up easily there. Sharp scissors can trim any stray fibers that stick out.
Check that no wrinkles or bubbles remain after brushing. The turf will need regular brushing during its first few weeks. If you maintain this routine, your artificial grass will settle properly and look more natural.
Maintenance Tips for Longevity
Regular maintenance adds years to your artificial grass on concrete. Simple care prevents damage to fibers and keeps drainage working well. Quick removal of leaves and dirt helps maintain its best condition.
Monthly cleaning with mild soap removes dust between the grass blades. This stops bacteria growth and keeps your turf looking fresh. You should use only a small amount of soap mixed with water.
Brush the turf every three months with a stiff broom. This prevents the grass fibers from flattening permanently. Brushing against the grain helps the blades stand upright again.
Store all maintenance tools in dry places. Wet brushes can transfer mold to your grass surface. If cleaning solutions become contaminated, they might damage your artificial turf.
Check for water pooling after rain or cleaning. Standing water can weaken the glue holding the turf to concrete. If you notice poor drainage, fix the problem right away.
Troubleshooting Common Installation Problems
Bubbles or wrinkles in artificial grass can frustrate even skilled installers. You should lift the affected grass section and apply new adhesive. Proper tension must be maintained when placing the grass back down.
Standing water signals drainage problems in your installation. Check if you have enough drainage holes in the right places. You can add more holes or install channels under the grass to help water flow away.
Uneven concrete requires proper preparation before grass installation. Apply self-leveling compound to fix major dips in the surface. Secure lifting edges with extra adhesive or concrete nails for a smooth finish.
Temperature changes make artificial grass expand and contract. Leave a quarter-inch gap between your grass and any walls or structures. This small space allows the material to move naturally without creating wrinkles.
Conclusion
Congratulations on transforming your concrete surface into a beautiful synthetic lawn! The installation process requires attention to detail but rewards you with a durable, low-maintenance outdoor space. Your new artificial grass creates a comfortable area that can be enjoyed throughout the year.
Proper maintenance will extend the life of your artificial turf investment. Regular cleaning removes debris and prevents buildup that could damage the fibers. If you notice any issues during seasonal inspections, address them promptly to avoid more extensive repairs later.
With the right preparation and ongoing care, your artificial grass will remain vibrant and functional for many years. The transformation adds value to your property while reducing water consumption and maintenance time. Install your artificial grass with Synthetic Turf Treasure Coast for professional results that last.
About the author
Kathy Leavell
Kathy Leavell is the founder and owner of Synthetic Turf Treasure Coast, a leading provider of synthetic grass solutions for residential and commercial properties in Florida. With over a decade of experience in the industry, Kathy has become a recognized expert in synthetic turf installation, maintenance, and repair. Under her leadership, Synthetic Turf Treasure Coast has earned a reputation for exceptional customer service and high-quality workmanship.
Prior to starting her own business, Kathy worked in sales and marketing roles at several major synthetic turf manufacturers.
Artificial Turf Installation in Vero Beach, FL: Cost, Process & What Homeowners Should Expect (2026)