What Needs to Go Down Before Artificial Grass?
Installing artificial grass may seem easy, but many people face problems with it not lasting as long as they hope. Cracks, bumps, or soggy spots often show up soon after installation. These issues mostly come from not preparing the ground properly before laying the grass.
If you skip any step, you might see your turf shift, look uneven, or drain poorly. These mistakes can make your artificial lawn look messy and wear out faster. It is frustrating to invest time and money only to get poor results.
You must remove old grass, install a weed barrier, lay a solid sub-base, and ensure good drainage before artificial grass goes down. Doing these steps right gives your turf a smooth, long-lasting finish.
Preparation is the secret to making your lawn look great for years. This blog will break down each step so you can avoid costly mistakes and enjoy your artificial grass for a long time.
Key Takeaways
- Remove all existing grass, weeds, rocks, and debris to create a clean, even surface.
- Install a durable weed barrier fabric to prevent future weed growth beneath the turf.
- Lay and compact a stable sub-base material such as crushed granite, limestone, or gravel for drainage and support.
- Grade the area to ensure proper water runoff and prevent pooling near structures.
- Secure edge restraints around the perimeter to keep the artificial grass firmly in place.
Assessing the Site and Soil Conditions
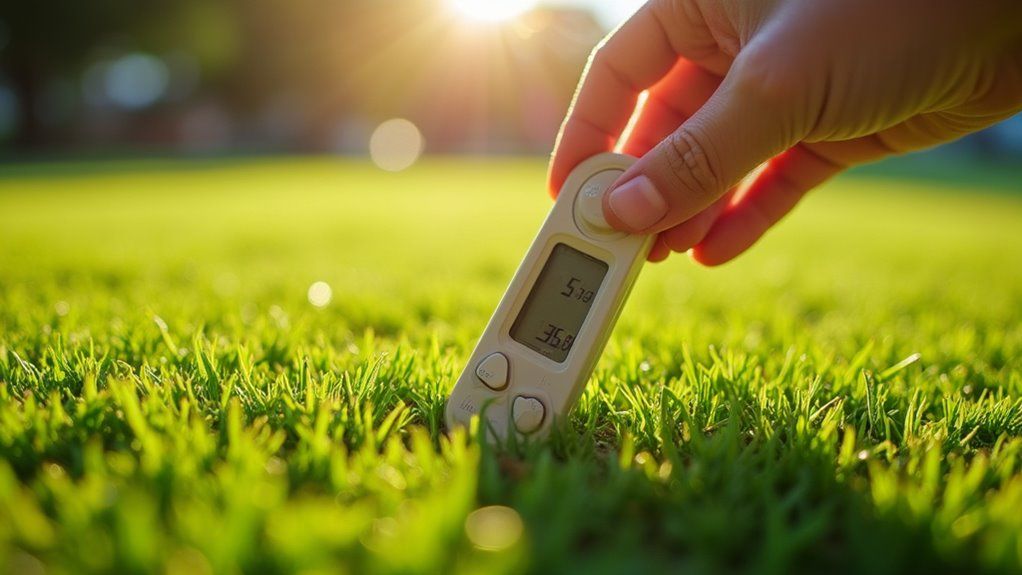
Assessing the site and soil is the first step before installing artificial grass. Good site and soil conditions help prevent water problems and uneven surfaces. Proper assessment ensures a solid base.
It’s also important to understand your liability exclusion, as damages from site issues may not be covered by warranties. Soil testing checks if your ground drains well and is not too hard. Use a soil probe or dig a hole and fill it with water. If water drains slowly, you may need to improve drainage.
Evaluate the slope of your area to avoid water pooling near buildings. Mark high and low spots for leveling. Remove any rocks, roots, or other obstacles from the site. Selecting the right base materials is also important for stability and long-term performance of your artificial grass installation.
Removing Existing Grass and Vegetation
Start by clearing away all surface debris like rocks, sticks, and old mulch to create a clean workspace. Next, remove the existing grass and any other vegetation, making sure to cut deep enough to get the roots. You’ll want to eliminate root systems completely to prevent regrowth under your artificial turf.
Removing these layers not only prepares your yard but also helps promote the rich biodiversity that thrives when invasive species are properly managed. Taking the time to thoroughly remove all vegetation supports environmental preservation efforts similar to those highlighted at the Hobe Sound Nature Center.
Clearing Surface Debris
Clearing surface debris is important for a smooth and long-lasting artificial grass installation. Remove any sticks, stones, leaves, or garden waste from the area. Clean corners and edges carefully, as debris there can affect the final look.
Use a stiff broom or a leaf blower to sweep the area well. If you find hard soil or tough debris, use a flat shovel to clear it. Even small debris can create bumps under the grass, so do not skip this step.
A clean surface helps your artificial grass stay flat and look nice. By taking time to clear debris, you help ensure a neat and professional result.
Eliminating Root Systems
Eliminating root systems is important before installing artificial grass. All grass and plant roots must be removed to prevent future weed growth. If you skip this step, weeds may push through your new surface.
Start by mowing the grass as short as possible. Use a flat shovel or turf cutter to cut under the roots. Lift the grass in strips and remove them completely.
If roots are deep, use a sharp spade to cut and loosen them. Apply a non-toxic weed killer to the bare soil if needed. Wait a few days to check if all plants are dead.
Inspect the area for any new shoots or roots. Remove any regrowth by hand to keep the soil clear. This process helps create a clean base for your artificial grass.
Clearing Rocks, Debris, and Roots
Next, you'll need to remove large surface rocks to create a smooth base. Clear away all organic debris like twigs and leaves to prevent future unevenness. Then, extract any deep root systems to stop regrowth that could disrupt your artificial grass.
Following these steps is crucial for optimal installation outcomes and helps ensure a consistent, low-maintenance surface once your artificial turf is installed. This step prepares your space for long-term durability and helps ensure a consistent, low-maintenance surface once your artificial turf is installed.
Removing Large Surface Rocks
To remove large surface rocks, first clear the area of any visible stones. Large rocks can prevent a flat surface for artificial grass. If you skip this step, the turf may look uneven.
Use a shovel or pickaxe to loosen each rock. If a rock is too heavy, use a pry bar or a wheelbarrow. Always check for roots or debris while removing rocks.
If rocks stay in place, they can block water flow or harm irrigation pipes. Carefully inspect the area after clearing all large rocks. Make sure nothing remains that could affect the grass installation.
Clearing Organic Debris
Clearing organic debris is important before installing artificial grass. Remove small stones, twigs, roots, and old plant matter from the area. This step helps create a smooth and stable surface.
Begin by raking the ground to collect loose debris and dead leaves. Use a leaf blower or a stiff broom for spots the rake cannot reach. If any debris remains, pick it up by hand.
Wear gloves to protect your hands while clearing the area. Place all waste in trash bags or bins for easy disposal. If you skip this step, weeds may grow and surface may become uneven.
Careful removal of all debris gives your artificial lawn a strong foundation. Thorough clearing helps the grass last longer. Always dispose of the debris promptly.
Extracting Deep Root Systems
Deep root systems can cause problems under artificial grass if not removed. If roots stay, they may regrow and disturb the surface. Removing all roots is necessary to keep your grass stable.
First, use a shovel or tiller to find roots and rocks below the soil. If you see roots, dig them out or cut them off completely. Rocks and debris should also be taken out to leave a flat base.
If you want to stop roots from coming back, sterilize the soil after clearing it. This step helps keep the surface smooth for a long time. If any roots or rocks remain, they could lead to future issues.
Addressing Weed Prevention
Weed prevention is important before you install artificial grass. Weeds can damage the look and lifespan of your new lawn.
Preparing the area properly will help stop future weed growth. The local ecosystem at places like Hobe Sound Nature Center shows how removing invasive plants helps native habitats thrive.
Proper weed prevention before installing artificial grass protects your lawn’s appearance and extends its lifespan.
First, inspect the ground for weeds or unwanted plants. Remove all visible plants and roots using garden tools. If you miss any, weeds may grow through the artificial grass later.
Apply a pet-safe weed killer to the soil after removing weeds. Choose a product that works on deep roots for better results. Wait for the suggested time before moving to the next step.
Rake the soil to clear any leftover debris. Level the ground to create a smooth surface. This preparation gives your artificial grass a stable and clean base.
For comparison, some luxurious retreats use meticulous landscaping methods to maintain weed-free grounds and a beautiful appearance throughout their properties.
Installing a Suitable Weed Barrier Fabric
To stop weeds from growing, install a weed barrier fabric after clearing and leveling the area. Use a strong landscape fabric made for artificial grass. This fabric blocks sunlight and makes it hard for weeds to grow.
Professional landscapers also recommend choosing a material that is puncture-resistant, as it ensures greater long-term protection from weed growth and surface disruptions.
Overlap each section of fabric by at least 6 inches. Overlapping prevents gaps where weeds could get through. Make sure all seams are completely covered.
Secure the fabric with landscape staples every few feet. Place more staples along the edges and seams for extra hold. If the fabric shifts, add more staples to keep it in place.
Choosing a UV-stabilized and puncture-resistant material for the best results is important, as it withstands Florida's climate and sunlight exposure. If you pick the right fabric, it can last many years outdoors.
Proper installation helps your weed barrier work well and keeps weeds away.
For an even more professional finish, some golf courses like Hobe Sound Golf Club use specialized installation techniques to ensure durability and long-term success.
Creating Proper Drainage Solutions
Proper drainage solutions let water move away from your artificial grass. Good drainage keeps the area dry and prevents water from pooling. It also protects the grass and the ground underneath.
Soil testing checks how well water passes through the ground. If you find compacted or clay-heavy soil, water may not drain well.
Remove debris to avoid blockages before starting any installation. Many professional installers in Palm City recommend effective draining systems tailored to local weather conditions for the best results.
Grade the area so water flows away from your house or low spots. Install drains if you notice water tends to collect in certain places. Perforated pipes or French drains help manage extra moisture in problem areas.
Artificial turf systems with high-quality drainage perform better and last longer, supporting year-round use even in adverse weather.
Proper drainage protects your artificial grass from damage. It also keeps the surface stable and safe all year. If you follow these steps, your grass will last longer and look better.
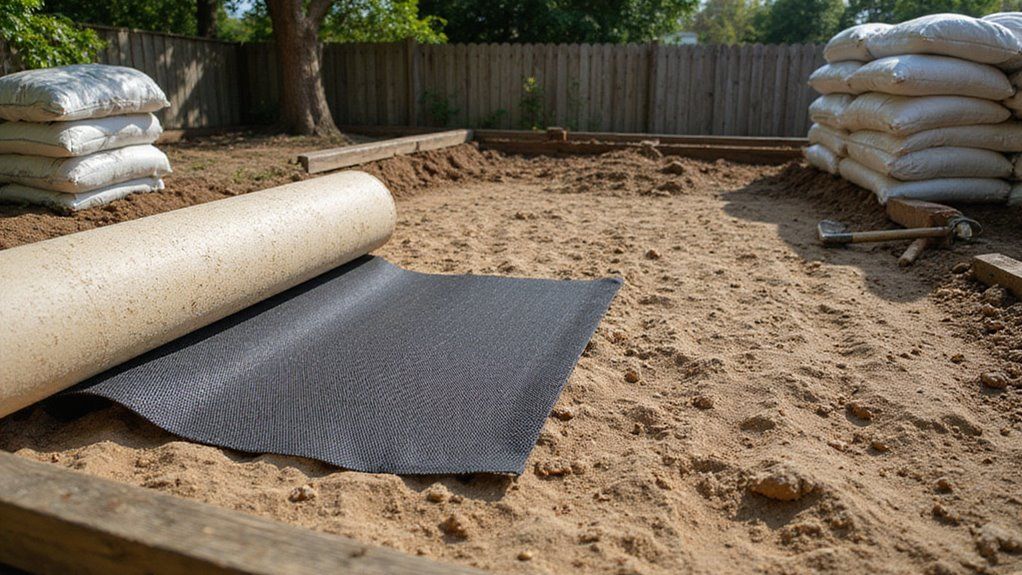
Selecting the Right Sub-Base Material
Now, you’ll need to pick the best sub-base material to support your artificial grass. Crushed granite stands out for its stability and drainage, while limestone and sand each offer distinct advantages and drawbacks.
Let’s compare these options so you can choose what works best for your project. In fact, choosing a material with superior drainage is similar to how nature preserves like Blowing Rocks Preserve rely on specific geological layers to manage water and protect their ecosystems.
If you’re still unsure, it’s helpful to understand that gravel base is not only easy to install and maintain for synthetic grass but also provides superior drainage and forgiveness in comparison to harder surfaces.
Crushed Granite Benefits
Crushed granite is a great choice for the sub-base of artificial grass. It provides stability, good drainage, and packs tightly. If you want a strong and smooth foundation, crushed granite is an ideal option.
This material lets water drain quickly through its small stones. Pooling is less likely, which helps protect your artificial grass if it rains a lot. You will notice fewer soggy spots after heavy downpours.
The crushed granite forms a solid and even base. If the surface is compacted well, it will not shift or settle over time. A flat base helps keep your lawn looking neat.
A thick layer of crushed granite can stop weeds from growing. If you use enough material, it also makes it harder for pests to move in. This means you will spend less time on yard maintenance.
Limestone vs. Sand Choices
Limestone and sand are common choices for the base under artificial grass. Limestone compacts well and creates a firm, stable surface. Sand offers good drainage but can move or wash away over time.
Limestone is best for areas with heavy foot traffic or pets. It helps prevent odors and keeps the surface level. Sand works for low-traffic spots but is not good for supporting heavy loads.
Installers should always level and compact the base before laying turf. A firm base ensures the grass stays even and lasts longer. Proper preparation is key for a successful installation.
Compacting the Sub-Base Layer
Compacting the sub-base layer is necessary before installing artificial grass. This step creates a firm and even base. If you skip compaction, the ground may shift or sink later.
Spread the sub-base material evenly over the area using a shovel or rake. Each layer should be about 2-3 inches thick. Compact one layer before adding the next.
Use a vibrating plate compactor for large areas, or a hand tamper for small spaces. If the surface feels soft, add more compaction. The ground should feel solid underfoot to support your artificial grass.
Adding proper compaction helps ensure the durability and longevity of your artificial grass, keeping it stable against heavy foot traffic and weather changes.
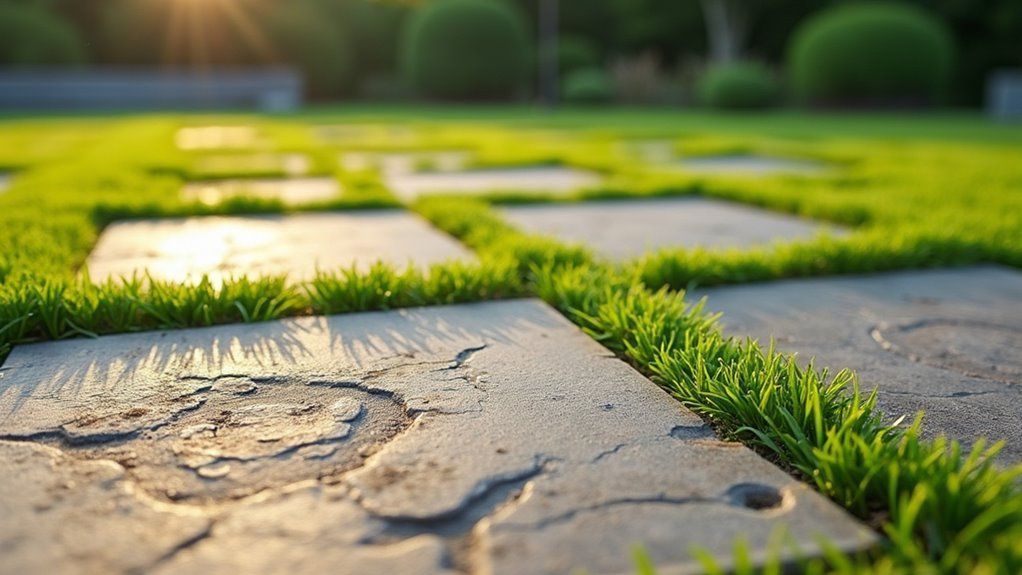
Leveling the Surface for Evenness
Leveling the surface creates a flat and even base for artificial grass. A smooth base ensures the grass looks good and lasts longer. Use this step to avoid bumps and dips in the final result.
Check for high and low spots with a straightedge or spirit level. If you find uneven areas, add or remove soil as needed. Always rake the surface to clear debris and spread material evenly.
If the soil is clay or sand, it may settle differently. Adjust the surface in these spots to keep it level. Make sure the surface allows water to drain through.
Use a hand tamper or plate compactor for final smoothing. Avoid over-compacting, or water may not pass through. A flat, stable base supports proper drainage and durability.
Applying a Sand or Granite Dust Layer
A layer of sharp sand or granite dust creates a firm base for artificial grass. Spread it evenly after leveling and compacting the ground. Use a depth of 25-40mm for best results.
A rake helps distribute the sand or dust smoothly. Lightly dampen the surface before compacting it with a vibrating plate. Proper compaction supports drainage and keeps the lawn flat.
This layer also discourages pests from burrowing below the grass. If you have irrigation pipes, place them below the sand or dust layer. Always check the thickness to avoid dips or bumps in your lawn.
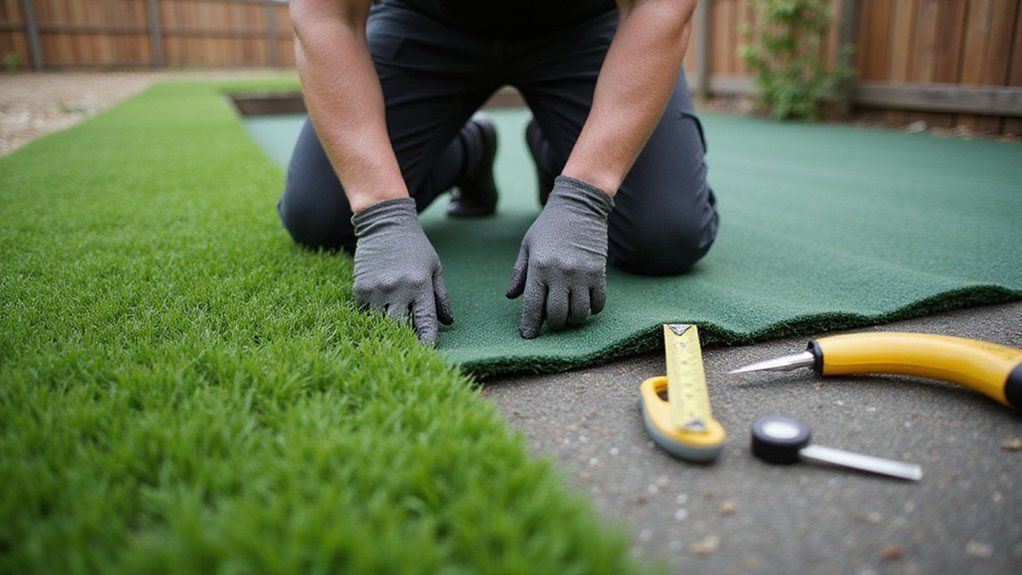
Ensuring Correct Edge Restraints
To stop artificial grass from moving or lifting at the edges, use strong edge restraints. Edge restraints keep the turf in place and prevent gaps. They also give a neat finish to your lawn.
You can pick border materials like treated wood, steel, aluminum, or plastic edging. Place the borders at the same height as your artificial grass. If the area has curves, use flexible edging to fit the shape.
Secure the edging with stakes or pins to keep it steady. Make sure the border runs all the way around the grass. If the edging is level and firmly anchored, your turf will stay in place.
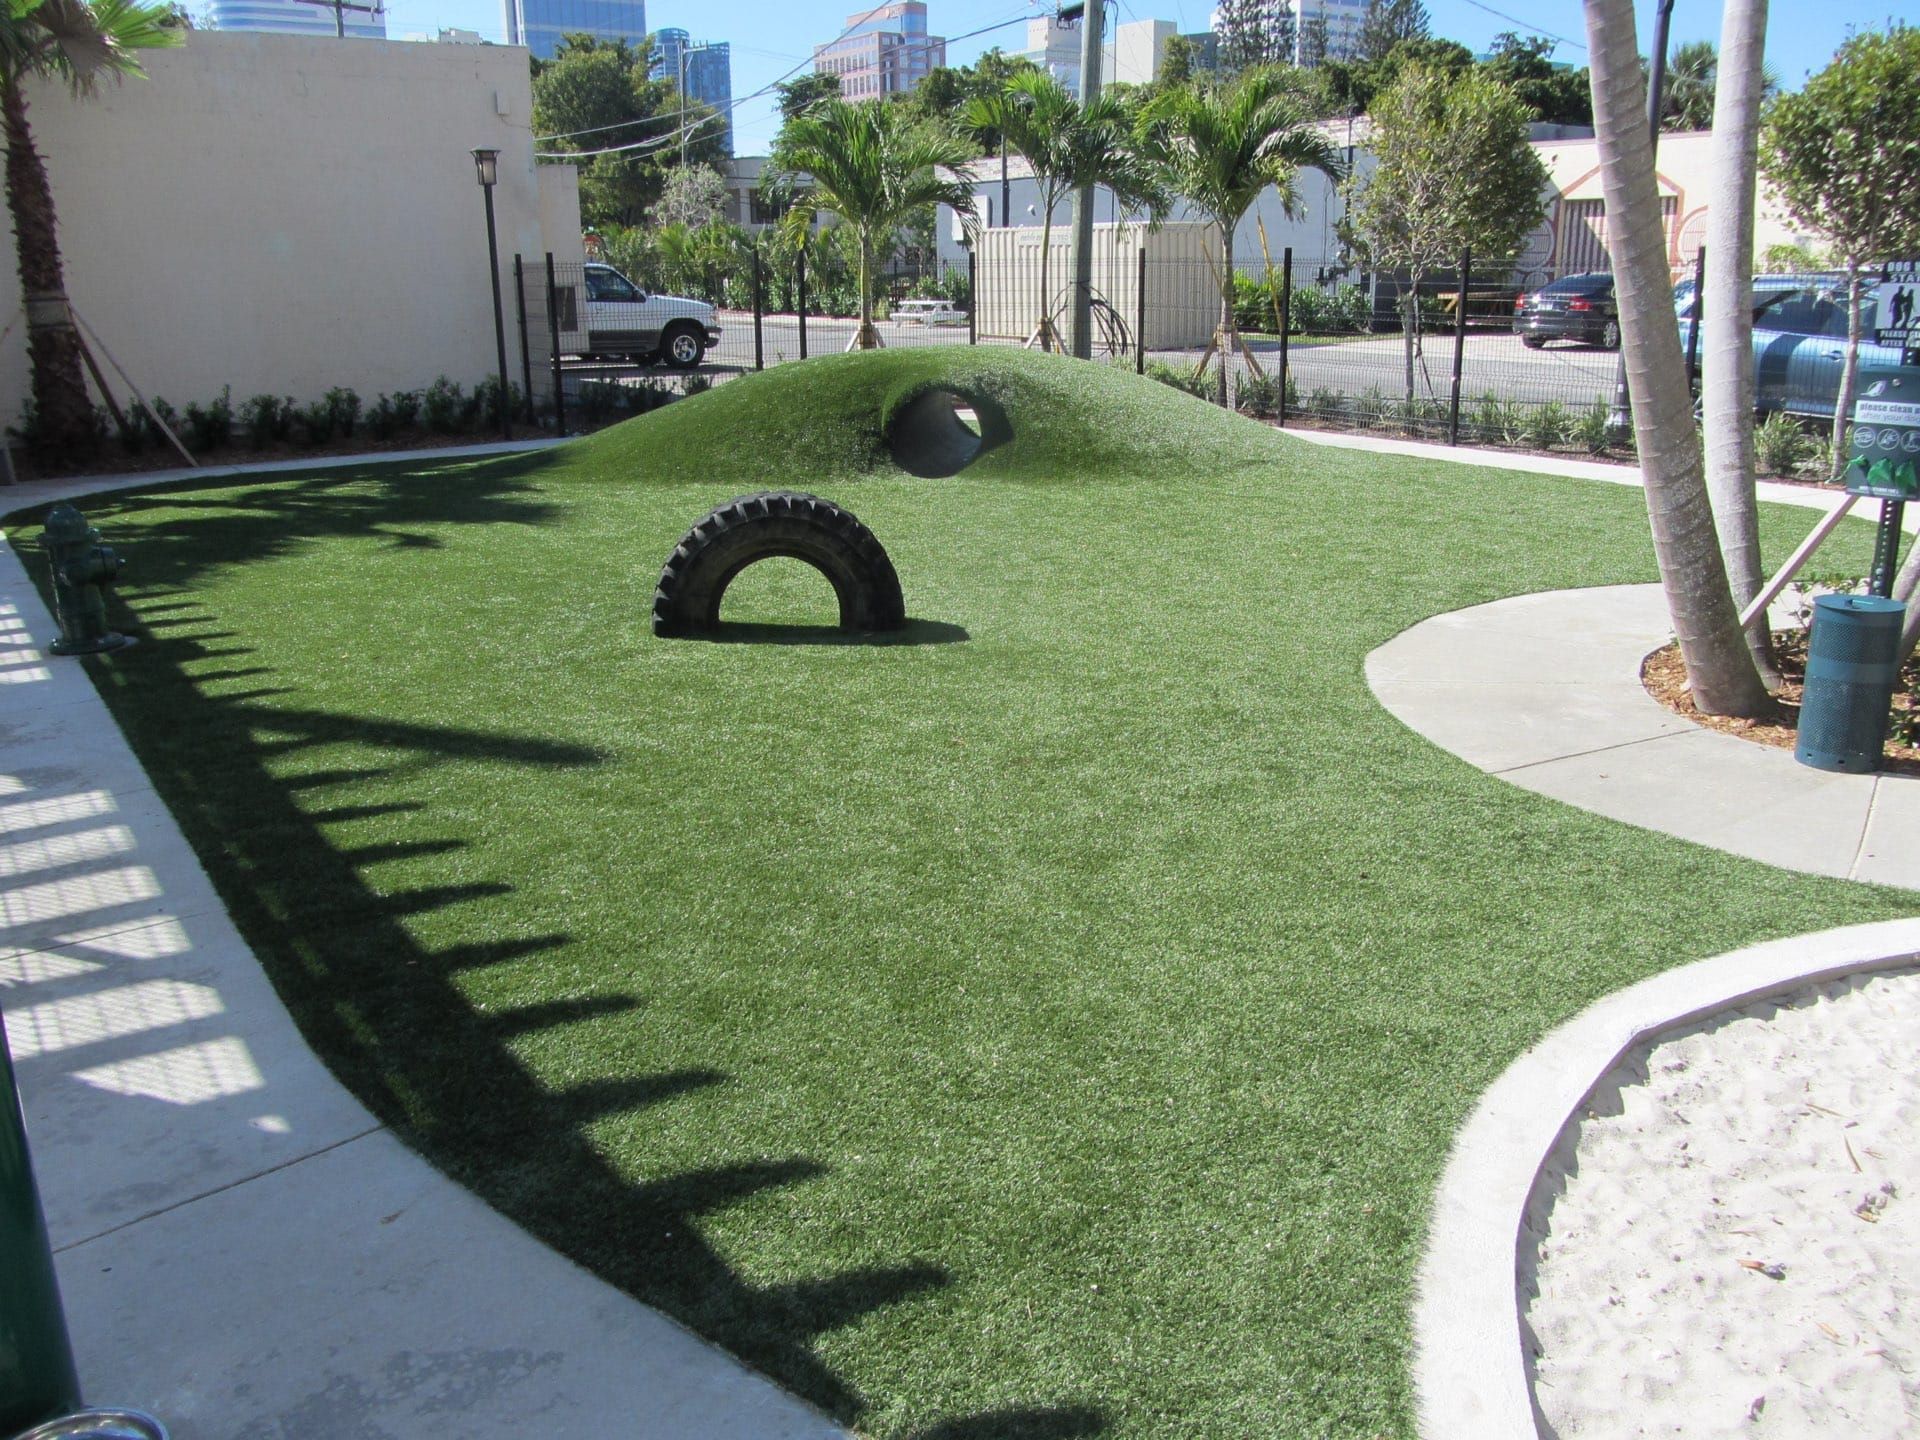
Laying Down Shock Pads or Underlay (If Needed)
Shock pads or underlay are sometimes needed under artificial grass. These are important for playgrounds, high-traffic areas, or places needing extra softness. If required, install them before laying the grass.
The ground must be clear of all debris first. A clean base helps with weed and pest control. Removing debris also prevents bumps under the grass.
Lay the shock pad or underlay flat inside the edge restraints. Trim edges for a snug fit along the sides. If the pad has seams, overlap them as the manufacturer recommends.
Overlapping seams helps stop weeds and pests from getting through. It also keeps the surface smooth and safe. Always follow the product instructions for best results.
Checking Slope and Water Runoff
Check the slope and water runoff before installing artificial grass. The surface should slope away from buildings to avoid water pooling. If water collects in low spots, it can cause problems.
Use a long board and spirit level to measure the slope. Aim for a gradient of 1–2% or 1–2 cm drop per meter. Mark any uneven areas that need fixing.
Measure the slope using a long board and spirit level, aiming for a 1–2% gradient, and mark any uneven spots to correct.
If the slope is too flat, add or remove base material until water runs off properly. Water should not get trapped under the grass. If drainage is poor, it may cause odors or mildew.
Always confirm the slope and drainage before moving to the next step. Proper preparation will help your artificial grass last longer.
Final Surface Preparation Before Turf Installation
Final surface preparation is important before installing artificial turf. This step creates a smooth and stable base for your grass. A well-prepared surface helps your turf last longer and look better.
Compact the sub-base with a plate compactor if you want a firm foundation. This step stops dips and bumps from forming later. An even base also makes your lawn look tidy.
Add a weed barrier to stop weeds from growing through the turf. Use a high-quality membrane for best results. This layer keeps your lawn looking neat and easy to maintain.
Rake and level the surface if you want a seamless finish. Check for even height across the area. Proper grading supports both the function and style of your garden.
Conclusion
If you want your artificial grass to look its best, you must prepare the ground properly. If you neglect drainage or skip removing debris, you may face problems later. You should always use a weed barrier and create a stable sub-base for lasting results.
If you install edge restraints and check the slope, your turf will stay in place and drain well. If your area needs extra cushioning, you can add shock pads before laying the turf. If you follow these steps, you can avoid costly repairs and enjoy a smooth surface.
If you are ready for a stress-free installation, contact Synthetic Turf Treasure Coast for expert help. If you let professionals handle your project, you get a beautiful, durable lawn. Install your artificial grass with Synthetic Turf Treasure Coast for the best results.
About the author
Kathy Leavell
Kathy Leavell is the founder and owner of Synthetic Turf Treasure Coast, a leading provider of synthetic grass solutions for residential and commercial properties in Florida. With over a decade of experience in the industry, Kathy has become a recognized expert in synthetic turf installation, maintenance, and repair. Under her leadership, Synthetic Turf Treasure Coast has earned a reputation for exceptional customer service and high-quality workmanship.
Prior to starting her own business, Kathy worked in sales and marketing roles at several major synthetic turf manufacturers.
Artificial Turf Installation in Vero Beach, FL: Cost, Process & What Homeowners Should Expect (2026)