How Do You Prepare the Ground for Artificial Grass?
Installing artificial grass can seem easy, but many people struggle with uneven ground and poor drainage. If you don’t prepare the ground properly, your lawn may look bumpy, feel spongy, or even flood after rain. Good ground preparation is the key to a long-lasting, beautiful result.
Bad groundwork can lead to costly repairs and frustration. Unwanted weeds might grow through the turf. Water pooling can damage your investment and ruin your garden’s look.
To prepare the ground for artificial grass, you must clear, level, and compact the soil before installing a secure base.
This method prevents future issues and helps your artificial lawn stay perfect for years. Following the right steps saves time and money.
This blog will guide you step-by-step to ensure your artificial grass is installed on solid, even ground.
Key Takeaways
- Remove all existing grass, weeds, roots, and debris to create a clean, even base.
- Excavate the area to 2–4 inches deep, ensuring proper grading for drainage away from structures.
- Install solid edging materials to define boundaries and securely hold the artificial grass in place.
- Lay a weed barrier fabric and add a compacted base layer of crushed stone or decomposed granite for stability and drainage.
- Spread and compact a layer of sharp sand, then ensure a level, smooth surface before unrolling and securing the artificial grass.
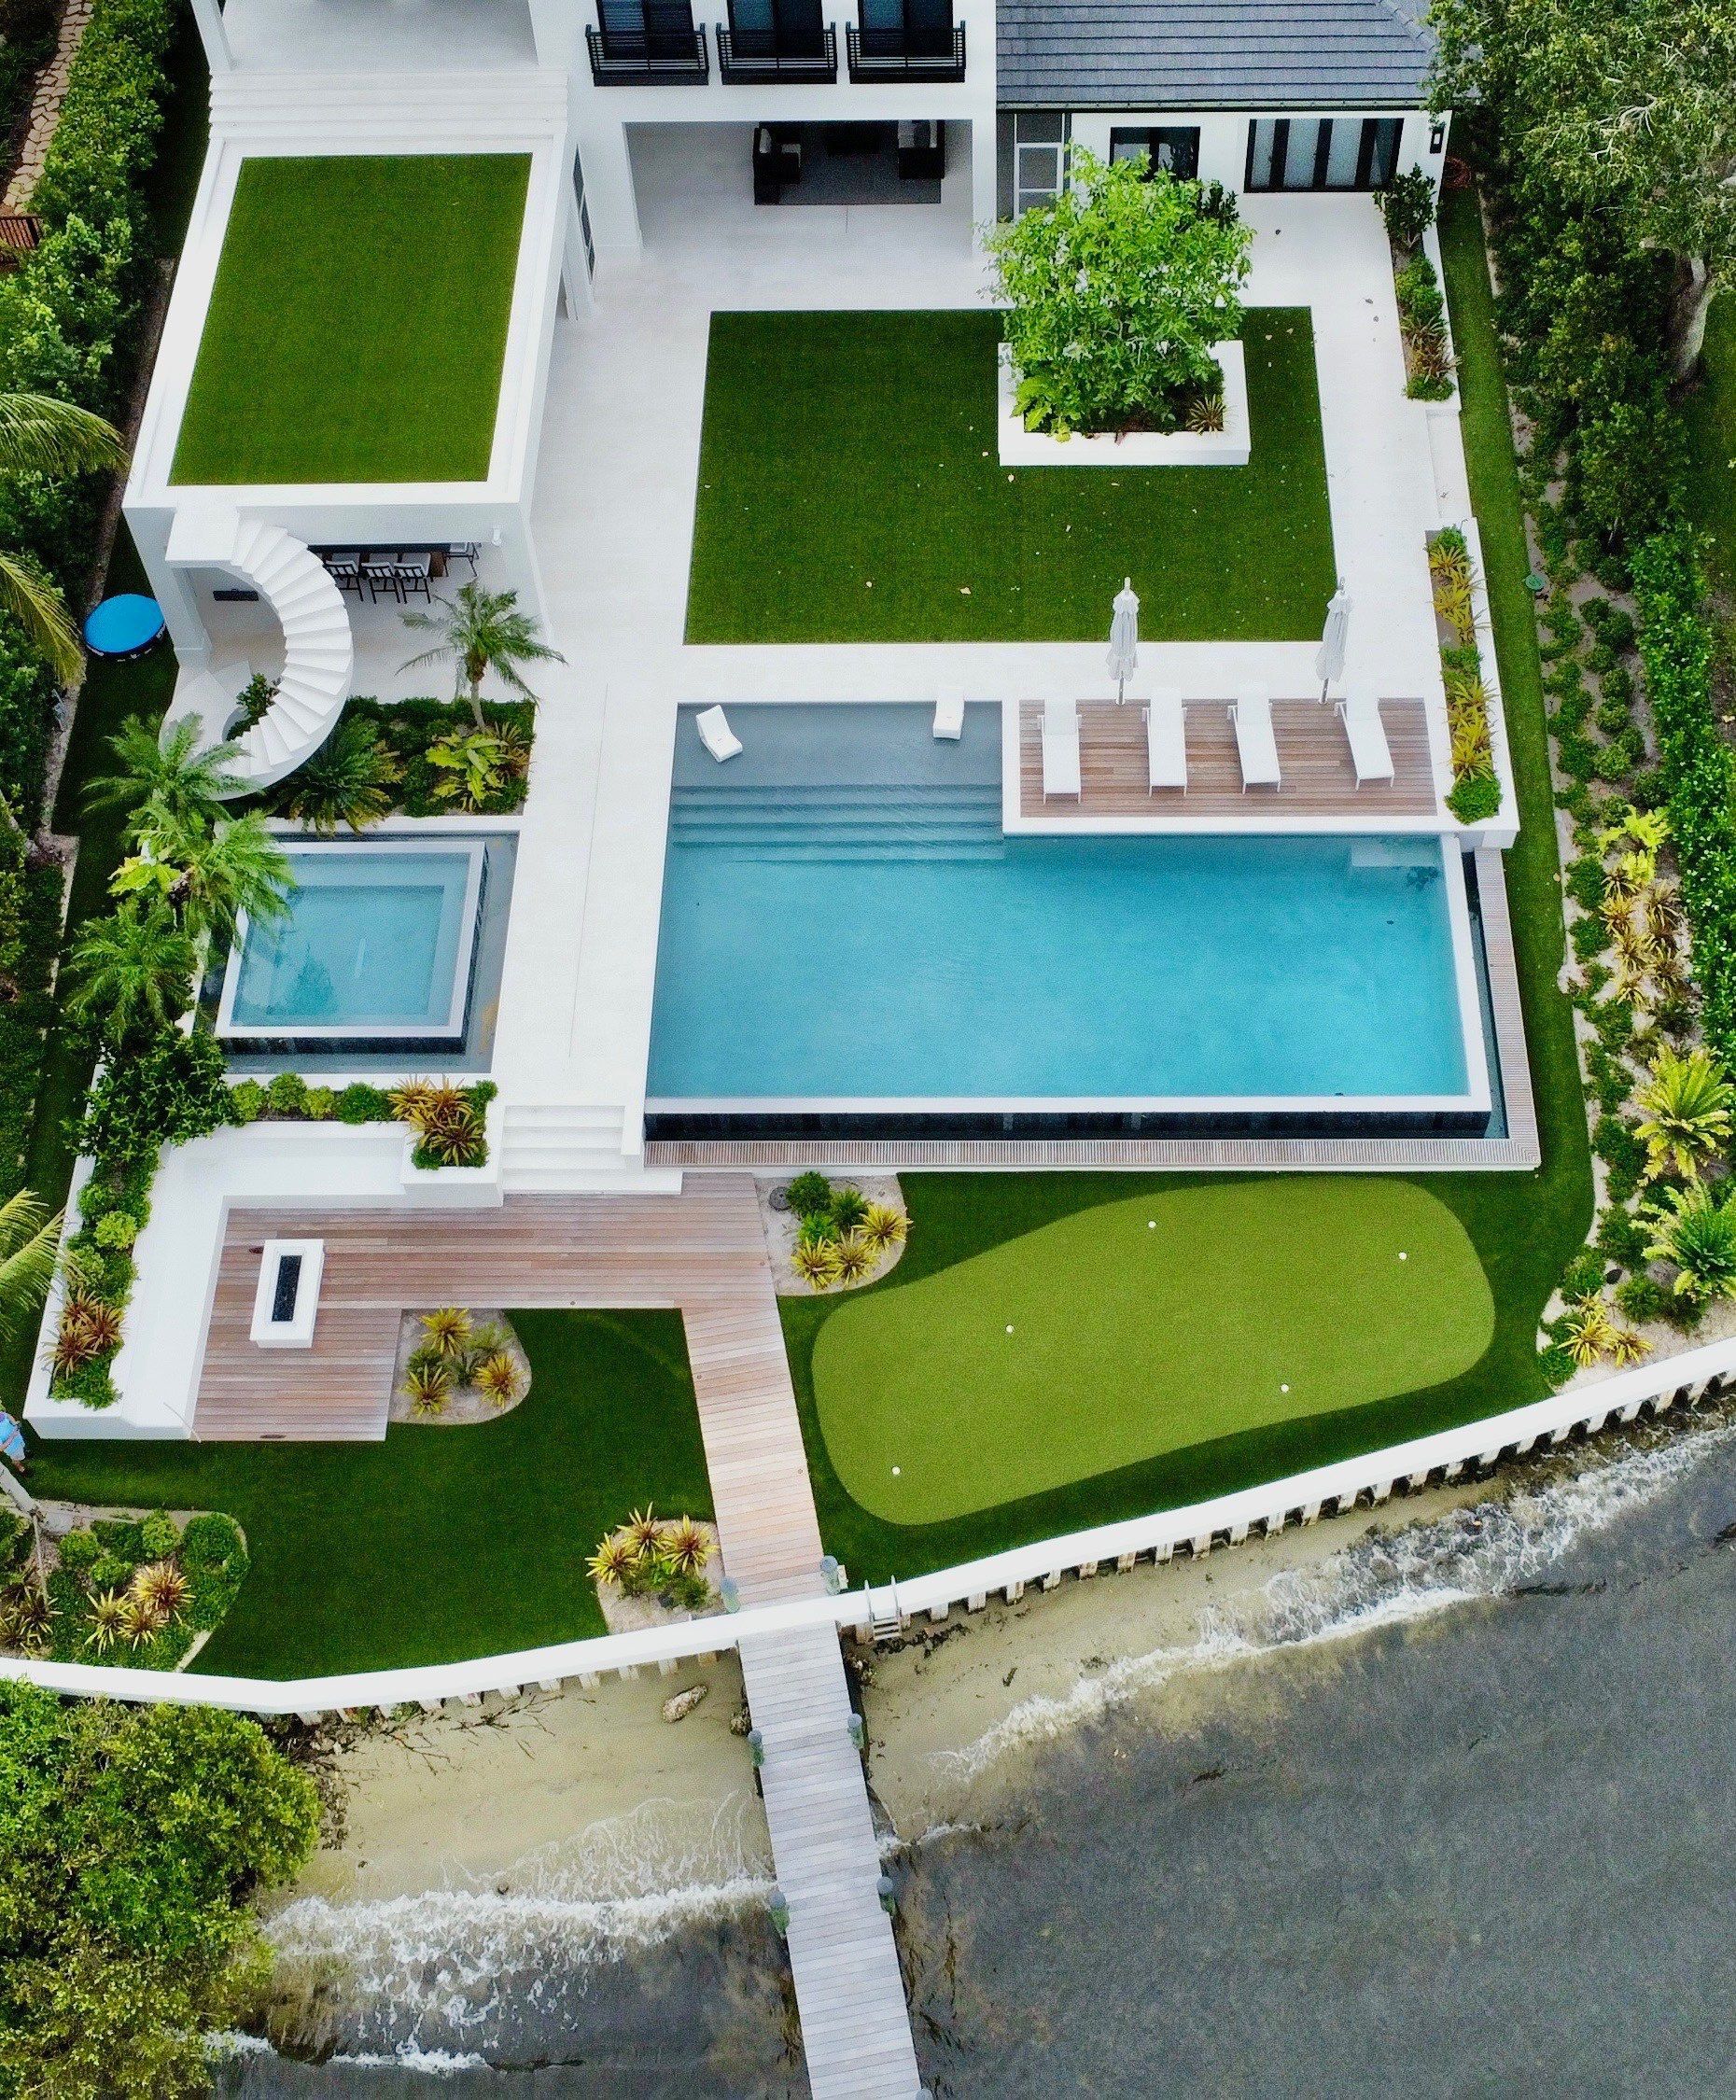
Assessing Your Yard and Planning the Layout
To plan your artificial grass layout, first check your yard’s current state. Measure the area you want to cover. Mark the edges using stakes or paint for clear boundaries.
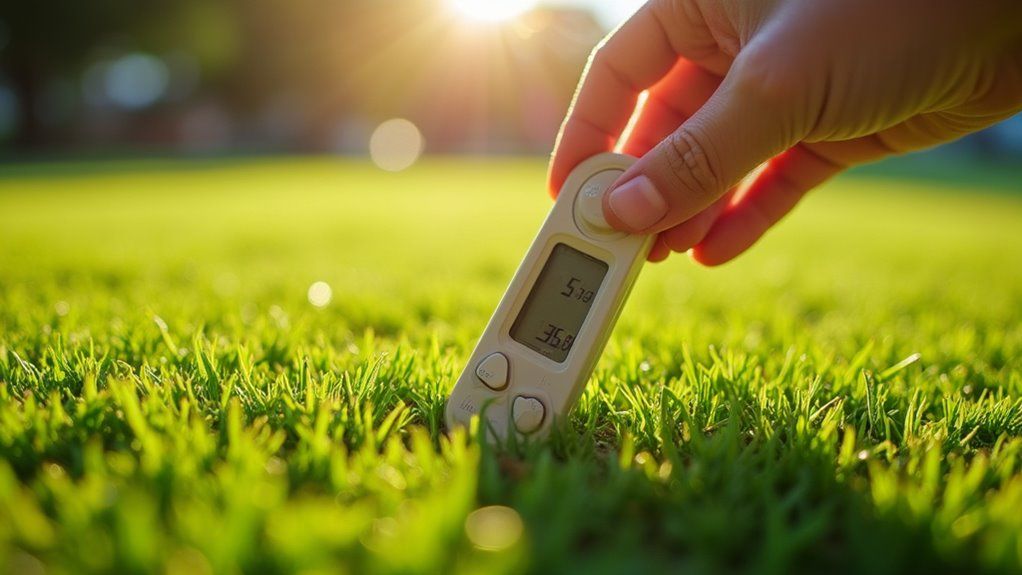
Look for uneven ground, drainage problems, or old roots. If you find any, note them for later fixing. Take a soil sample to check for compaction.
Similar to the way diverse ecosystems are assessed at Jonathan Dickinson State Park, carefully evaluating all aspects of your yard environment is critical for success.
If the soil is hard, you may need to improve it for drainage. Identify any tree stumps, sprinkler heads, or utility lines. Make a plan to work around these obstacles before starting.
Careful planning helps your artificial grass last longer and look better. Proper layout ensures you use the right amount of material.
A good foundation is important for the best results. It’s crucial to address installation preparation and process steps like removing existing weeds and soil to create a flawless base for your new turf.
Gathering the Necessary Tools and Materials
Before you start the installation, make sure you’ve gathered all the essential tools like a shovel, rake, wheelbarrow, and utility knife.
Choose high-quality materials—including weed membrane, base aggregates, and the artificial grass itself—to ensure durability and a smooth finish.
Pay special attention to choosing turf materials that fit your usage needs, such as options built for durability or ease of cleaning, since this impacts the longevity and comfort of your artificial lawn.
Having everything ready lets you work efficiently and helps prevent delays during the project. If you’re based near Jupiter Island, Florida, be sure to check for locally-sourced materials and supplies best suited to the coastal climate.
Essential Tools Checklist
A proper toolkit is important for installing artificial grass. The right tools make the job easier and help you get good results. Always prepare your tools before you begin.
Start with a sharp spade or turf cutter to remove old grass. Use a wheelbarrow to move soil and debris. A rake helps level the ground before you continue.
A hand tamper or plate compactor makes the base firm and even. A measuring tape ensures your layout is accurate. If you want straight edges, use a utility knife to cut the artificial turf.
For pest control, place a weed membrane over the soil. Hold it down with landscape staples to stop weeds and insects. Finish the job by brushing the grass fibers upright with a stiff broom.
If you have these tools ready, you can complete each step smoothly. Good preparation leads to a neat and professional installation.
Choosing Quality Materials
Quality materials help your artificial grass last longer and look better. Premium turf with UV protection resists fading and damage. A good weed membrane blocks unwanted growth and makes maintenance easier.
The base should use crushed granite or limestone chippings for good drainage and a stable surface. If you want to reduce environmental impact, choose recycled or biodegradable materials. Reliable suppliers with good product ratings are always best.
Galvanized nails or U-pins hold the turf in place. High-grade adhesive is needed for joining seams. Careful material choices create a strong, low-maintenance, and eco-friendly lawn.
Removing Existing Grass and Vegetation
Start by cutting the existing turf into manageable strips with a sharp spade or turf cutter, then lift each section and remove it from the site. Make sure you clear out all roots and organic debris to prevent regrowth under your artificial grass.
Rake the area thoroughly so you’re left with a clean, even base for the next steps. The preparation process is similar to the habitat restoration work done in local ecosystem conservation, ensuring your new surface is free from unwanted vegetation and supports long-term durability.
Remember, removing vegetation at this stage helps to reduce pests like fleas by eliminating their natural habitat under your new artificial turf.
Cutting and Lifting Turf
To lay artificial grass, you must first remove all existing grass and plants. Mark the area you want to cover before starting. This step ensures you only remove what is needed.
Use a sharp spade, half-moon edger, or turf cutter for efficient turf removal. Choose a turf cutter if you have a large area. Cut the turf into strips that are one or two feet wide.
Make sure each strip is even and straight. If strips are uniform, lifting them will be easier. Lift each strip by sliding your tool underneath and gently peeling it away.
Stack the removed turf away from your work area. Avoid digging too deep to keep the subsoil intact. If you disturb the subsoil, it can affect the next preparation steps.
Clearing Roots and Debris
Clearing roots and debris is important before installing artificial grass. This step stops weeds and roots from growing under the turf. Clean soil also helps your turf stay flat and stable.
Use a spade or hoe to dig out all visible roots. If you see weeds, pull them out with their roots. You should dig deep to remove stubborn roots.
Apply a non-toxic weed killer if weeds are a problem. Wait a few days for it to work. Rake the soil to remove any leftover debris or old roots.
Double-check for hidden roots or organic matter. If you find more, remove them before moving on. Make sure the surface is clean and level before the next step.
Excavating the Area to the Correct Depth
Excavating the area to the correct depth is important for a stable artificial grass base. Remove the topsoil to a depth of 2 to 4 inches. The depth depends on grass type and how much the area will be used.
Use a spade or turf cutter to keep the depth even. If the base is uneven, the grass may settle poorly. Uniform depth helps avoid future problems. After excavation, lay down a geotextile cloth to prevent weed growth and improve drainage.
Check the subsoil for soft spots after digging. Remove any loose soil or organic material you find. If the ground is soft, it could shift over time.
Compact the soil using a plate compactor for best results. Lightly water the area before compacting to help the soil stick together. Good compaction makes the surface strong and long-lasting.
Proper excavation also helps support long-term durability, ensuring the artificial grass remains smooth and resistant to sinking or unevenness over time.
Installing Edging to Define Boundaries
Edging keeps artificial grass in place and defines the area’s boundaries. It prevents the grass from shifting and helps it hold its shape.
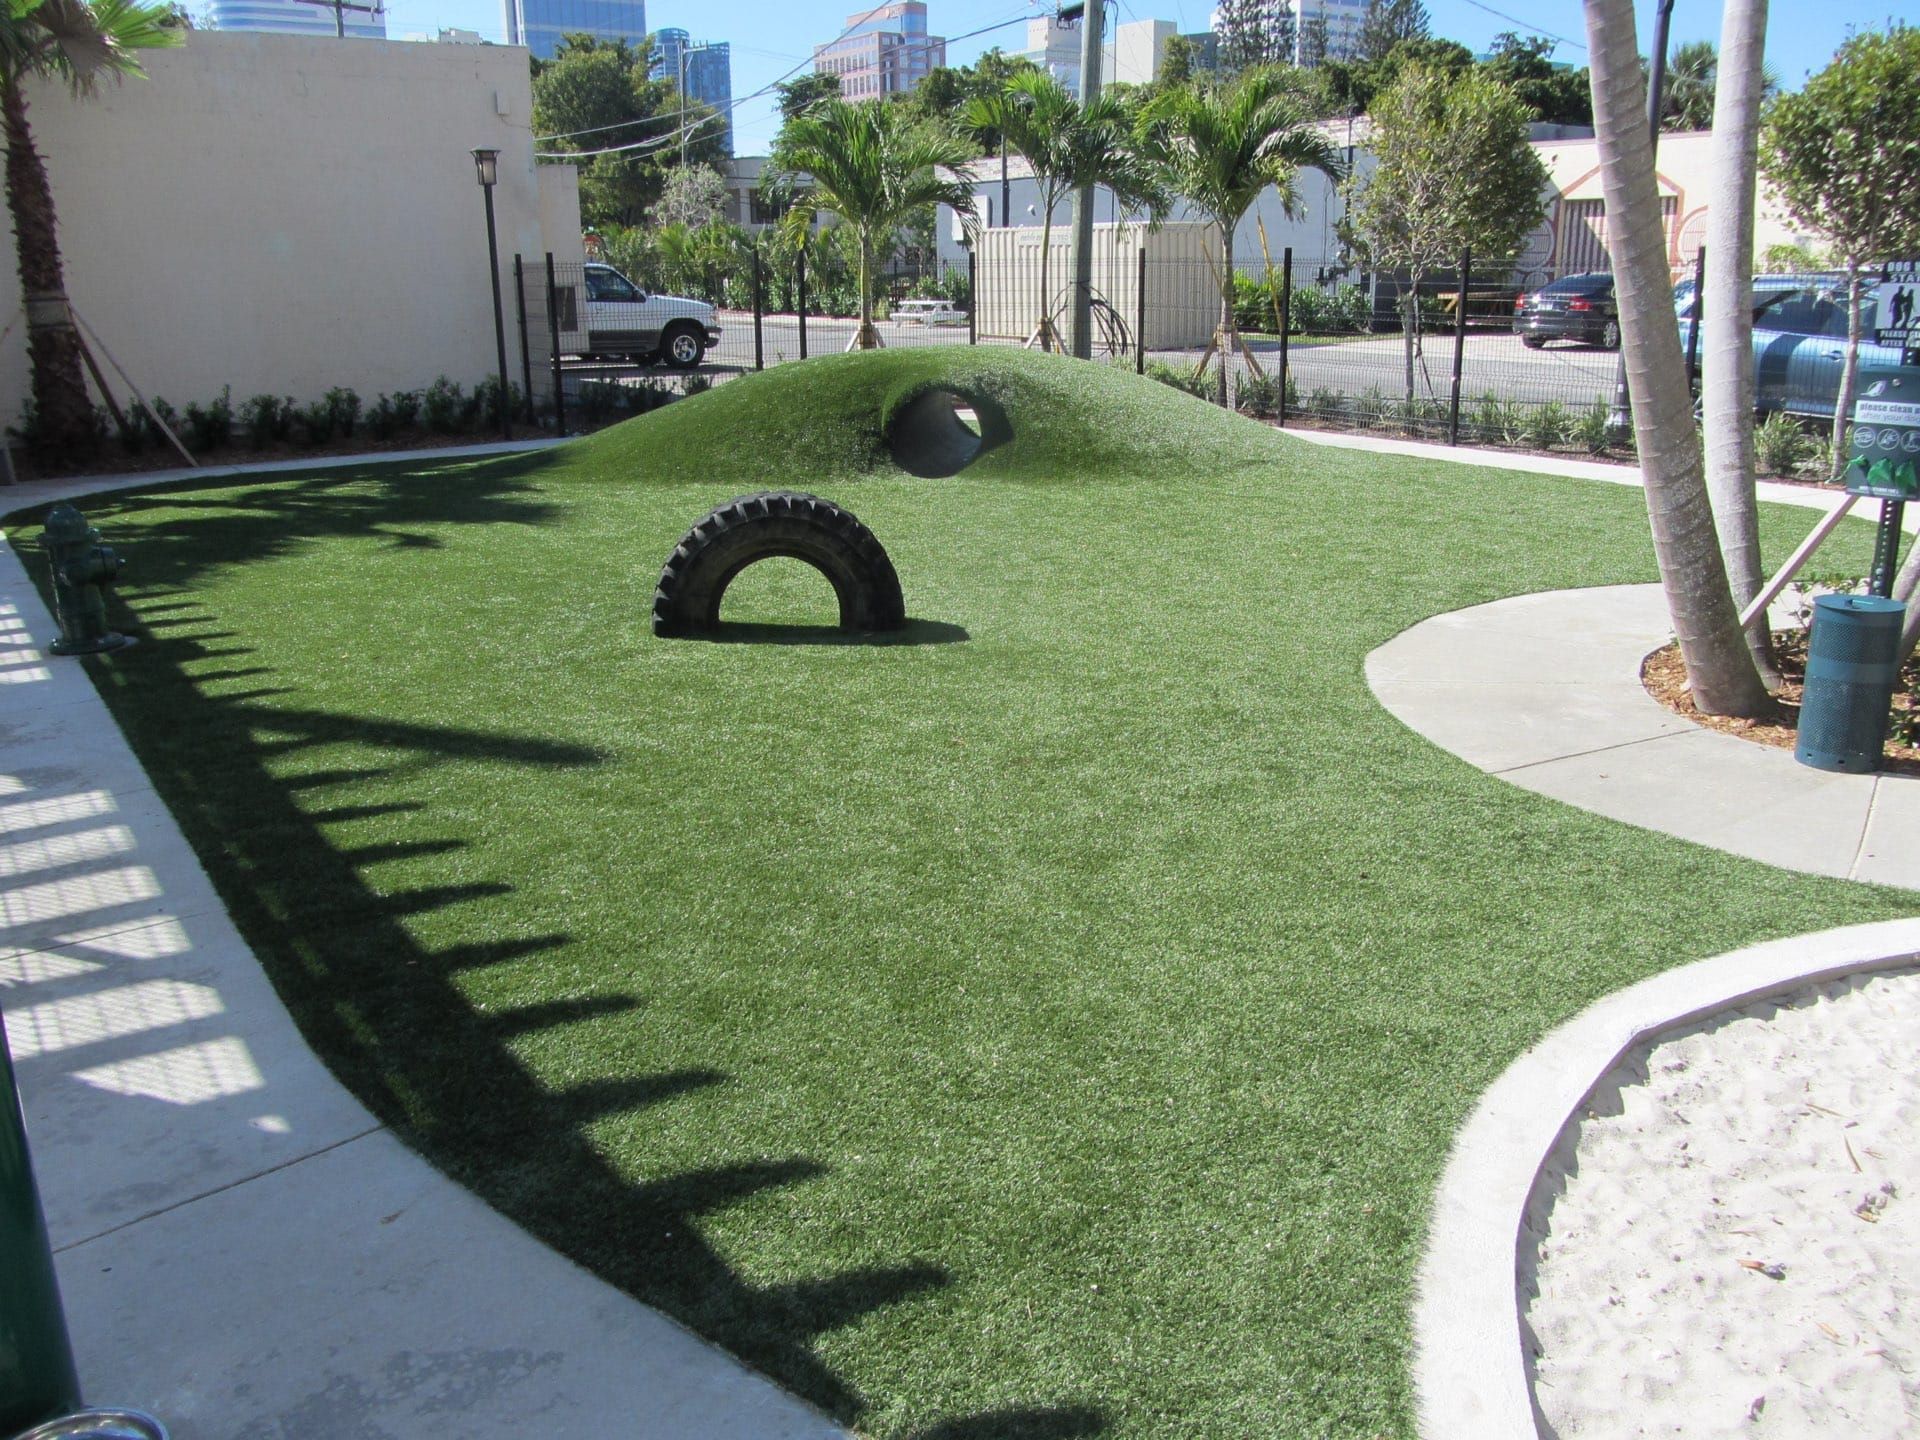
Solid edging is important for a neat and stable installation. If you want to create a natural, inviting look, you might take inspiration from ample green spaces in public parks to choose the right materials and layout for your project.
Edging secures artificial grass, maintains its shape, and ensures a tidy, stable finish for your installation.
Choose edging materials that will not rot or break down in bad weather. These can include treated wood, metal, plastic, or composite options. Cut the edging to fit corners or curves as needed.
Mark the exact line where the edging will go before starting. Place the edging so the top is level with the ground. Secure it using ground spikes or screws for extra strength.
If you want straight lines, check with a string or level. For curves, follow your marked outline carefully. Always double-check that everything is firmly in place before moving on.
Proper edging also works hand-in-hand with the best base for synthetic grass, ensuring both stability and long-lasting results.
Ensuring Proper Drainage Solutions
Proper drainage is important before you lay artificial grass. Good drainage stops water from pooling and keeps your yard in good shape. If you do not plan for drainage, water may damage your lawn or nearby buildings.
Check the area for low spots. Grade the ground so water flows away from your house. If you find low areas, fill them in before moving on.
When planning your installation, remember that field consistency enhances the safety and fairness of your outdoor space.
Add a sub-base of crushed stone or aggregate. Compact this layer well to make it stable and allow water to pass through. If the soil is clay or your area gets lots of rain, extra drainage may be needed.
If heavy rain is common, install a drainage pipe or channel. Channel drains work well in places with high water flow. Sand layers are good for light rainfall areas.
Do not let gutters or sprinklers send water onto your artificial lawn. Good planning will help water drain away properly. For inspiration on effective water management, consider how limestone formations naturally guide and disperse water in coastal ecosystems.
Laying a Weed Barrier Fabric
A weed barrier fabric stops weeds from growing under artificial grass. It is important for keeping your lawn easy to maintain.
This fabric also helps your grass installation last longer. The use of a weed barrier fabric can help prevent abrasive turf causing cuts by minimizing disruptions to the ground that could lead to uneven surfaces.
You should roll the fabric over the entire area, covering the sub-base. Overlap the edges by at least 6 inches to block gaps. If needed, trim around trees or obstacles with a utility knife.
Landscaping staples can hold the fabric in place every 12 to 18 inches. The fabric lets water drain, but blocks sunlight from reaching weed seeds. If you install it correctly, your artificial grass will stay neat and stable.
Using a weed barrier fabric also supports low maintenance and cost savings, as it reduces the need for extra attention and chemical treatments over time.
Adding and Compacting the Base Layer
To add and compact the base layer, first cover the area with crushed stone or decomposed granite. The base should be 2–4 inches thick. Thickness depends on the soil type and drainage needs.
A rake helps spread the base material evenly and fills any low spots. Water the base lightly to control dust and help with compaction. If the base feels uneven, add more material as needed.
Use a plate compactor to press the base down firmly. Proper compaction creates a stable surface for the artificial turf. Check for soft spots and repeat compaction until the surface is firm and level.
This preparation supports superior shock absorption properties by creating a safe and resilient foundation for artificial turf installation.
Leveling and Grading the Surface
To level and grade the surface, make sure it is flat and slopes slightly for drainage. Use a long, straight board and a level to find high or low spots. Keep the slope at about 1-2% away from buildings to prevent water pooling.
If you test the soil, you can find areas that may not drain well, such as clay patches. Irrigation plans should guide water away from the artificial grass. If you make changes, compact the surface again to keep it stable.
A landscaping rake helps you level the area with precision. Always adjust the surface gently to avoid creating dips or bumps. Check your work often to ensure proper drainage.
Applying a Sharp Sand Layer
Now, spread a layer of sharp sand over your leveled base, making sure to use a coarse, angular sand designed for artificial grass installation.
Choose a sand that drains well and won’t shift under pressure. Compact the sand thoroughly with a vibrating plate compactor to create a firm, even surface.
Choosing the Right Sand
You need the right sand to make a stable and flat base for artificial grass. Sharp sand is the best choice because it compacts well and drains water quickly. If you use builder’s sand or play sand, surfaces may become uneven and hold too much moisture.
Washed, kiln-dried sharp sand gives the best results for your grass base. If the sand grains are between 0.5mm and 2mm, compaction will be best. Sand with high clay or silt content should be avoided because it traps water.
Calculate how much sand you need based on area and depth. Spread it evenly for a level surface. If you test your soil first, you can check pH and drainage, and use pest control if necessary.
Achieving Proper Compaction
Proper compaction creates a stable base for artificial grass. It stops the ground from sinking later and keeps the surface even. It also helps with drainage.
Spread sharp sand evenly over the area to a depth of 25-40mm. Use a screeding board or rake to level the sand along your planned contours. Always check for low spots before compacting.
If the soil drains poorly, test and improve it before adding sand. Use a vibrating plate compactor to press the sand down. Move the compactor in overlapping lines for best results.
After compacting, check the surface for dips or uneven areas. If you find any, add more sand and compact again. Repeat until the base is smooth and stable.
Compacting the Sand for a Smooth Finish
You must compact the sand to get a smooth, stable surface for artificial grass. Proper compaction prevents settling and keeps weeds from growing. A firm base helps your grass last longer.
Use a plate compactor for best results. If you do not have one, a hand tamper can work for small areas. Overlap your passes to make sure all sand is compacted.
Check the surface often for level and firmness. Add sand to any low spots and compact again. The compacted sand should be about 25-30mm deep.
Always wear protective gear for safety. If dust is a problem, lightly mist the sand with water. Make sure the whole area feels firm before moving to the next step.
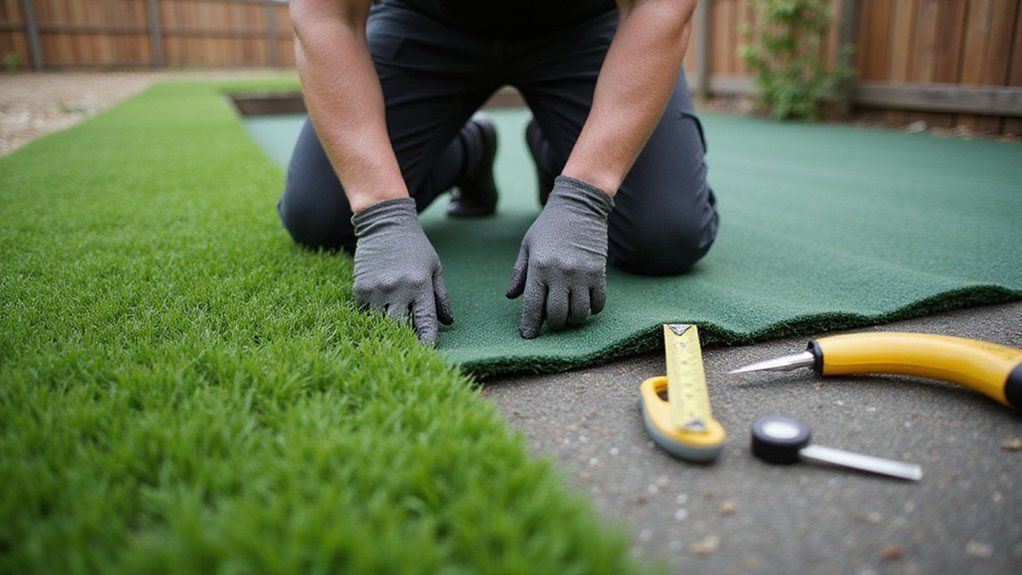
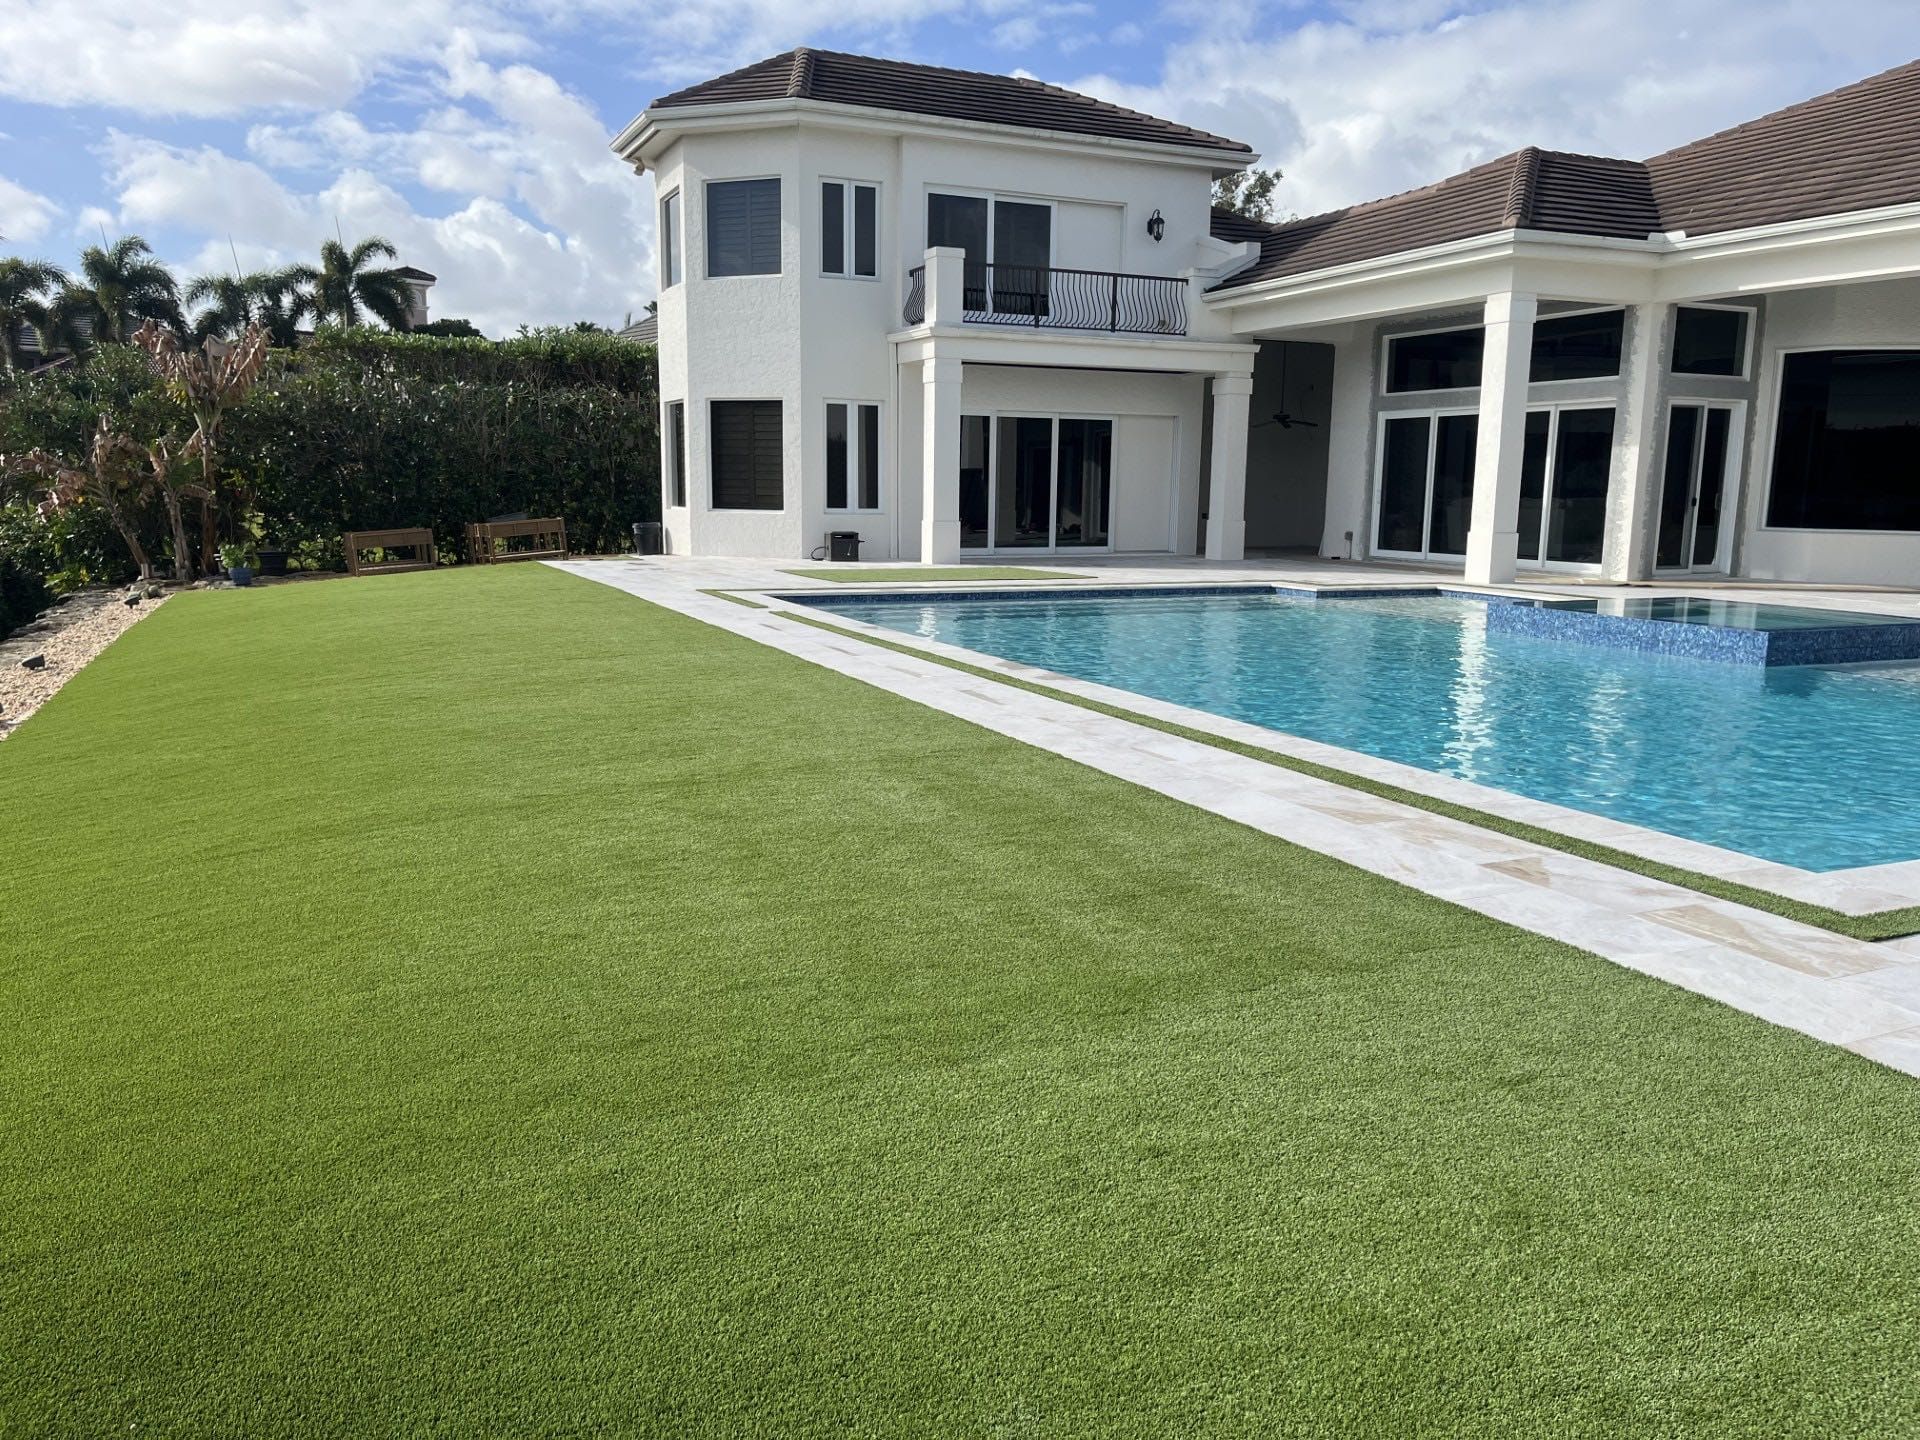
Rolling Out and Positioning the Artificial Grass
To roll out artificial grass, start by unrolling it over the solid, level sand base. Lay the grass flat and smooth without stretching or folding it. Align the grass so all blades face the same direction for a natural look.
Check that the surface is even, as a well-prepared base prevents bumps or dips. Position each roll carefully, keeping seams close together and barely visible. If you need more than one piece, slightly overlap the edges before trimming.
Double-check that the grass faces the right way and fits well. If you must adjust the turf, do it before securing it so you do not ruin the base. Avoid dragging the grass, since this can damage the sand foundation.
Securing and Trimming the Turf
To secure and trim the turf, keep it tight and fasten it well. Proper securing prevents the turf from moving and keeps it smooth. Correct trimming ensures the edges fit neatly.
Stretch the turf over the area to remove any wrinkles or bumps. If the turf is loose, use galvanized pins or nails every 6-8 inches along all edges and seams. Pins should sit flush with the backing, but not too deep.
Use a sharp utility knife for trimming. Always cut from the back, following the contour of the area. If you see gaps at the edges, trim again for a better fit.
Brushing and Infill Application for a Natural Look
Brushing and infill help artificial turf look more like real grass. Brushing lifts the fibers upright and keeps them looking natural. Infill gives the turf support and helps the blades stand tall.
Brushing and infill keep artificial turf upright and natural-looking, giving your lawn the realistic appearance of real grass.
Use a stiff broom or a power brush to brush the fibers up. If you have a large area, a power brush is faster. Always brush following your desired grass pattern.
Spread infill, such as silica sand or rubber, evenly over the turf. A drop spreader gives the best results. Brush the turf again to settle the infill between the blades.
Check the infill depth to make sure it covers 1–2 cm. If the coverage is uneven, add more infill where needed. Proper infill keeps the turf stable and safe to use.
Conclusion
If you prepare the ground with care, your artificial grass will have a strong, stable base. When you remove debris and level the soil, you prevent future bumps and uneven spots. If you install a weed barrier, you will avoid weed growth beneath your turf.
When you compact the base materials, your lawn will stay smooth and firm over time. If you choose the right infill and brush the grass, it will look and feel more natural. If you follow each step, your artificial grass will last longer and require less maintenance.
If you want a reliable and beautiful result, consider expert help. When you choose professionals, you save time and avoid installation mistakes. Install your artificial grass with Synthetic Turf Treasure Coast for the best results.
About the author
Kathy Leavell
Kathy Leavell is the founder and owner of Synthetic Turf Treasure Coast, a leading provider of synthetic grass solutions for residential and commercial properties in Florida. With over a decade of experience in the industry, Kathy has become a recognized expert in synthetic turf installation, maintenance, and repair. Under her leadership, Synthetic Turf Treasure Coast has earned a reputation for exceptional customer service and high-quality workmanship.
Prior to starting her own business, Kathy worked in sales and marketing roles at several major synthetic turf manufacturers.
Artificial Turf Installation in Vero Beach, FL: Cost, Process & What Homeowners Should Expect (2026)