How to Install Artificial Grass on Soil
Artificial grass offers a low-maintenance alternative to natural lawns, but many homeowners struggle with proper installation on soil surfaces. Without the right foundation, your investment can quickly develop drainage issues, unsightly wrinkles, or premature wear. Most DIY installations fail because people underestimate the importance of proper ground preparation and material selection.
Improper installation leads to pooling water, weed breakthrough, and uneven surfaces that look obviously fake. Your artificial lawn might only last 3-5 years instead of 15+ with correct installation. This wastes thousands of dollars and requires complete reinstallation to fix fundamental problems.
To install artificial grass on soil properly, you must remove existing vegetation, create a compacted base layer, and secure the turf with appropriate anchoring methods. The process requires careful attention to drainage, edge securing, and proper infill application to create a natural-looking result that lasts for many years.
This guide provides step-by-step instructions for installing artificial grass directly on soil to ensure a beautiful, durable lawn for years to come.
Key Takeaways
- Test and prepare soil by checking type, drainage, and compaction before installation.
- Create a stable base by grading soil, adding crushed stone, and installing weed barrier fabric.
- Unroll artificial grass in the same direction and let it rest before cutting with extra inches.
- Place multiple rolls edge-to-edge with matching pile direction for a seamless appearance.
- Apply infill material evenly at 2-3 pounds per square foot and work it into fibers.
Assessing Your Soil Type and Condition
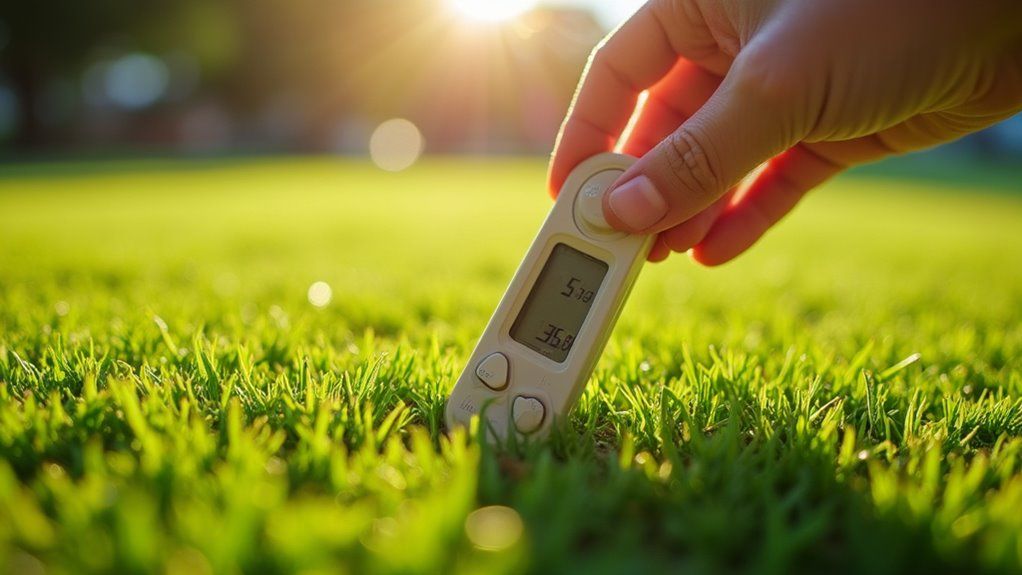
Check your soil type before installing artificial grass. Take soil samples from different areas of your yard. You can do a simple jar test to identify your soil texture.
Mix soil with water in a jar and shake it well. Watch how the particles settle after a few hours. Clay soils hold water longer, while sandy soils drain quickly.
Loamy soil works best for artificial grass installation. You should test your soil's nutrients and pH levels. These tests help identify possible problems for your sub-base.
Try pushing a screwdriver into the ground to check for compaction. Hard soil will need breaking up before you install the grass. If puddles stay in your yard after rain, you may have drainage issues.
Different soil types need different preparation methods. Sandy soil might require extra stabilization. If you have clay soil, you'll need to add special drainage solutions.
Consult an installation expert who can properly assess your yard and help you choose the most appropriate artificial grass for your specific soil conditions.
Measuring and Planning Your Artificial Turf Area
Proper measurement of your artificial turf area ensures you'll purchase the correct amount of material and minimize waste during installation. You'll need to create a detailed installation grid that accounts for seams, edges, and any obstacles in your landscape.
Essential measuring tools include a long tape measure, graph paper for sketching your layout, and marking stakes to transfer your plan to the actual site. Remember to maintain a minimum slope gradient of a quarter inch per foot to ensure proper drainage and prevent water accumulation.
Accurate Area Calculation
Precise area measurement is the first step for a good artificial grass installation. You need to find the exact square footage to buy the right amount of turf. Measure length and width with a tape measure, breaking irregular areas into smaller geometric shapes.
Measure each section twice to confirm your numbers are correct. This double-checking helps prevent mistakes in your total calculations. Adding 10-15% extra material will cover waste from cuts and installation errors.
Your soil type matters when taking measurements. Clay soils might need extra preparation space to ensure proper drainage. This could affect your total area calculation.
Always round up your measurements when placing your order. This simple step prevents running short of materials during installation. Having accurate calculations now saves you from delays and extra costs later.
Creating Installation Grid
You need to make a grid before laying fake grass. First, find stakes and string to mark your space. Place wooden stakes every 3 feet around the edges of your area.
Connect the stakes with string to form squares across your space. Each square should have equal diagonals to ensure proper alignment. Number these sections on your plan for easy reference.
The grid helps you lay turf correctly and reduces waste when cutting. You will avoid mistakes if you follow this pattern. If your measurements are exact, the installation will go much faster.
Tools For Measurement
You need accurate tools to measure your area for artificial grass. These tools help you calculate the exact square footage you need. The right measurements prevent wasting money on extra material.
A long measuring tape with both metric and imperial units works well for odd-shaped areas. Laser distance meters can measure large spaces quickly when you're working alone. Some laser models can even calculate the area for you.
Graph paper and pencils help you draw your layout to scale. This visual plan shows where seams will go. It also helps identify areas where material might be wasted.
Choose measuring tools that match your supplier's unit requirements. Your measurements must account for obstacles in the area. If your yard has slopes or bumps, these will affect your final dimensions.
Gathering Necessary Tools and Materials
Proper installation of artificial grass requires specific tools and materials for optimal results. You'll need equipment such as a turf cutter, compactor, power broom, utility knife, and measuring tape to handle the technical aspects of the installation process.
The essential materials include artificial turf, weed membrane, jointing tape, adhesive, infill material, and edging systems that will ensure your synthetic lawn's durability and authentic appearance. For a stable foundation, you should prepare to spread decomposed granite or crushed stones as part of your base material layers.
Essential Tools List
You need specific tools for a smooth artificial grass installation. A complete tool set helps you work without delays. It makes the job easier from start to finish.
Excavation tools include turf cutters for removing old grass. Use shovels and rakes for soil work. Store these tools in dry places to prevent rust.
Installation requires a carpet knife with extra blades. You'll also need measuring tape and joining tape. Handle cutting tools carefully to avoid injuries.
Get a plate compactor for the base preparation stage. A stiff broom helps position grass fibers correctly. The power brush gives your turf a natural look during final grooming.
Materials You'll Need
You need quality artificial turf that fits your area's weather and how often you'll use it. Good turf has UV protection, drains water well, and looks real. Choose one that works best for your project.
A weed barrier fabric stops plants from growing under your new grass. You also need sharp silica sand as your first layer. About 20-30 pounds of sand per square meter will work well.
Your base requires crushed stone or decomposed granite for drainage. The depth should be 2-4 inches, depending on your soil type. This layer helps water flow away from the surface.
Landscape pins or nails hold the edges in place. Use about one pin for each foot around the perimeter. You'll also need joining tape with adhesive to connect turf sections.
Infill material keeps grass blades standing up and adds stability. You might use silica sand, rubber granules, or both. If you want the best results, apply 1-2 pounds of infill per square foot.
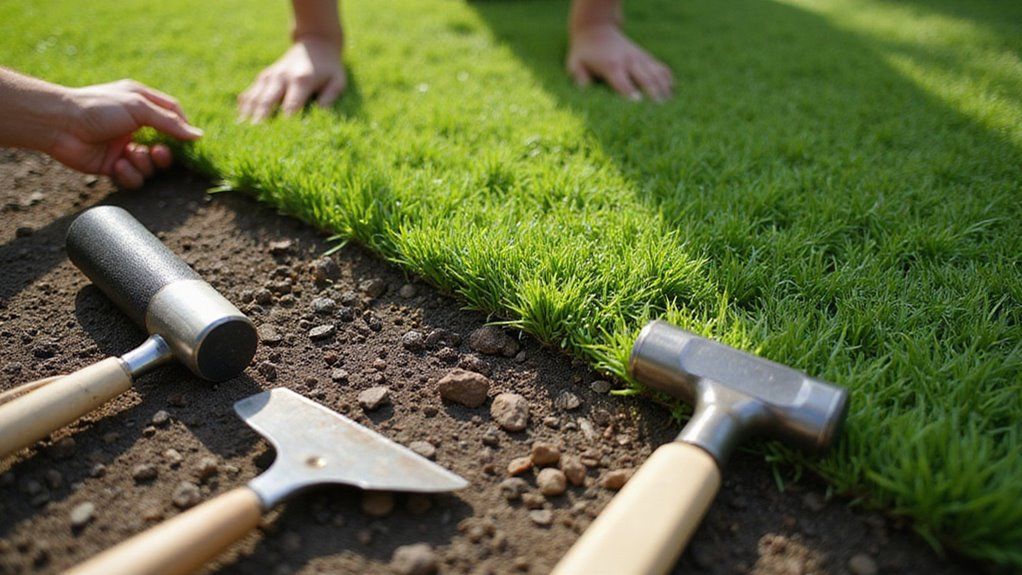
Removing Existing Grass and Vegetation
Clear away all grass and plants from your installation area after completing site measurements. A sod cutter set at 1.5-2 inches depth works best for this task. This equipment helps you remove vegetation efficiently across the entire space.
Take out all excavated grass and roots completely. Check the area carefully for remaining plant material that might rot under your turf. Any organic matter left behind could cause settling problems later.
Look for rocks, sticks, and debris in the cleared soil. These items can create bumps or damage your artificial grass backing. If you find any foreign objects, remove them immediately.
Apply a weed killer to the bare soil to prevent future growth. If weeds emerge through your turf, they could ruin its appearance. You should choose a non-selective herbicide for best results.
Practicing proper removal techniques supports environmental stewardship similar to the conservation efforts promoted at nature centers across the country.
When excavating for artificial grass, you'll need to remove 3-4 inches of soil to accommodate the base materials and turf height. Use a spade or mini-excavator to carefully strip away the soil layer, maintaining a consistent depth throughout the installation area. You should excavate slightly deeper around the perimeter to create proper drainage slopes away from structures and prevent water pooling.
Proper excavation provides a more stable foundation than installing directly on concrete, though concrete installations require drilling drainage holes to prevent water accumulation and mold growth.
Proper Depth Guidelines
Excavation depth affects the success of your artificial grass installation. You should dig 3-4 inches below finished grade for base materials. This depth allows for crushed stone and leveling sand layers.
Heavy clay soils need a 5-inch depth to prevent water pooling. Sandy soils may only require 3 inches due to natural drainage. Areas with tree roots should be dug to 6 inches with a root barrier installed.
Use stakes and string lines to measure depth across the entire area. Consistent excavation prevents future dips or bumps. Your artificial grass will settle evenly if the base depth is uniform.
Soil Removal Techniques
Mark your work area with stakes and string before starting. A spade shovel works well for small areas under 2 square feet. Work in rows from one end to the other for best results.
Larger areas may require a sod cutter or mini-excavator. These tools save time and reduce physical strain. Remove soil to a depth of 3-4 inches throughout the area.
Check your work often with a level to ensure even depth. Create slight slopes away from buildings for proper water drainage. This 1-2% grade prevents water from pooling near structures.
Place removed soil on tarps for easier cleanup later. Work in smaller sections rather than tackling the entire area at once. This approach helps maintain consistent depth across your installation area.
Installing a Weed Barrier Membrane
A weed barrier membrane stops unwanted plants from growing through artificial grass. It serves as a protective layer between soil and turf. Choose a permeable geotextile fabric that blocks weeds but allows water to drain.
Start by rolling the membrane across your prepared soil base. Make sure it extends 2-3 inches up the edges of your area. The fabric should lie flat against the ground surface.
Overlap adjoining sheets by at least 4 inches for complete coverage. Secure the membrane with landscape pins every 1-2 feet along the edges and seams. If you notice any wrinkles, smooth them out before proceeding.
Use a sharp utility knife to cut around sprinklers, drains, or other fixtures. Precise cutting ensures the membrane fits properly around all obstacles. If the membrane tears during installation, patch it with an additional piece and secure with pins.
This weed barrier is an essential part of your gravel base preparation, which provides both proper drainage and a forgiving surface for your synthetic turf installation.
Creating Proper Drainage Systems
Artificial grass needs good drainage systems under the turf. They prevent water from collecting and causing damage. You should create a gentle slope of 1-2% away from buildings.
This slope helps water flow to drainage points. A layer of crushed stone or gravel (3-4 inches) works well as a base. This material lets water filter through instead of staying on top.
Areas with heavy rain may need perforated pipes in the base layer. These pipes direct water away from your lawn. If your yard already has drainage problems, this step becomes essential.
Before laying turf, test your drainage by spraying water on the prepared area. This check confirms that water moves and absorbs correctly. Proper testing now will prevent flooding issues later.
Adding decomposed granite or crushed marble creates a stable and porous base that significantly improves drainage performance.
Adding and Compacting the Base Material
Once you've established proper drainage, you'll need to select the appropriate base material—typically a mixture of crushed stone or decomposed granite that allows water to flow through while providing stability. Spread your chosen material in layers of 2-3 inches, using a rake to ensure even distribution across the entire installation area.
You'll then need to compact each layer thoroughly using a plate compactor or roller, achieving a 90% compaction rate for optimal artificial turf performance and longevity. This installation technique provides high wear rating suitable for both heavy and light usage scenarios, ensuring your turf can withstand frequent foot traffic.
Choosing Right Base Material
Artificial grass needs a proper base material for successful installation. This base affects drainage, stability, and how long your turf will last. Residential projects need 3-4 inches of base depth, while high-traffic areas require 4-6 inches.
Class II road base or decomposed granite works well for most installations. These materials drain water effectively and compact firmly. Crushed stone offers better drainage but needs extra stabilization to prevent shifting.
Your local weather and soil type should guide your material choice. Heavy rain areas need materials with excellent drainage capabilities. Clay soils might require additional preparation before base installation.
The base must be compacted to at least 90% density for proper stability. Proper compaction prevents future settling that could create uneven surfaces. Special infill materials can also help control temperature and fight bacteria growth.
Layering Techniques
Layering base materials correctly makes a strong foundation for artificial grass. Start with crushed stone or decomposed granite in 2-inch sections across the area. Compact each layer fully before adding the next one.
Use different materials in your layers for better drainage. Place coarser stones (¾-inch) at the bottom and finer materials (¼-inch) near the top. This method helps water flow through while keeping the base stable.
When compacting, begin from the outside and work inward. Use a plate compactor and make passes at 90-degree angles for thorough results. The base should reach 3-4 inches in thickness when finished.
Your final base needs a slight slope of 1-2% away from buildings. This gentle grade ensures water drains properly. If you walk across the surface and leave minimal footprints, your compaction is adequate.
Compaction Equipment Essentials
You need the right tools to pack soil for artificial grass. Good equipment presses soil evenly across your yard. This prevents bumps and dips after installation.
A plate compactor weighing 80-120 kg works well for most home projects. It applies enough pressure while fitting into smaller spaces. You can easily move it around your yard.
Hand tampers reach spots where machines can't go. They're perfect for corners and edges. Your installation needs both tools for complete coverage.
Roller compactors work better for big areas. They cover more ground with less effort. This option saves time on larger projects.
Make several passes in different directions for best results. Your goal is to reach 90% soil compaction. The ground should feel solid when you walk on it.
Laying the Crushed Stone Sub-Base
Crushed stone forms the drainage layer under your artificial grass. You should spread a 3-4 inch layer of ¼" to ⅜" stone across your prepared area. Use a rake to distribute the stone evenly throughout the installation space.
Grade the stone with a 1-2% slope away from buildings for proper drainage. A level will help you check the slope as you work. Water should always flow away from structures to prevent pooling.
Lightly wet the stone before compacting it with a plate compactor. Make overlapping passes until the surface feels firm under your feet. If the stone shifts when you walk on it, more compaction is needed.
This drainage layer is crucial for water conservation and will help your artificial turf maintain its pristine appearance even during Florida's heavy rainfall periods.
Installing Edge Restraints and Borders
Edge restraints keep artificial grass from moving sideways and create neat edges. You must secure these borders around your installation area after compacting the sub-base. Common materials include pressure-treated wood, metal edging, or plastic borders.
Position all restraints about 1/2 inch below the final grass height. Corners should meet at exact 90-degree angles to maintain stable borders. Check that all edges stay at the same height using a level.
Each section needs firm anchoring before you move to the next step. Stakes or concrete can hold your chosen restraint material in place. This framework supports your turf edges and prevents future shifting or rippling.
The installation method described is for personal use only, as per the Terms and Conditions which prohibit commercial use of these instructional materials.
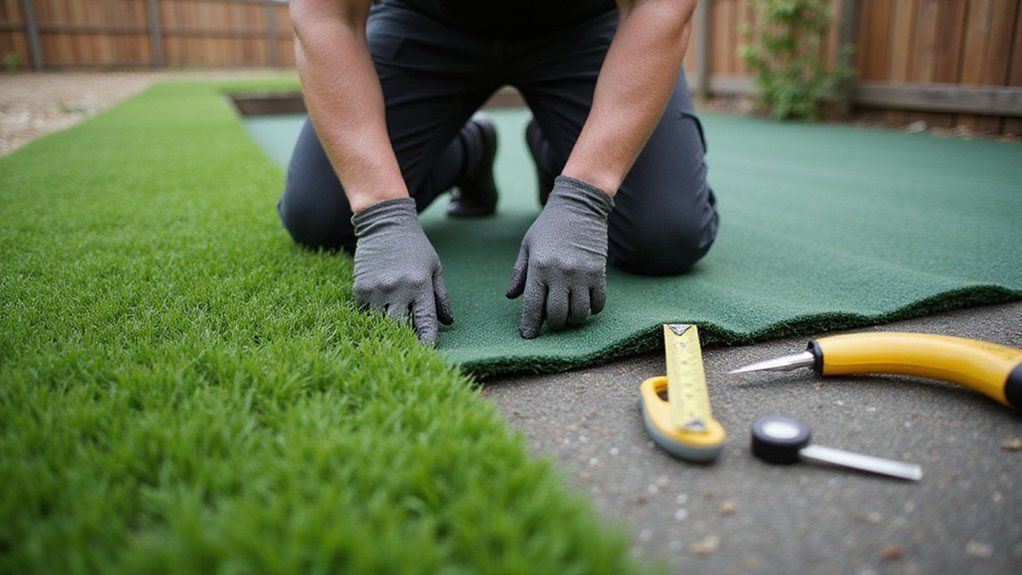
Rolling Out and Positioning the Artificial Grass
Unroll your artificial grass across the prepared base in the same direction. This ensures all grass blades face uniformly. Let the turf rest for 1-2 hours before you make final adjustments.
Measure your installation area and cut the turf with 2-3 extra inches on each side. Place multiple rolls edge-to-edge with matching pile direction for a seamless look.
Overlapping sections will create visible lines and should be avoided.
Start from one end and stretch the material tightly as you work toward the other end. This eliminates wrinkles and air bubbles that might form underneath. Secure the perimeter temporarily with landscape pins while making final position adjustments.
If you position the grass correctly now, you won't have problems with shifting or visible seams later. Work methodically and take your time during this crucial installation step. The careful positioning will ensure a professional-looking result.
Securing and Joining Multiple Turf Sections
Join artificial grass sections by creating tight, seamless connections. Position turf edges together first. Then fold them back to place seaming tape underneath.
Apply adhesive to the tape and press both edges firmly onto it. This creates a strong bond. The seam should disappear when done correctly.
Secure the outer edges with perimeter nails every 4-6 inches. Use U-shaped turf nails throughout the middle area at 12-inch intervals. Place these nails in a staggered pattern for better hold.
High-traffic areas need extra securing. This prevents movement and lifting over time. If people walk across certain spots often, add more nails there.
After securing all sections, trim any excess material. Brush the grass fibers upward to check your seams. Properly installed seams should be invisible when the fibers stand up.
Adding Infill Material for Stability and Support
Your artificial grass needs infill material for structure and support. Silica sand, rubber granules, or acrylic-coated sand work well for this purpose. Each option provides different benefits for drainage and resilience.
Spread the infill evenly across the entire surface. You should use about 2-3 pounds of material per square foot. Work the infill deep into the turf fibers with a stiff broom.
Compact the infill with a power broom or plate compactor. This helps the material settle properly between grass blades. Proper compaction prevents shifting and maintains the turf's appearance.
Check infill levels every three months, especially in high-traffic areas. Material can become displaced where people walk or play frequently. Add more infill as needed to maintain proper depth.
Consistent infill depth keeps grass blades standing upright and prevents matting. If you maintain proper levels, your artificial grass will last longer. This simple maintenance step saves money in the long run.
Brushing and Final Grooming Techniques
Proper brushing creates a natural look for artificial turf after infill installation. Use a stiff-bristled broom against the grain to lift fibers. This method also spreads infill evenly across the surface.
Final grooming requires specific steps for best results. Brush in a cross-pattern going north-south, then east-west to keep fibers upright. This technique prevents matting and maintains turf's texture.
Clean debris with a leaf blower on low setting instead of rakes. Rakes might move the infill out of place. A light water mist helps settle infill and cleans the blades after grooming.
High-traffic areas need more frequent grooming to stay in good shape. The turf's look and performance depend on regular maintenance. If you follow these steps, your artificial grass will keep looking natural for years.
Conclusion
Spreading the infill evenly across your artificial grass is a crucial final step. This material settles between the blades, providing weight and stability to your new turf. Without proper infill, your grass might shift or appear flattened over time.
After distributing the infill, use a stiff brush to sweep the fibers upright. This action helps the grass look natural and maintain its upright position. If some areas appear uneven, add more infill and brush again until the surface looks uniform.
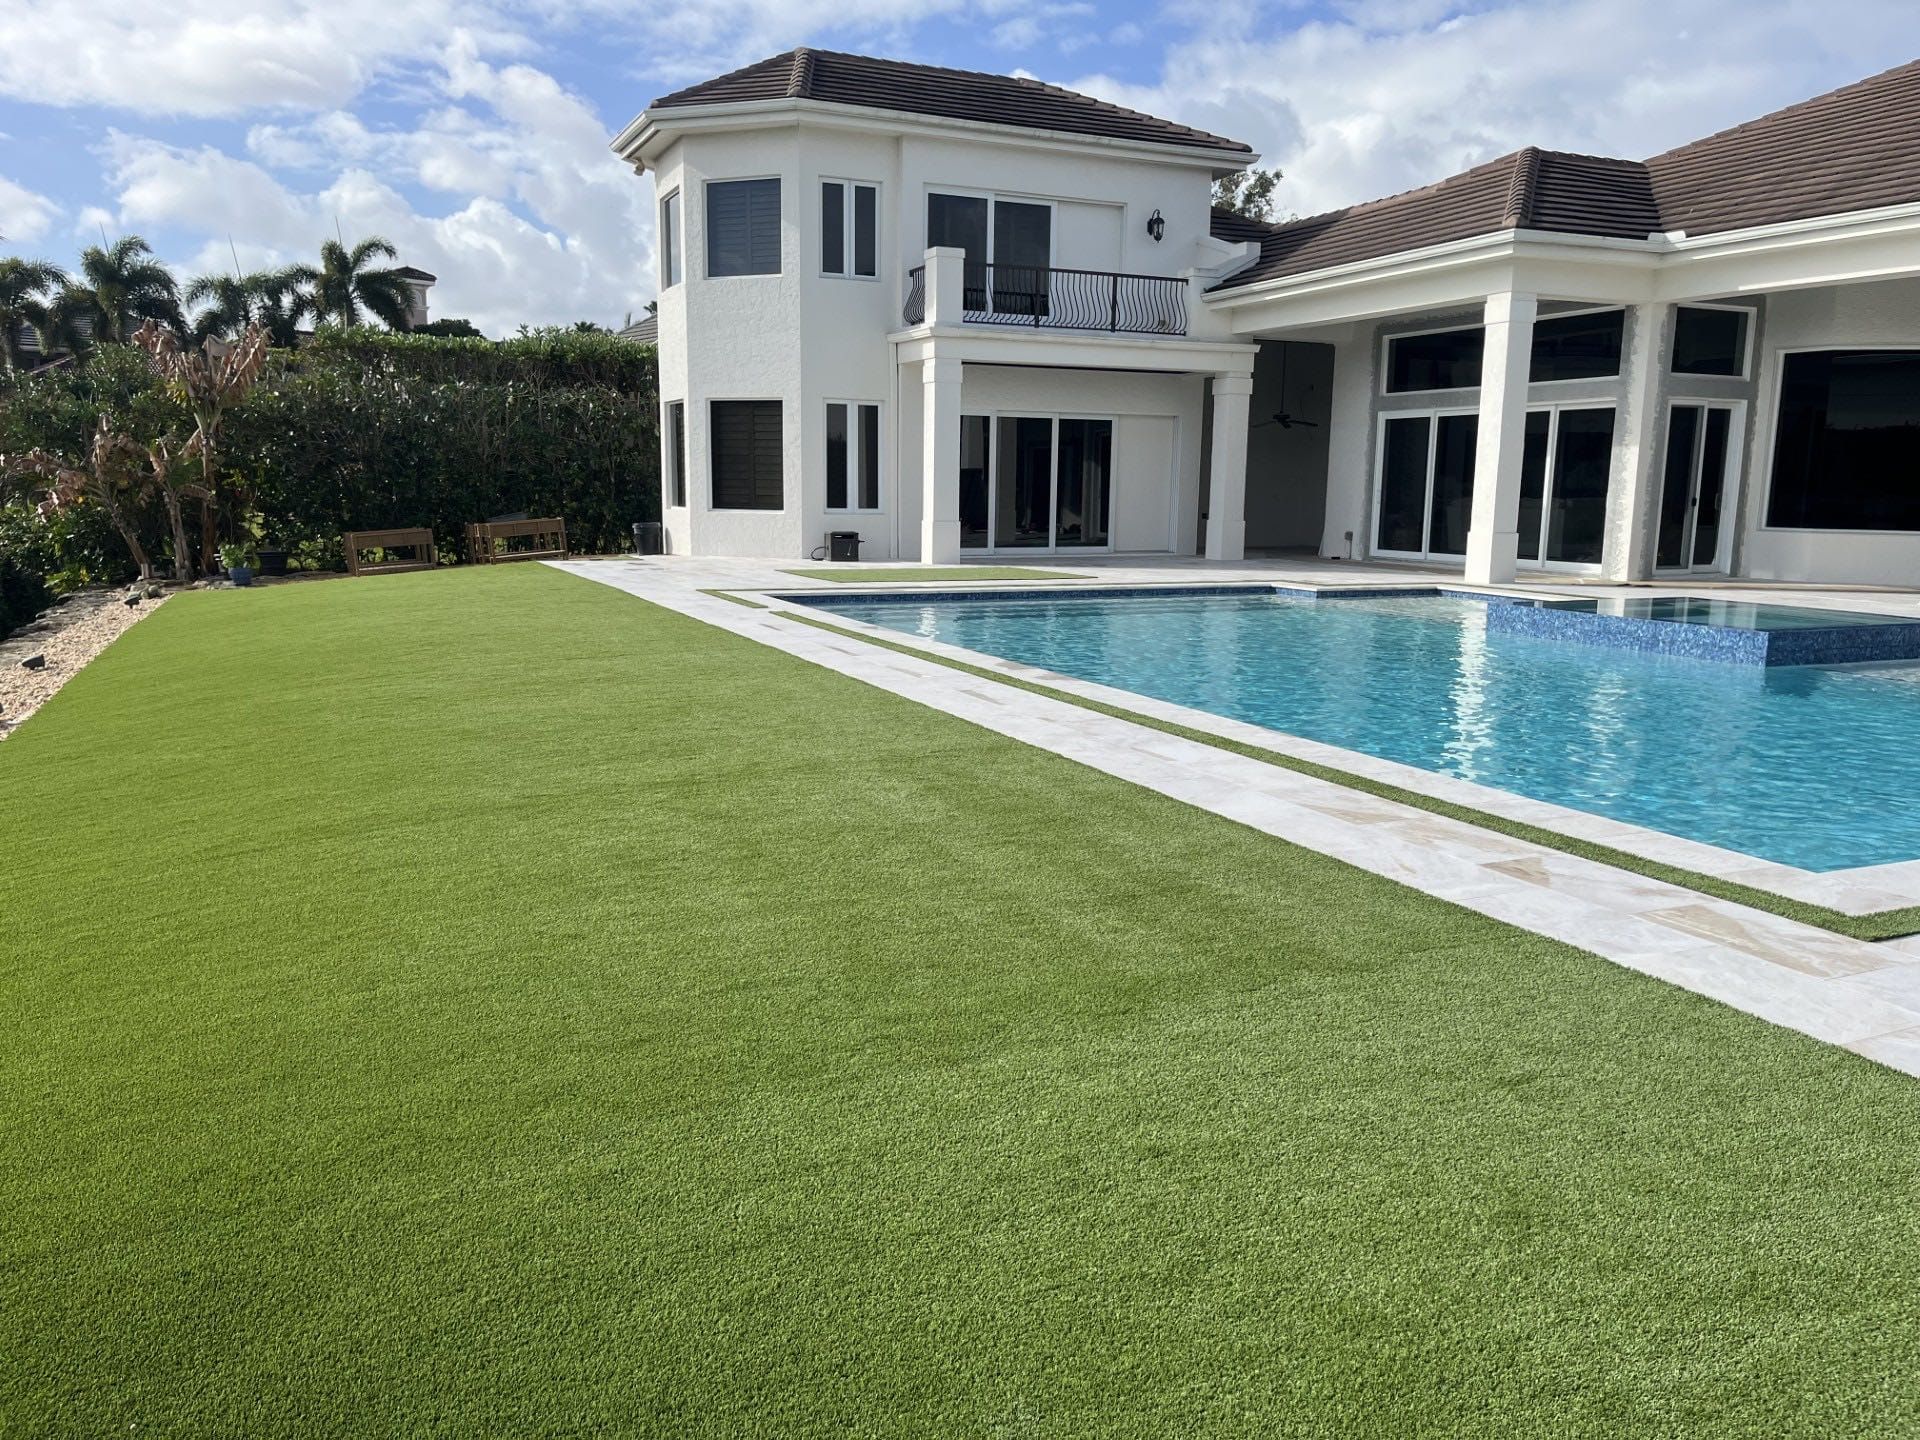
Your installation is now complete, offering years of beautiful, low-maintenance landscaping. When properly installed, artificial grass provides a durable solution for any outdoor space. Install your artificial grass with Synthetic Turf Treasure Coast for professional results that last.
About the author
Kathy Leavell
Kathy Leavell is the founder and owner of Synthetic Turf Treasure Coast, a leading provider of synthetic grass solutions for residential and commercial properties in Florida. With over a decade of experience in the industry, Kathy has become a recognized expert in synthetic turf installation, maintenance, and repair. Under her leadership, Synthetic Turf Treasure Coast has earned a reputation for exceptional customer service and high-quality workmanship.
Prior to starting her own business, Kathy worked in sales and marketing roles at several major synthetic turf manufacturers.
Artificial Turf Installation in Vero Beach, FL: Cost, Process & What Homeowners Should Expect (2026)